Display
Get an account in the Adshero panel
Contact us and we’ll set up a shop account for you in the Adshero panel. If you already have an account, log in here.
Create a test advertiser account
In normal usage, advertisers will create advertising campaigns, but for testing purposes, it is useful to prepare campaigns within the shop.
If you already have a test advertiser account, skip this step. Otherwise, follow the instructions to create an advertiser.
Set up ad units for display advertising
First, we create a new placement for display ads. Placements (groups of ad units) have a defined type: product placements can only contain product ad units and render sponsored offers. In the case of display type, we allow linking only those ad units that also have a display type and render display ads.
For display ads, it is necessary to prepare:
- A placement that groups ad units
- An ad format that describes what the display ad must include (image and its size, title, CTA, etc.)
- An ad unit, which is the physical space on the page
Placement
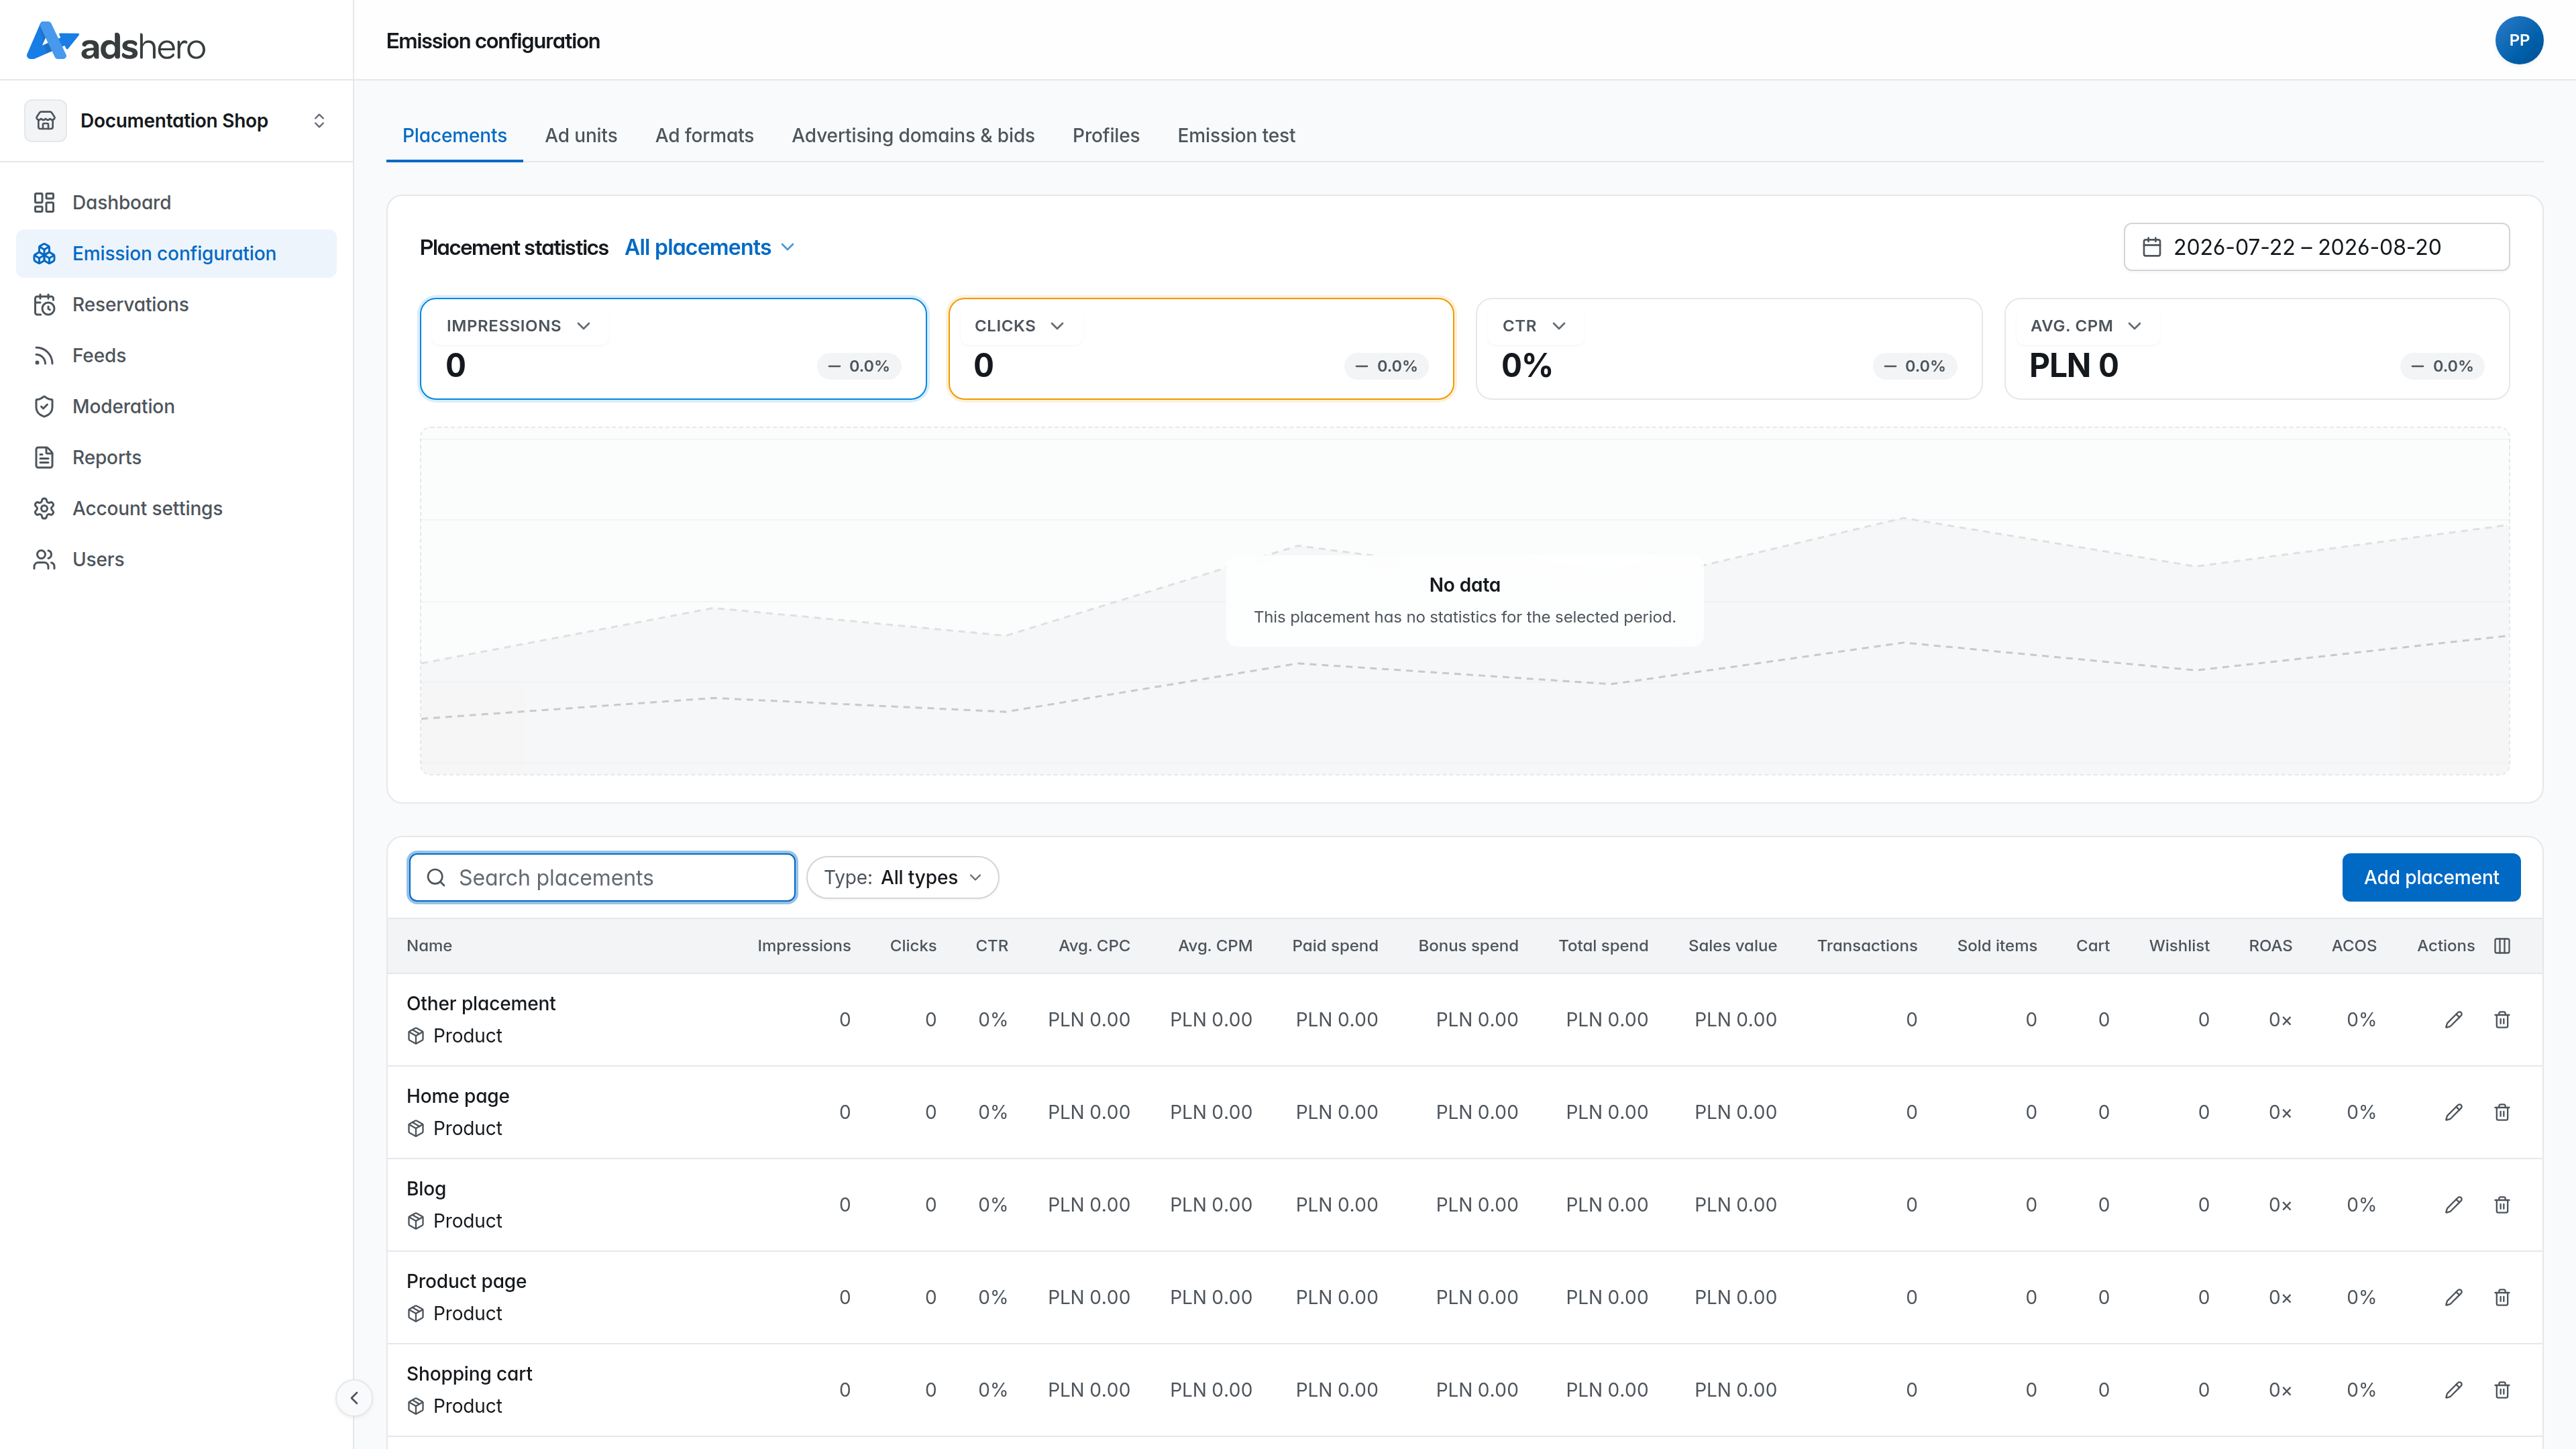
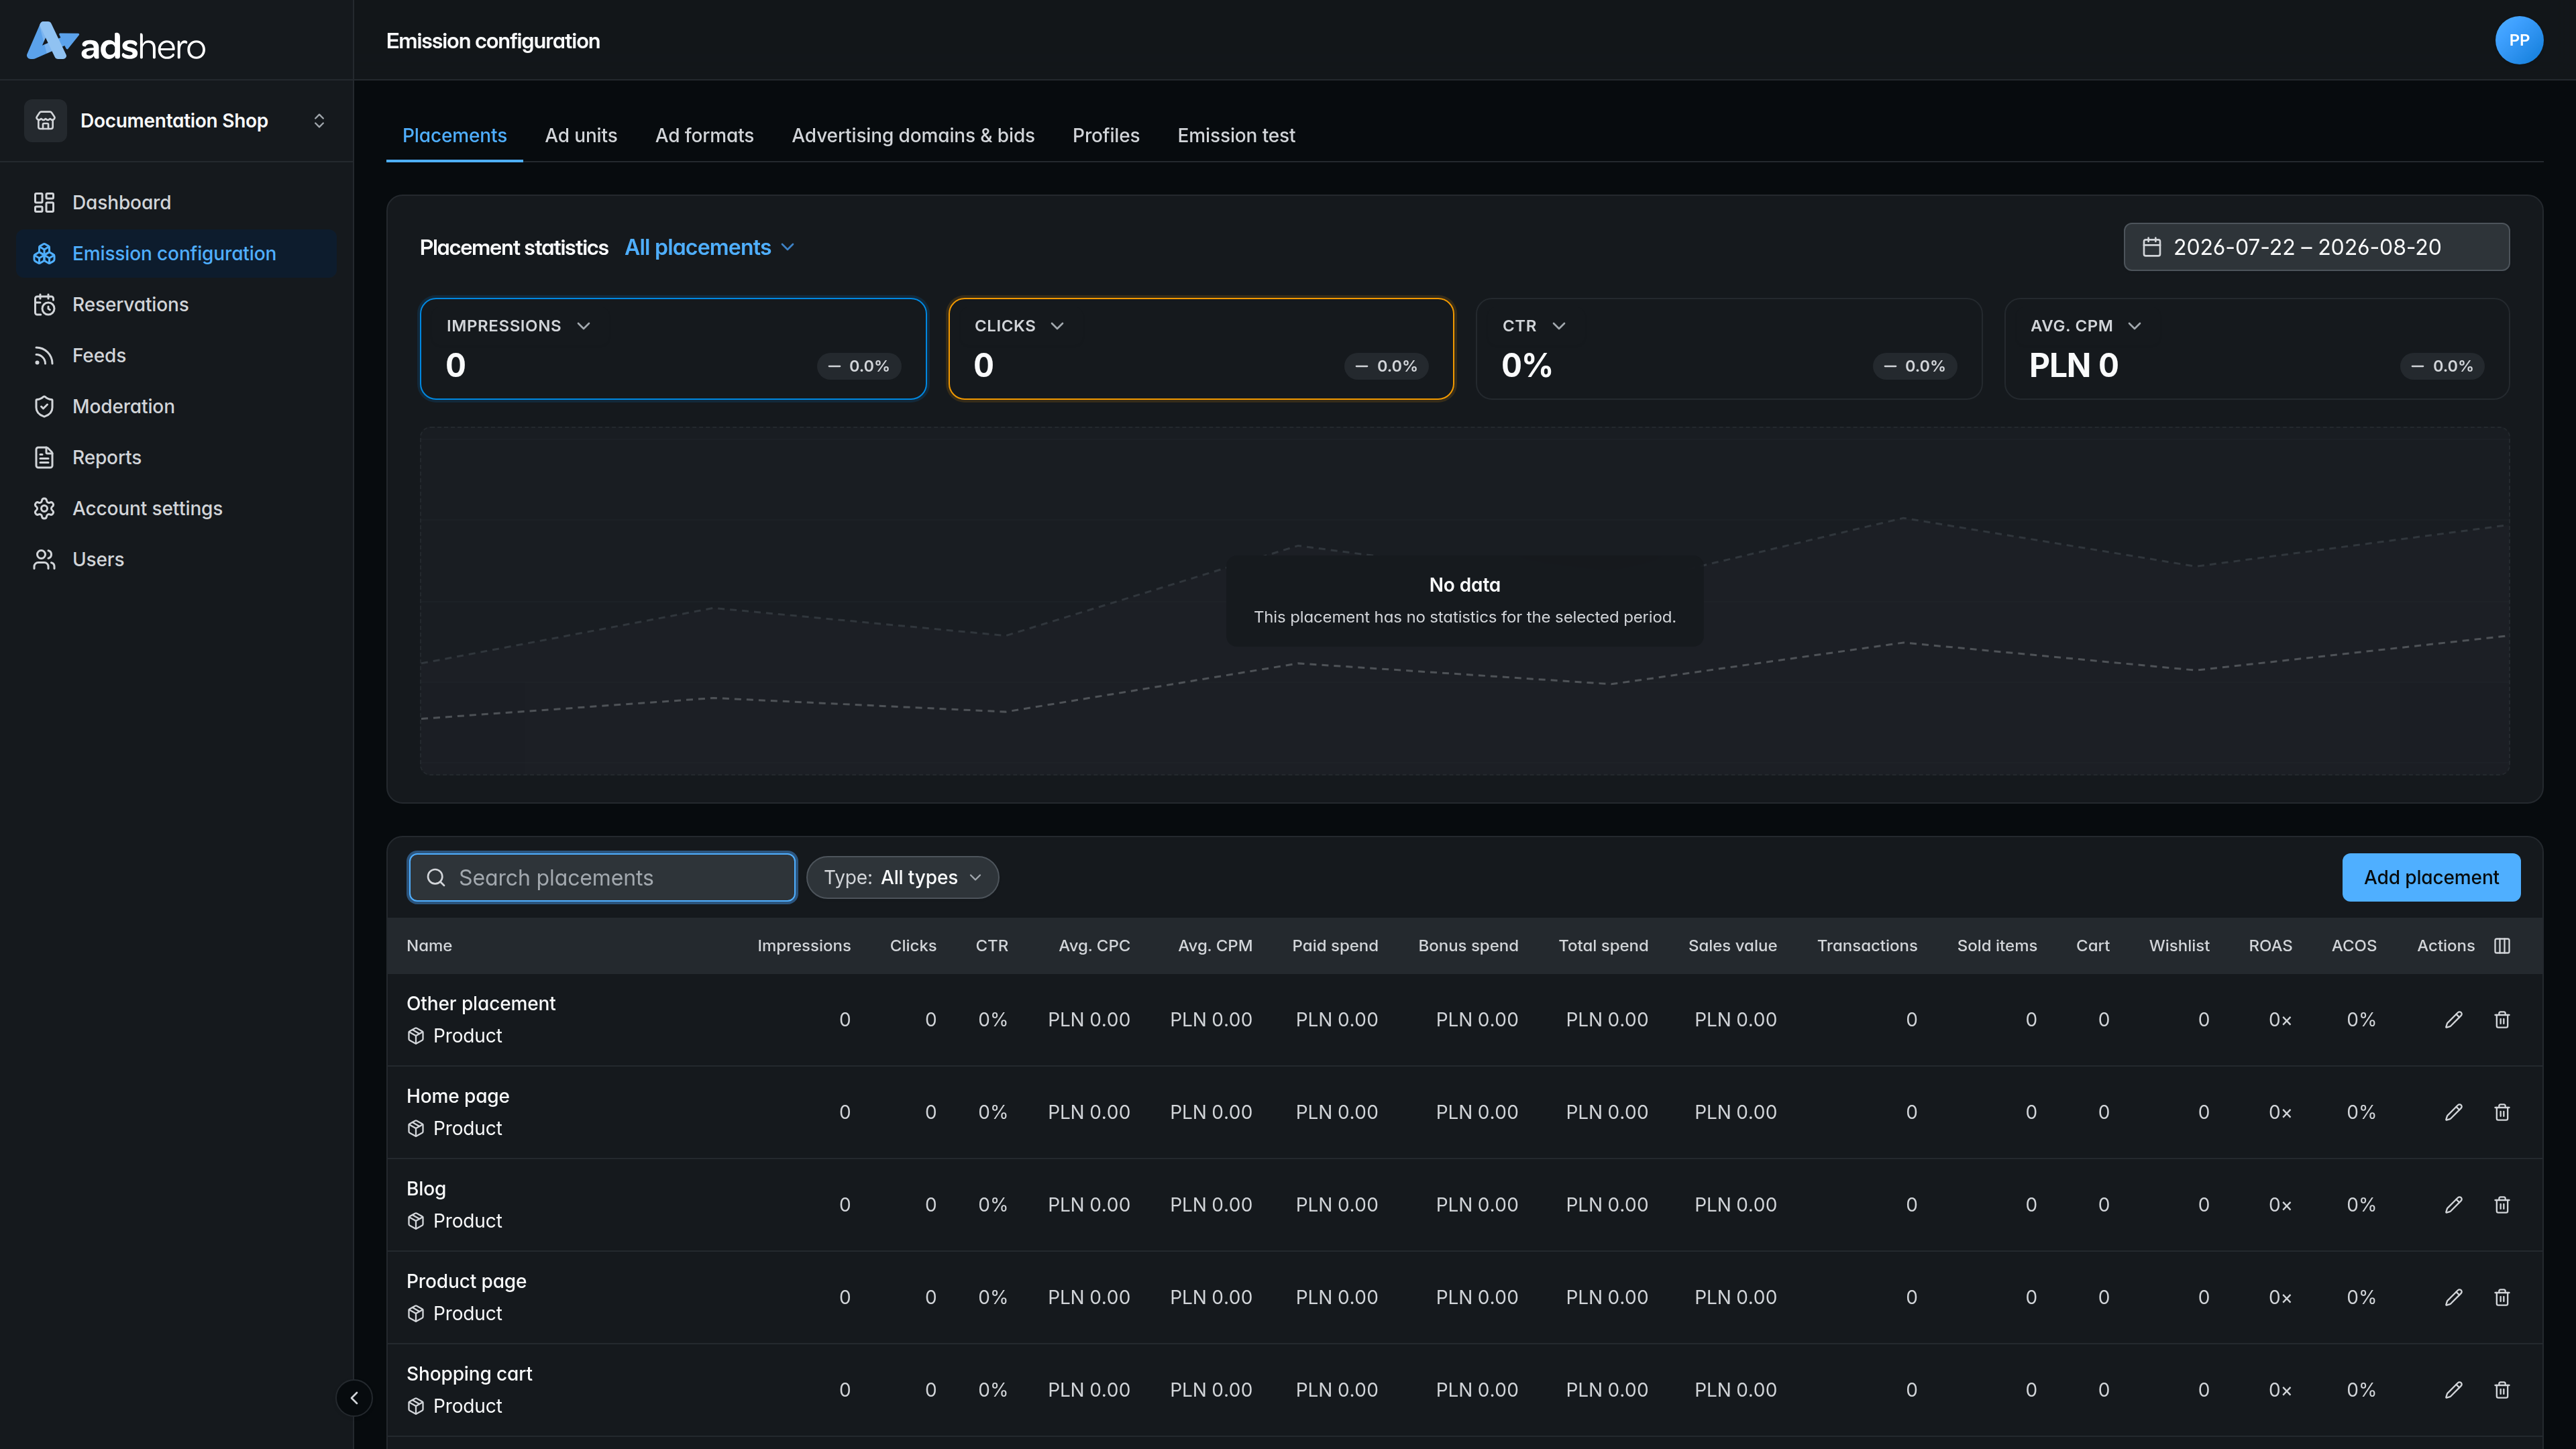
To create a new placement, go to the “Emission configuration” section, then “Placements”:
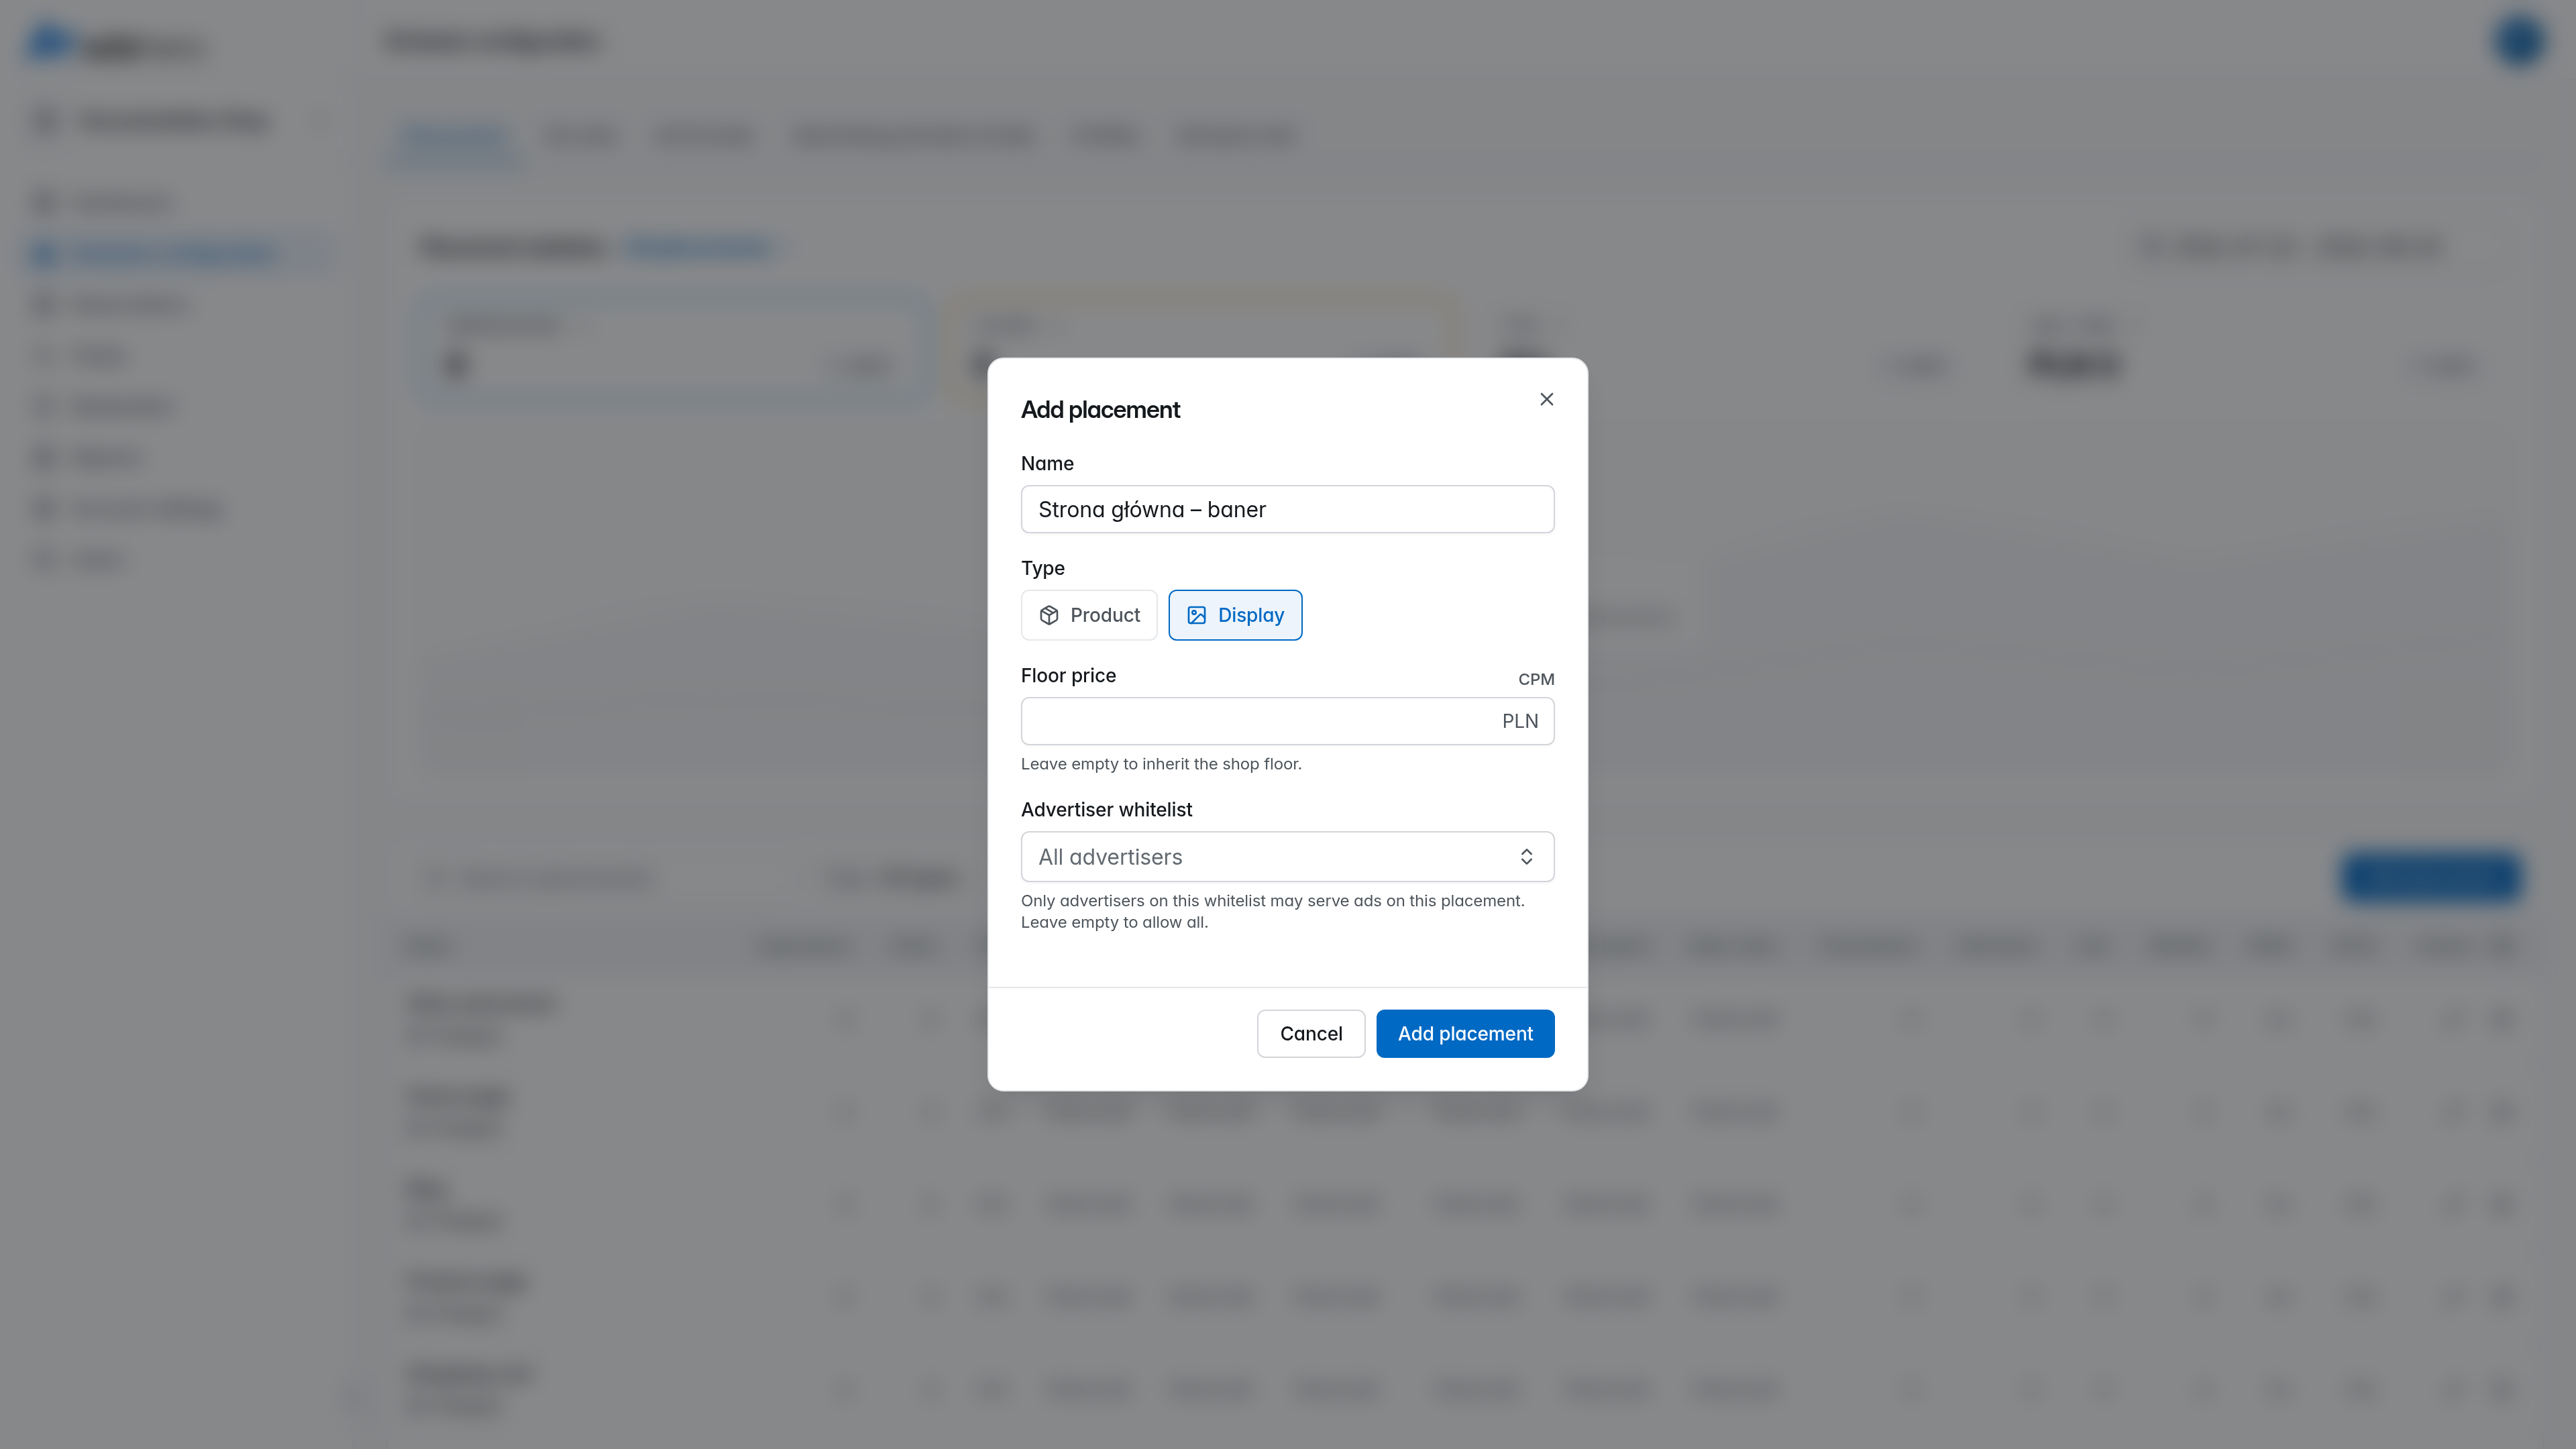
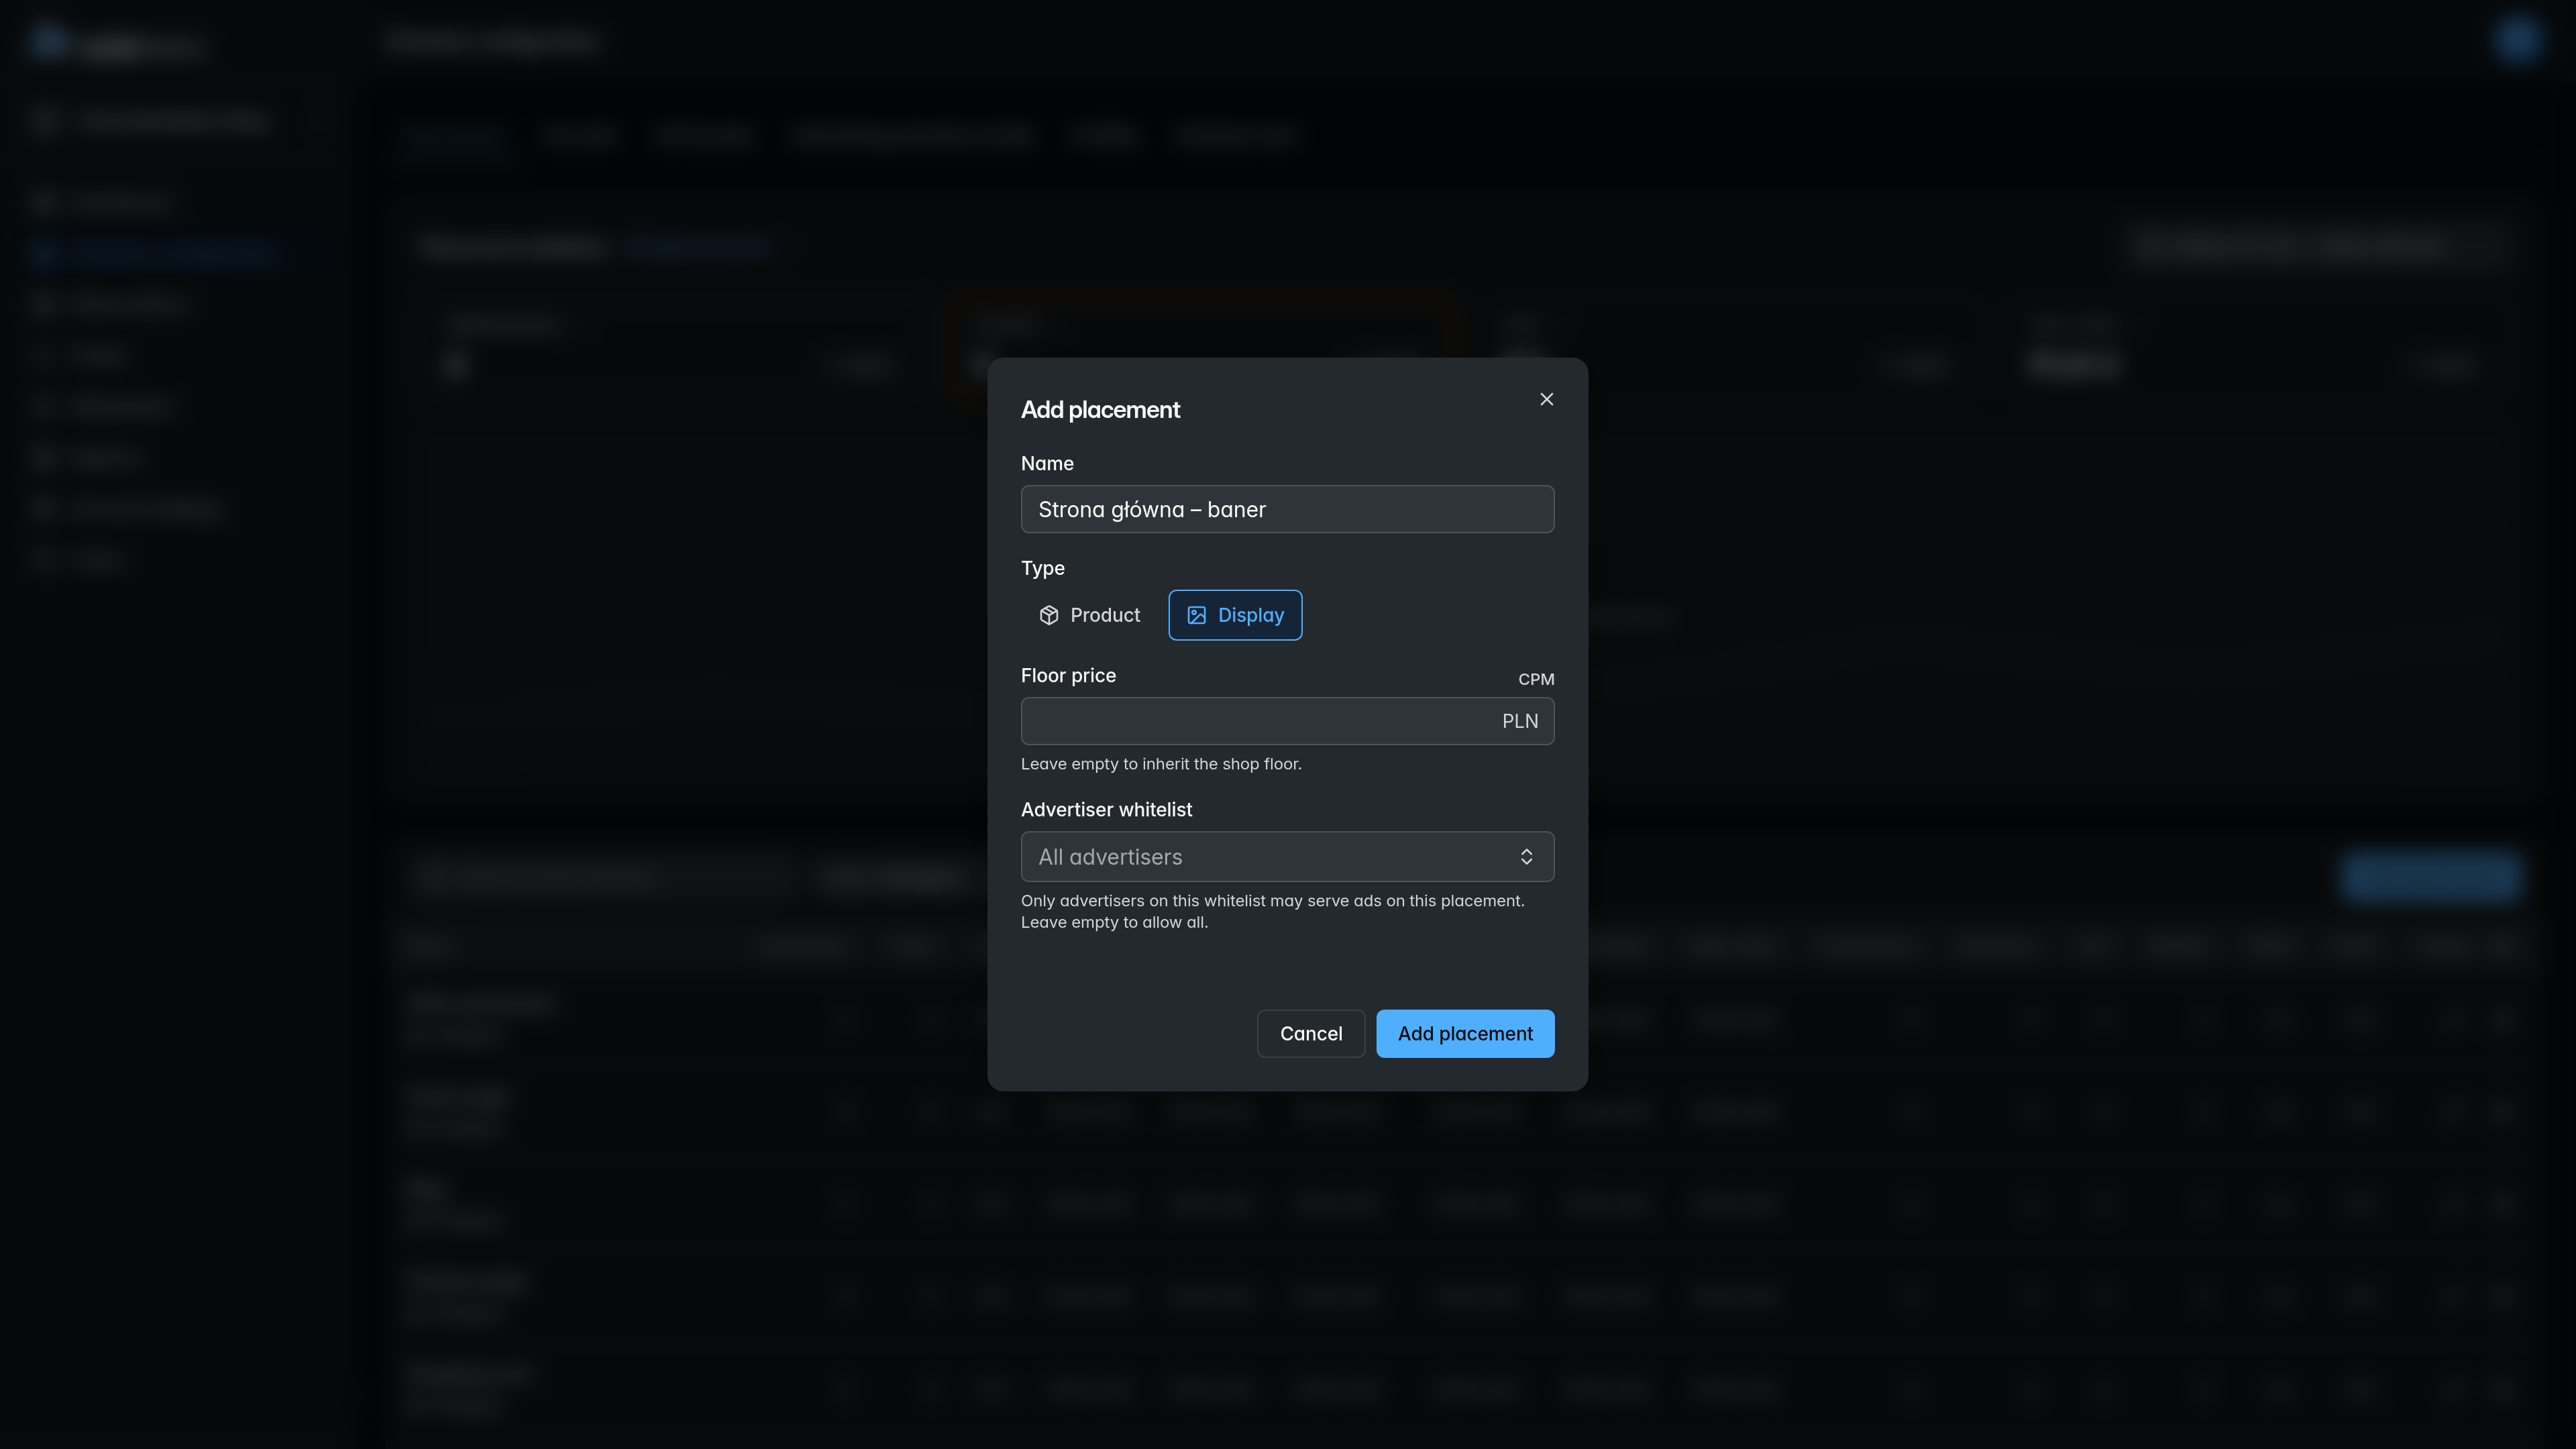
Next, click “Add placement”, provide its name, set the type to “Display” and confirm:
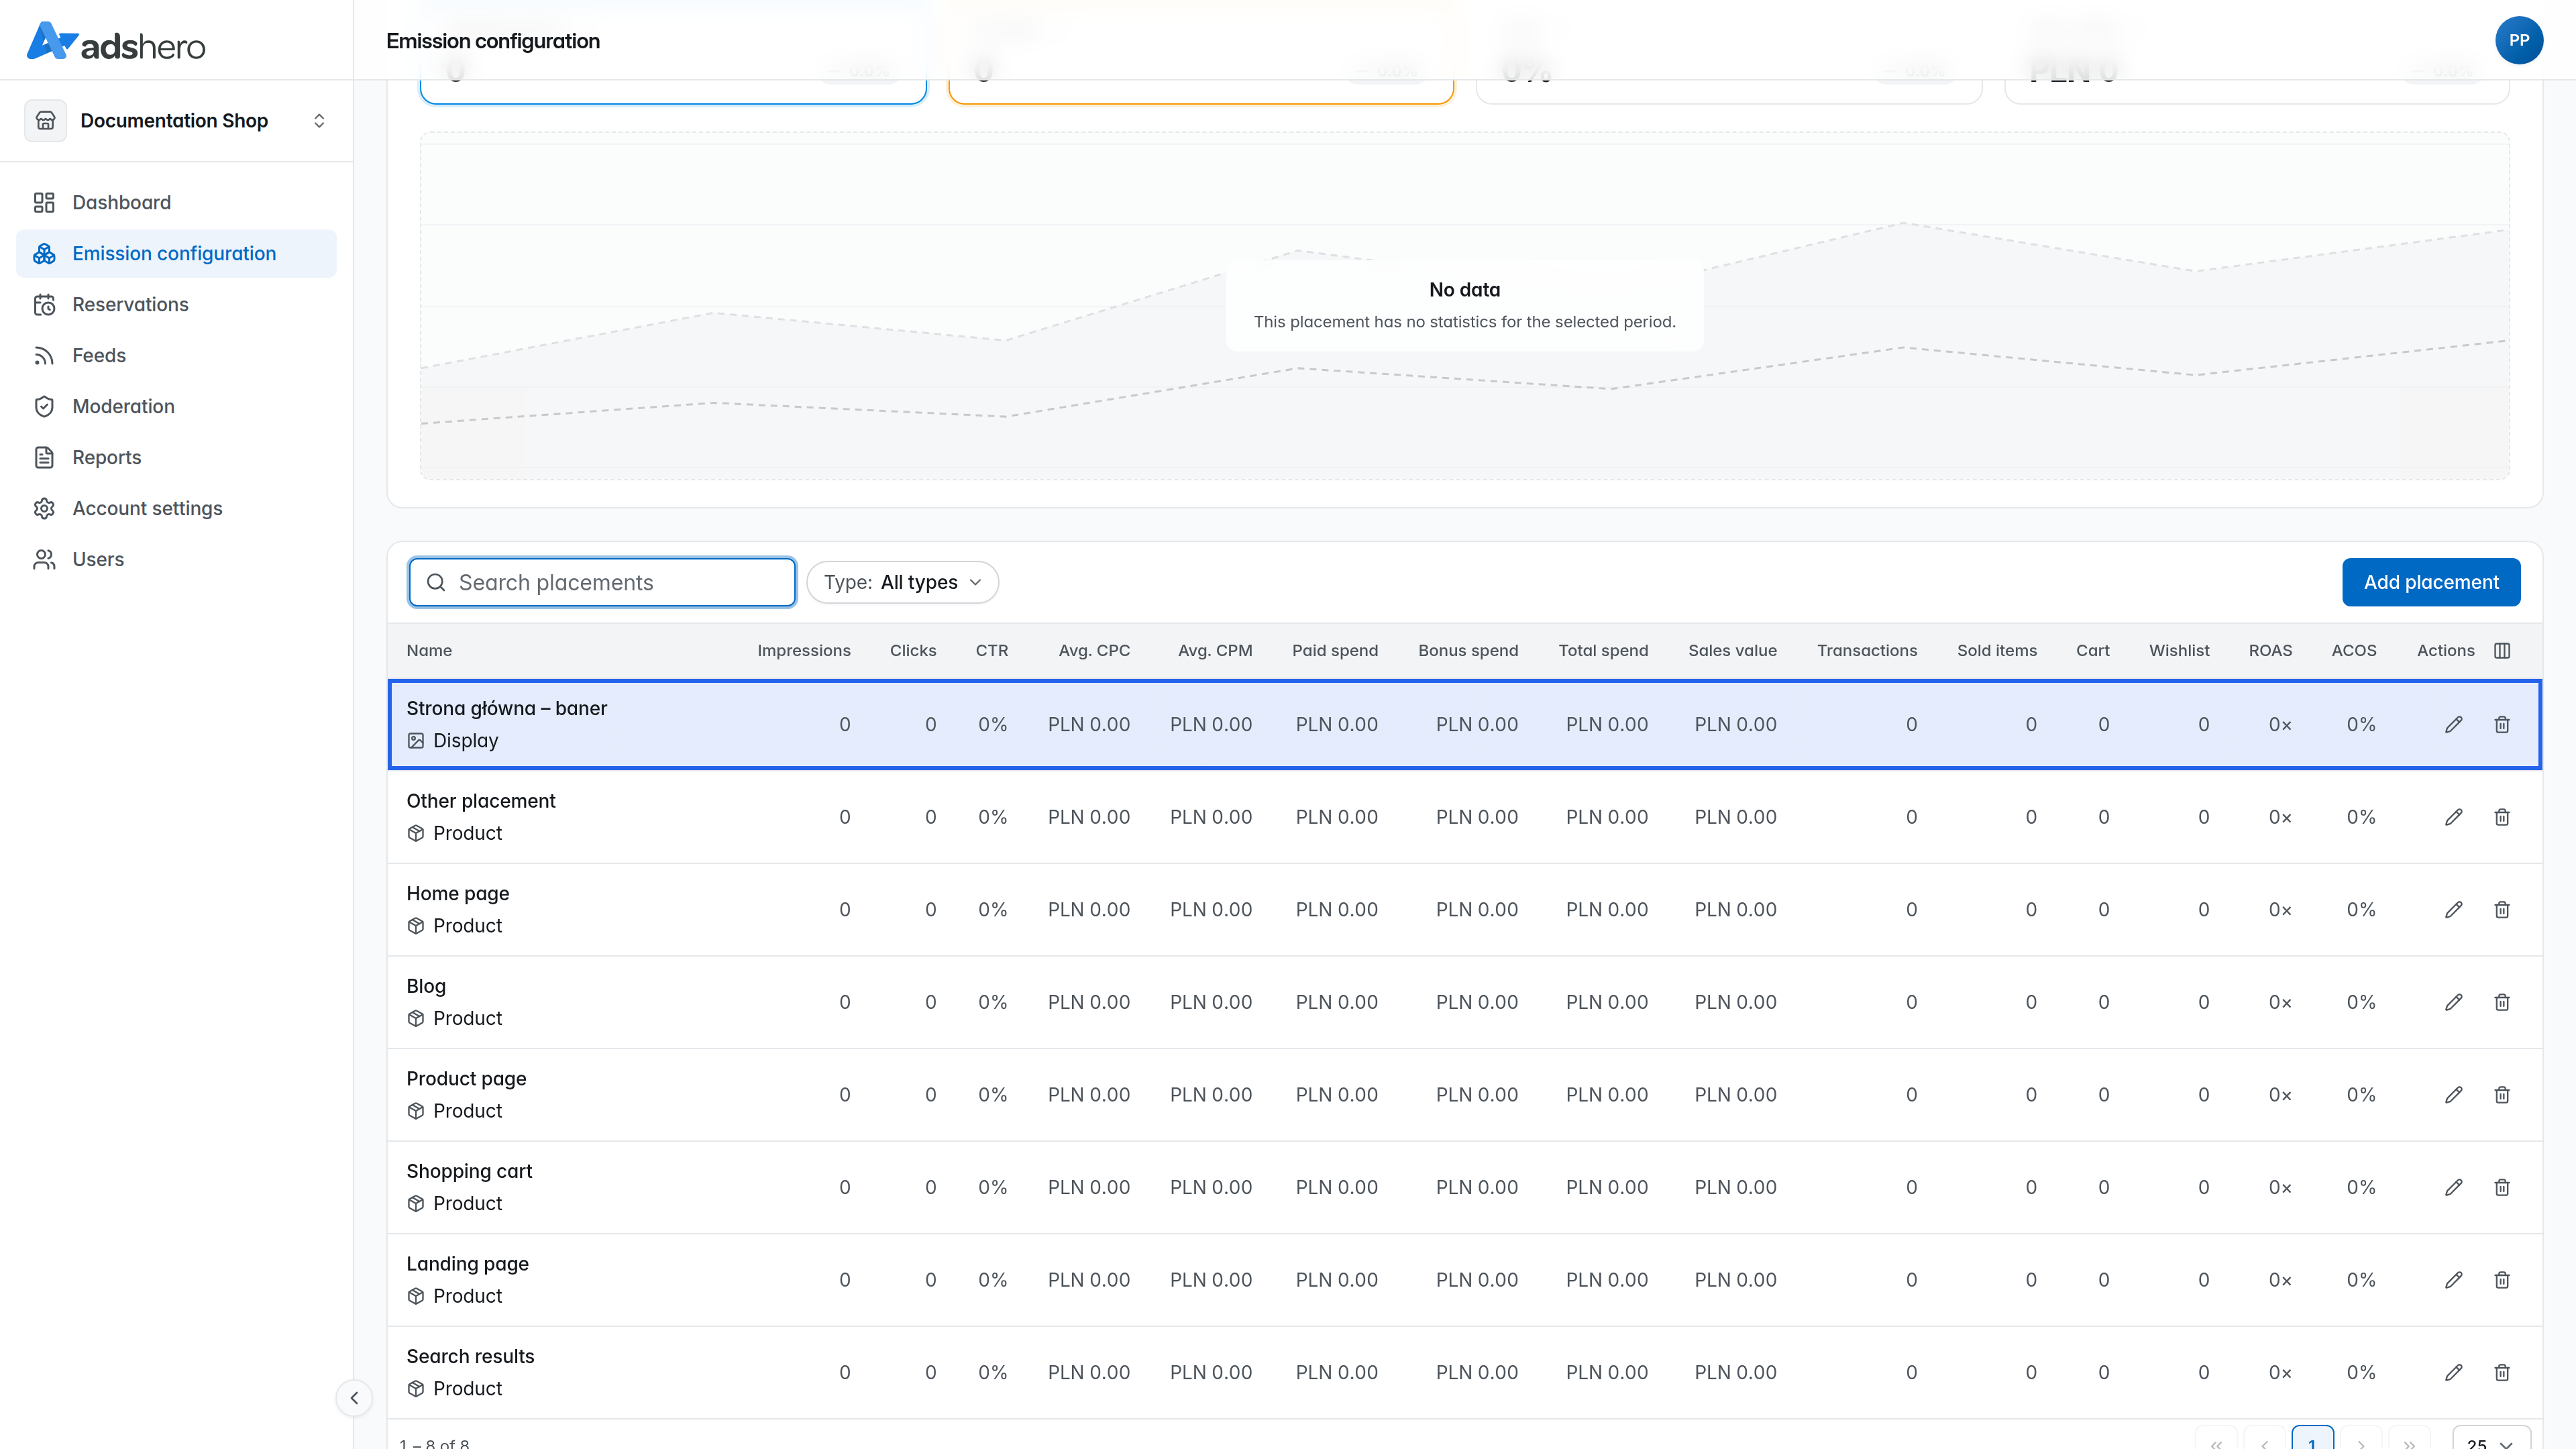
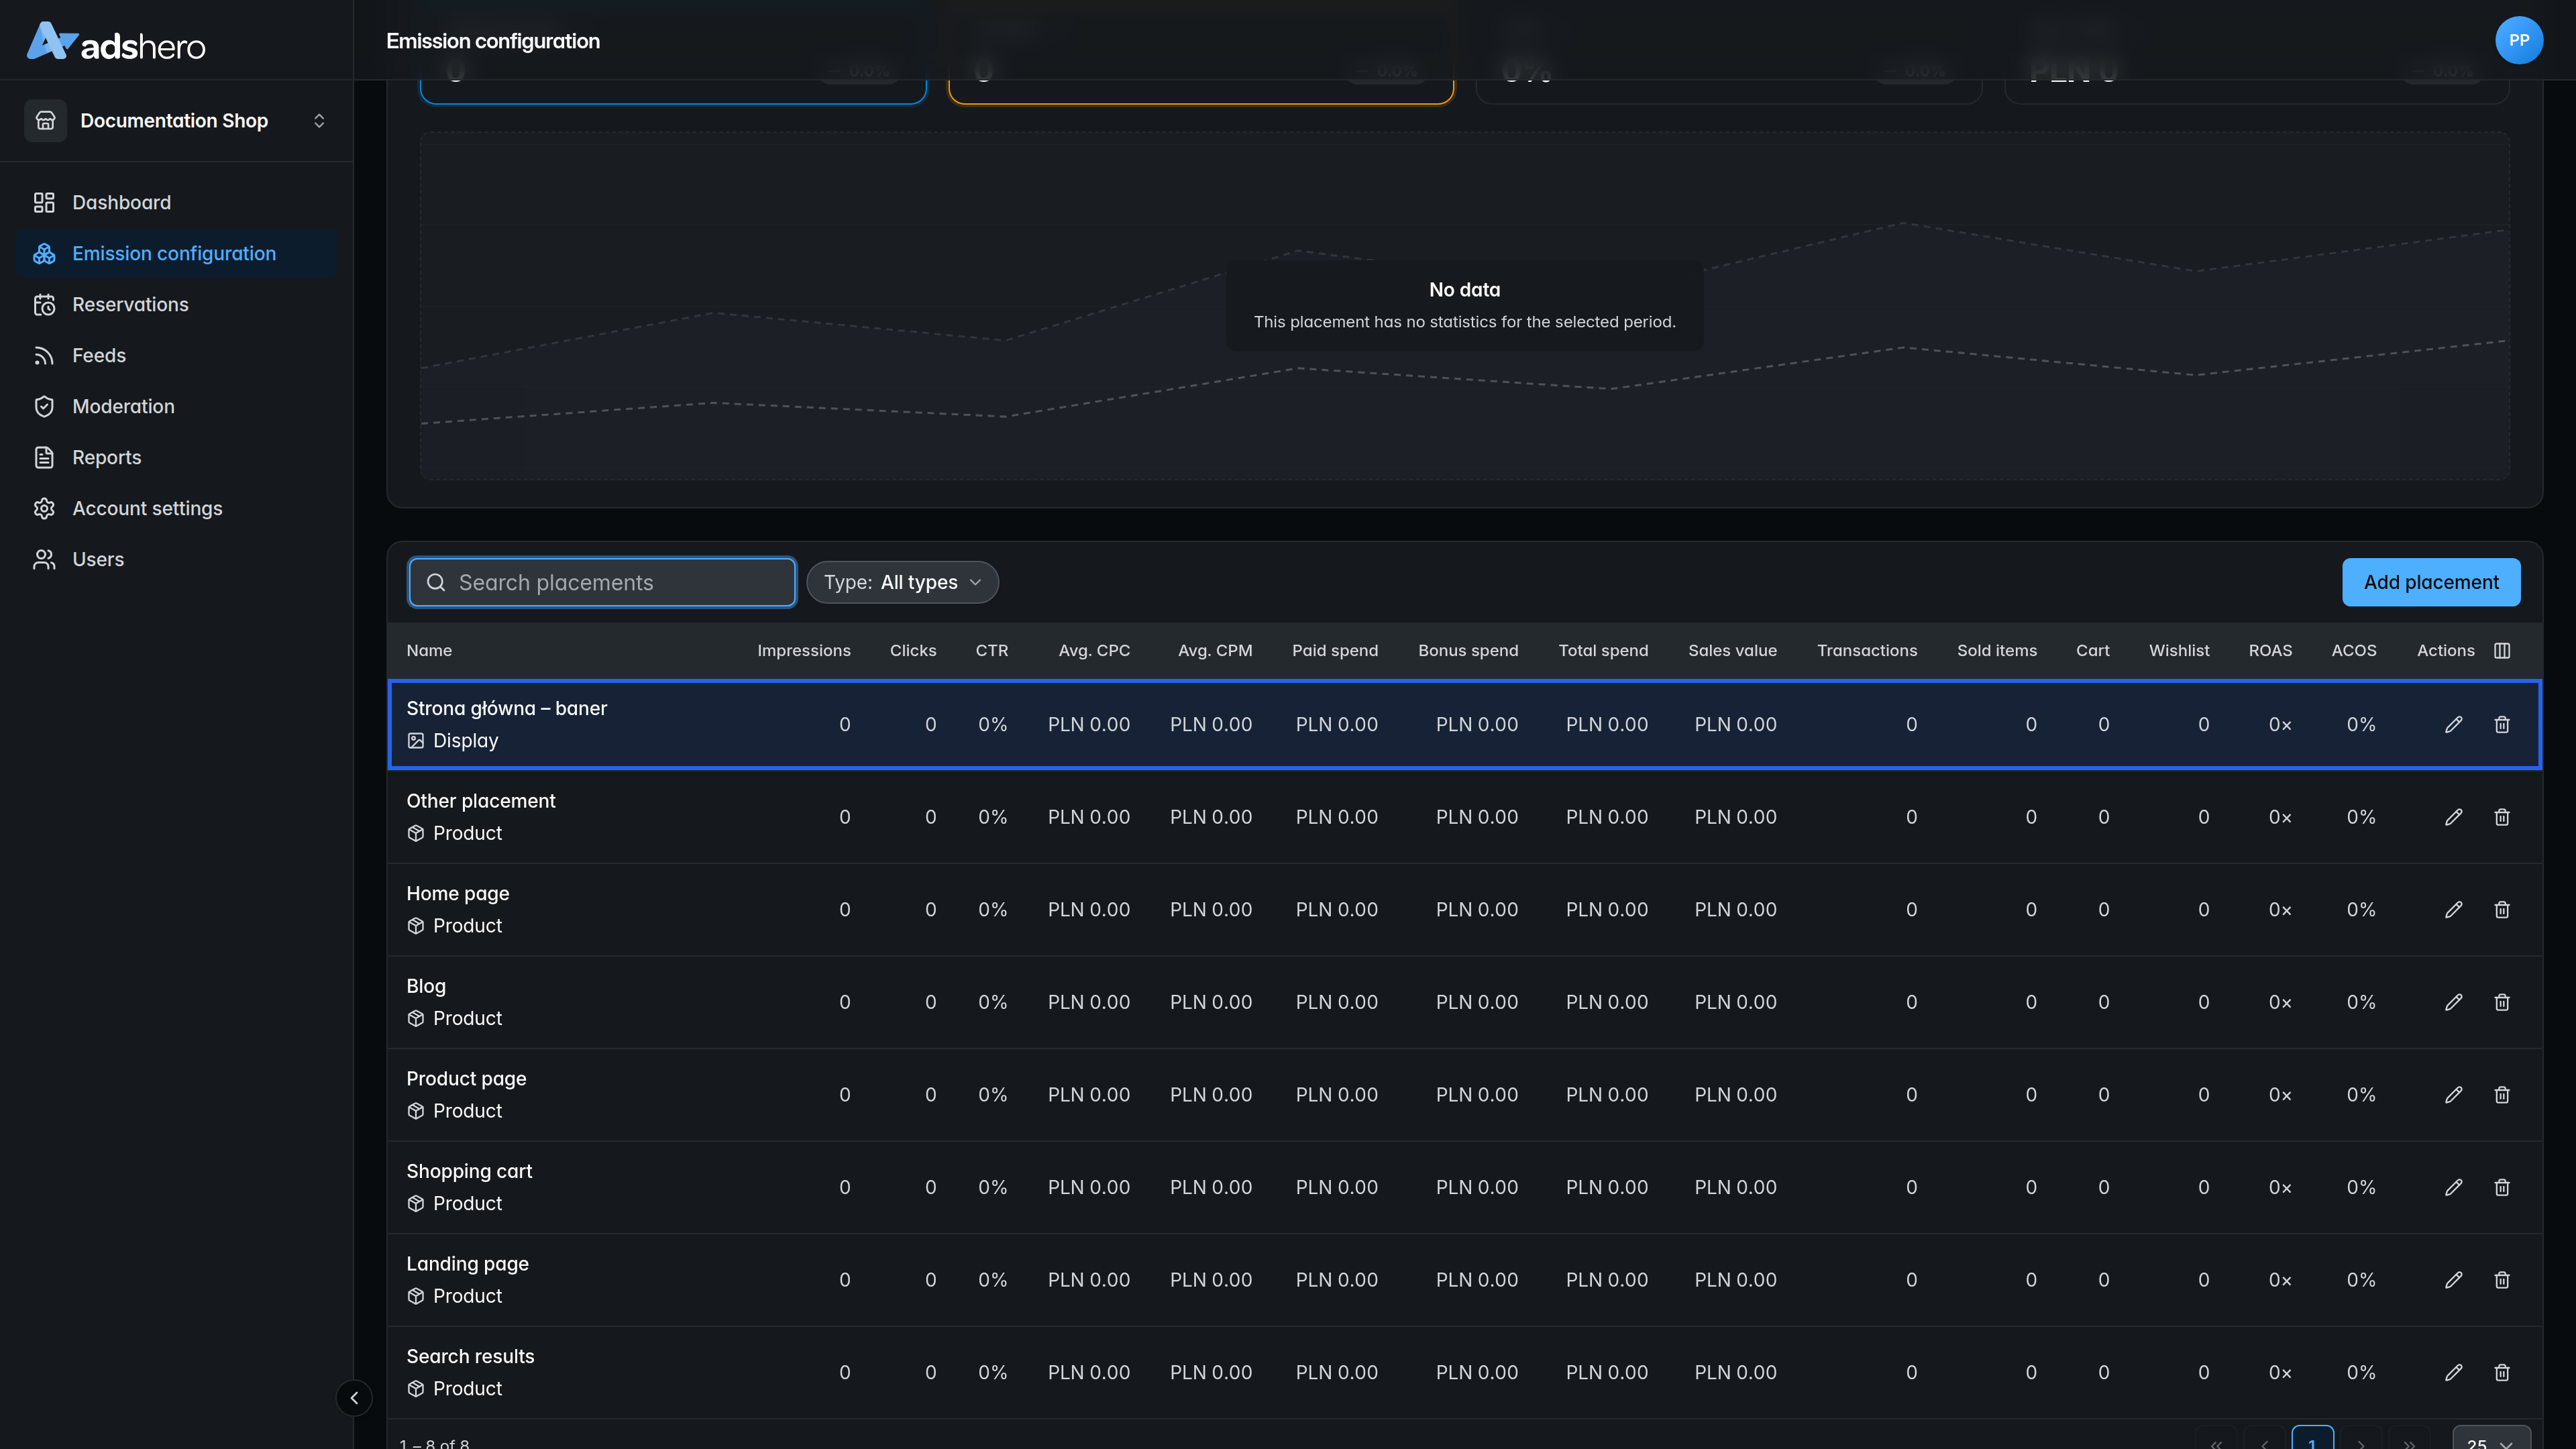
The newly created placement will be visible in the list:
Ad Format
To create a new format, go to “Ad formats” in the “Emission configuration” section:
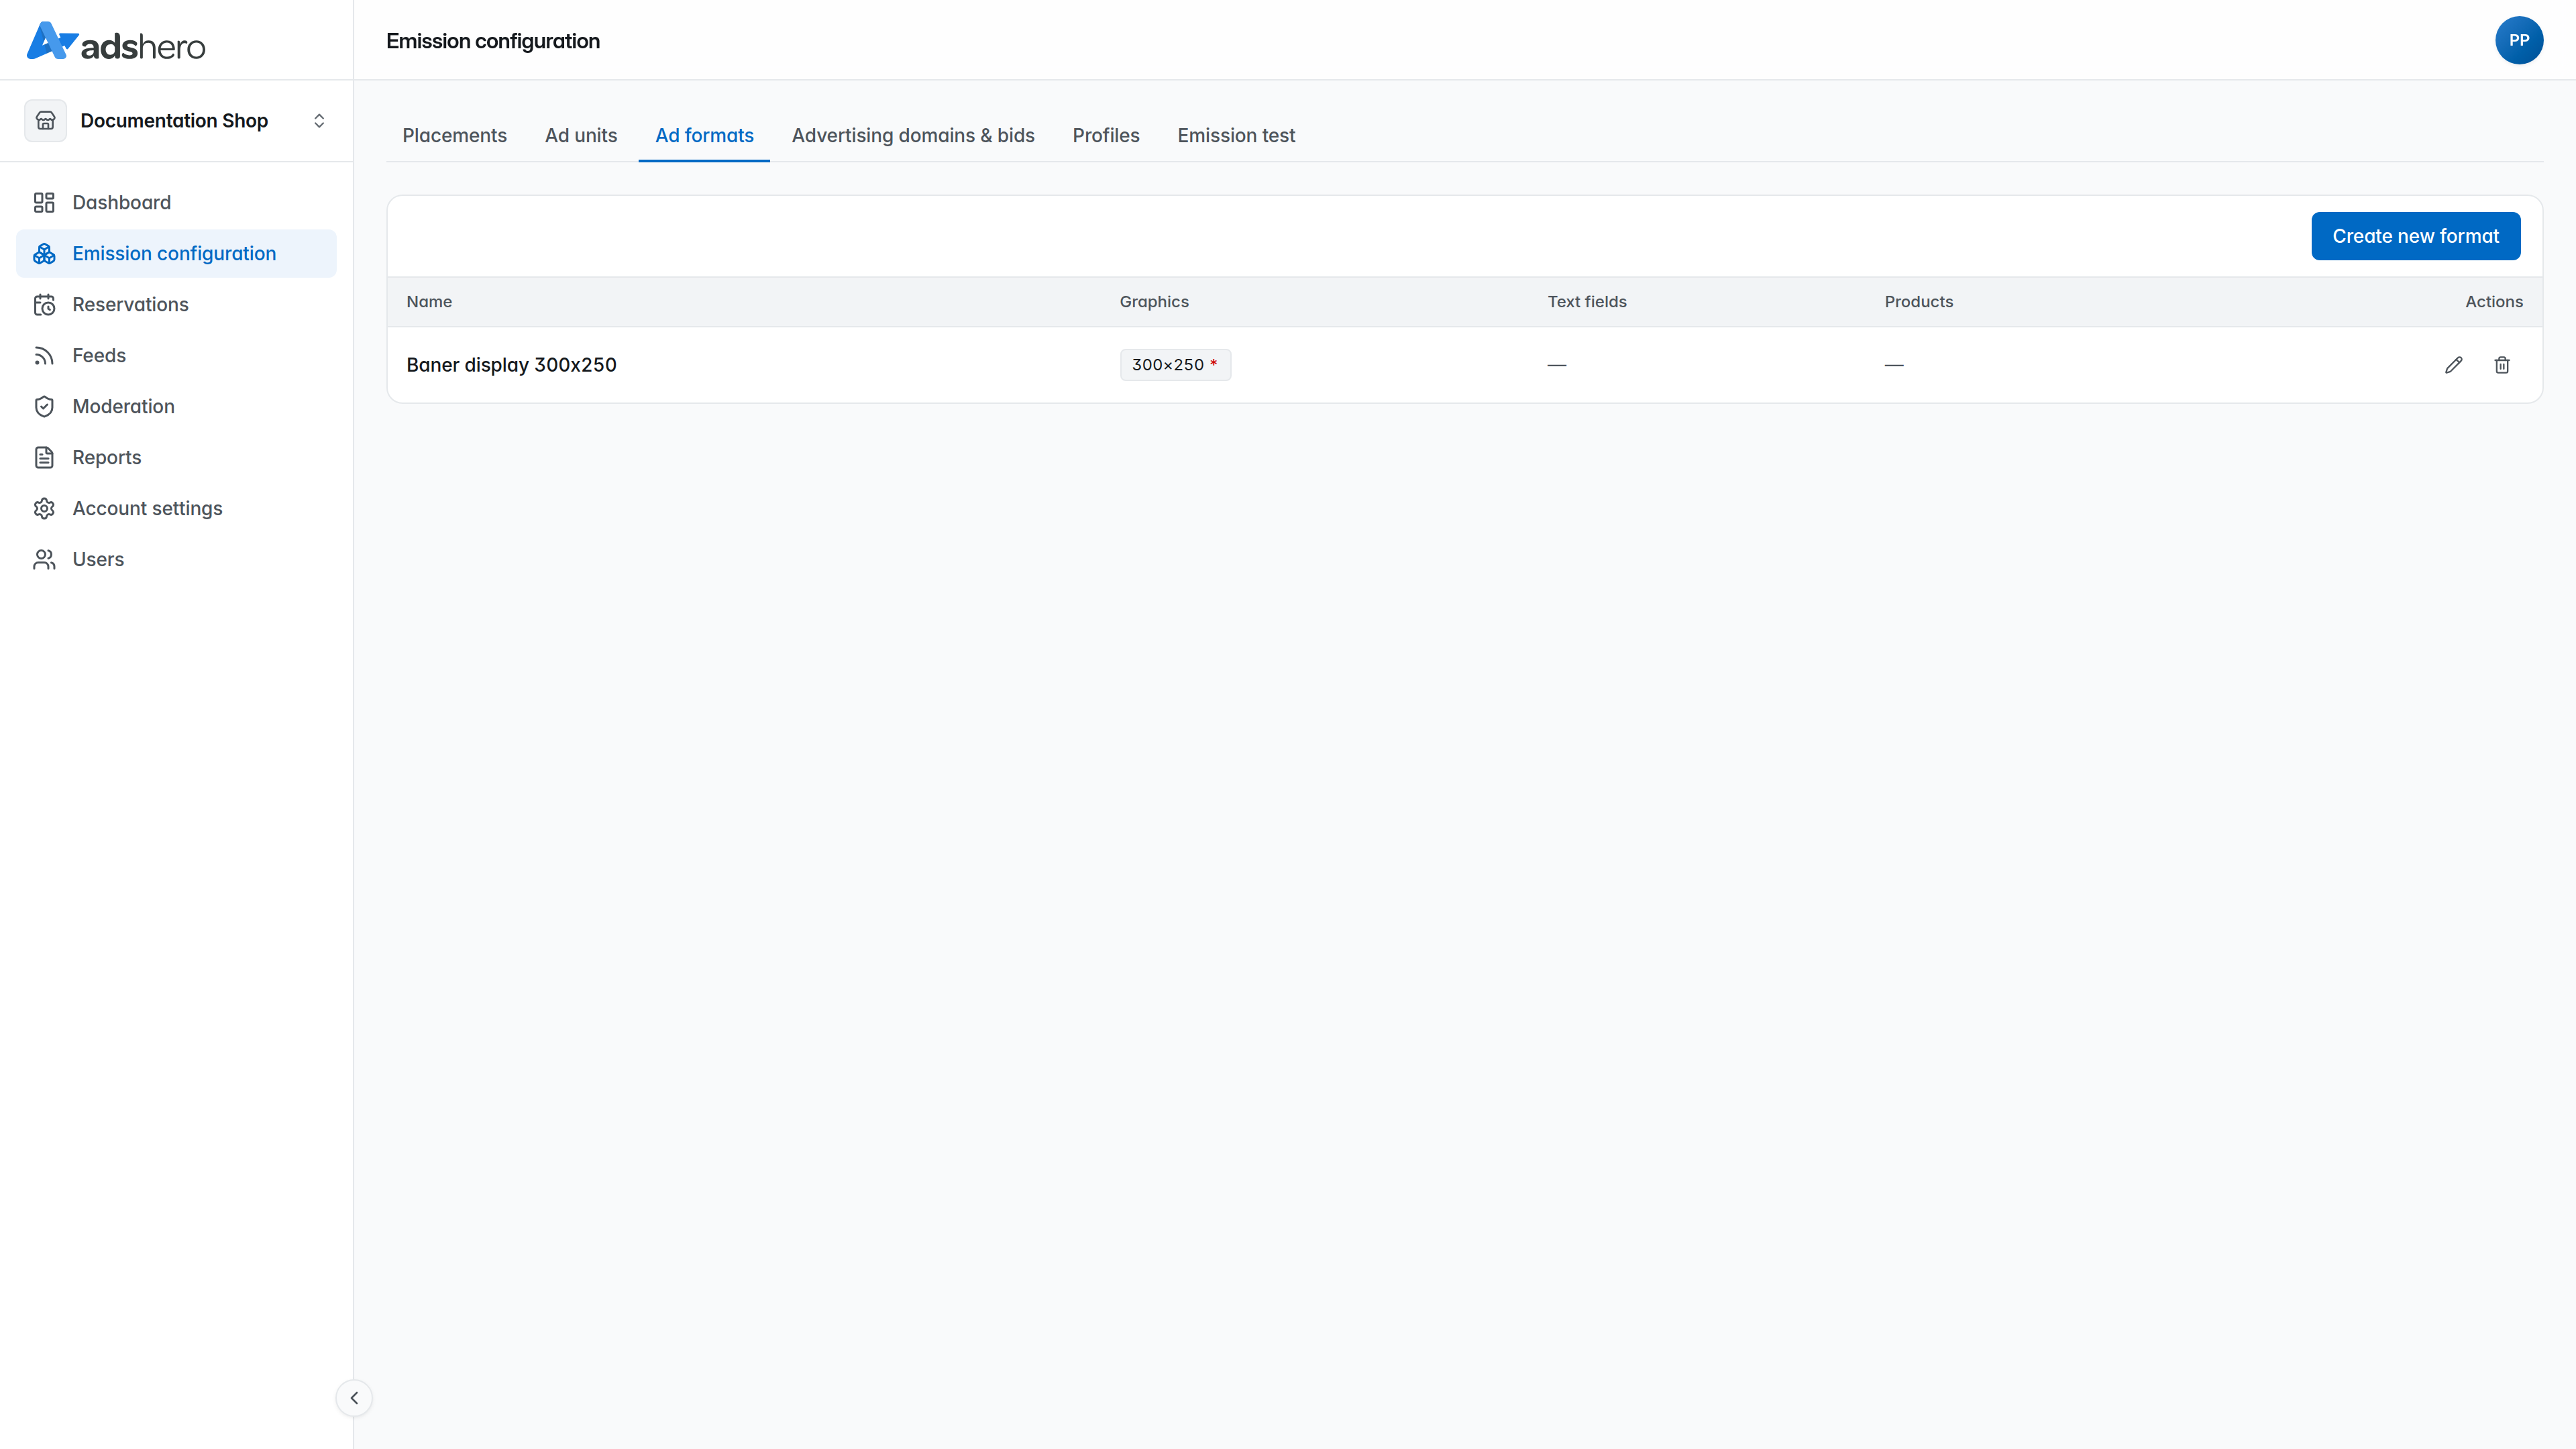
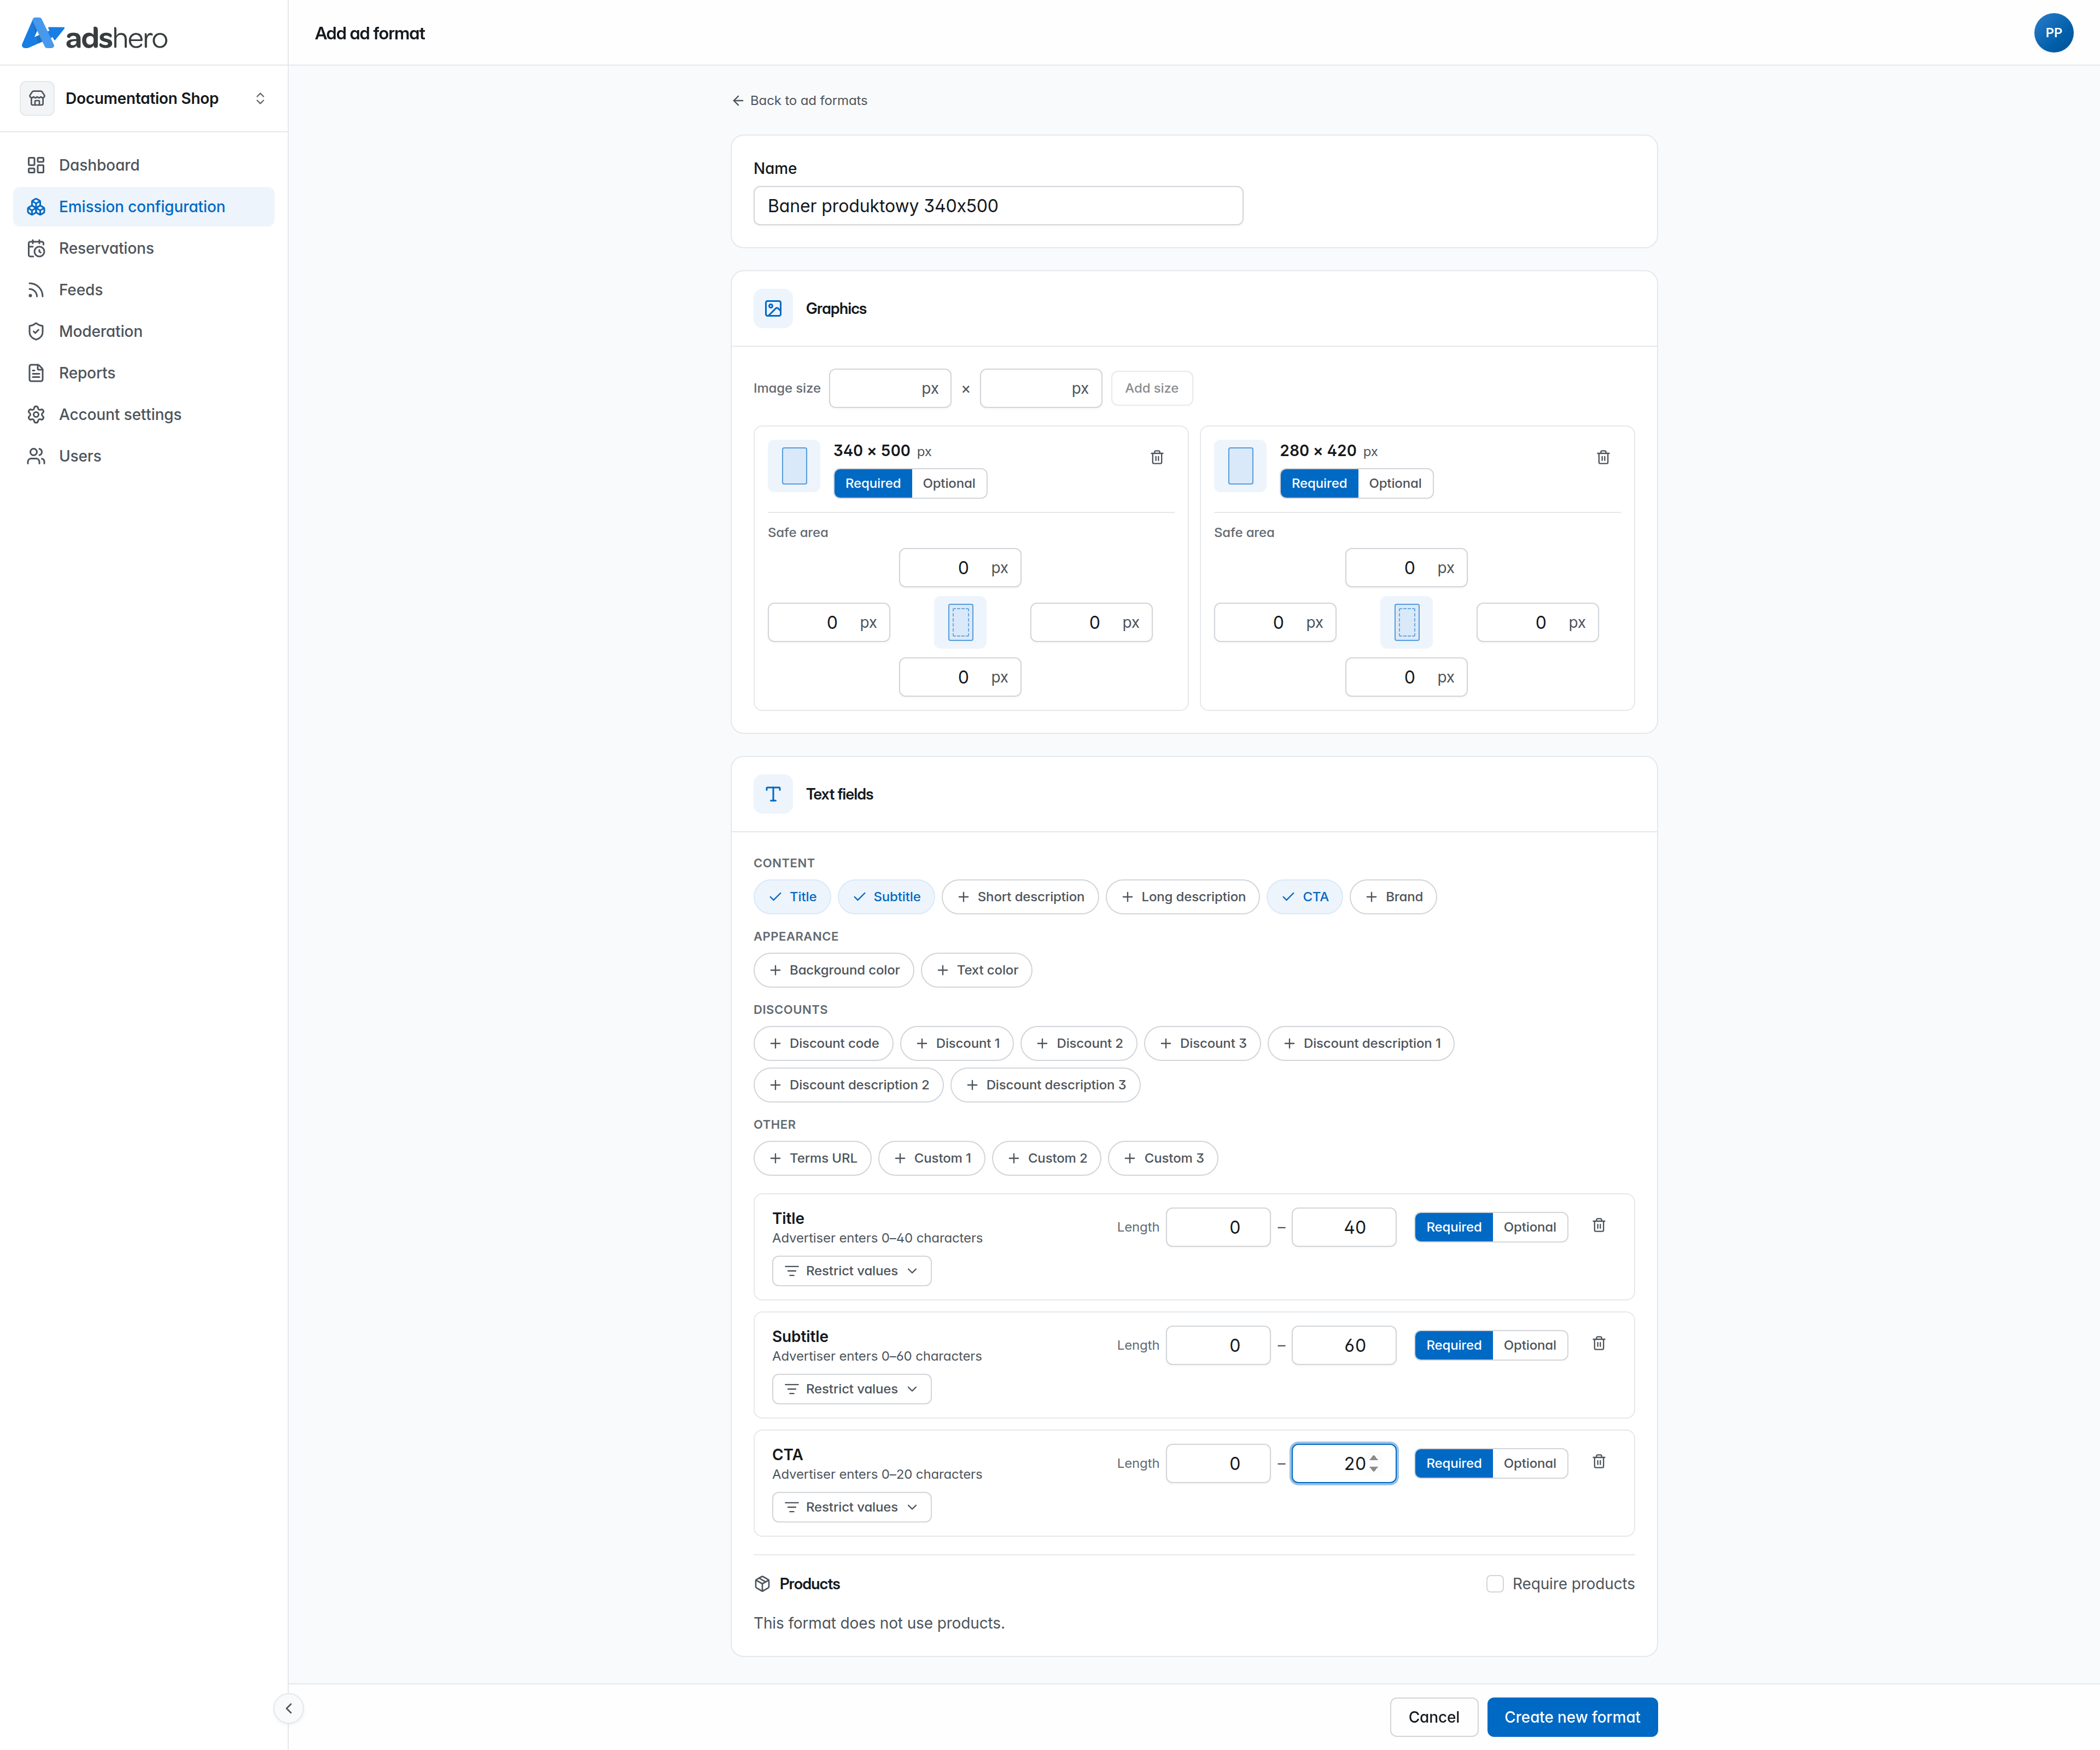
First, provide the format name. Names and other format parameters cannot be changed later; a new format must be created instead.
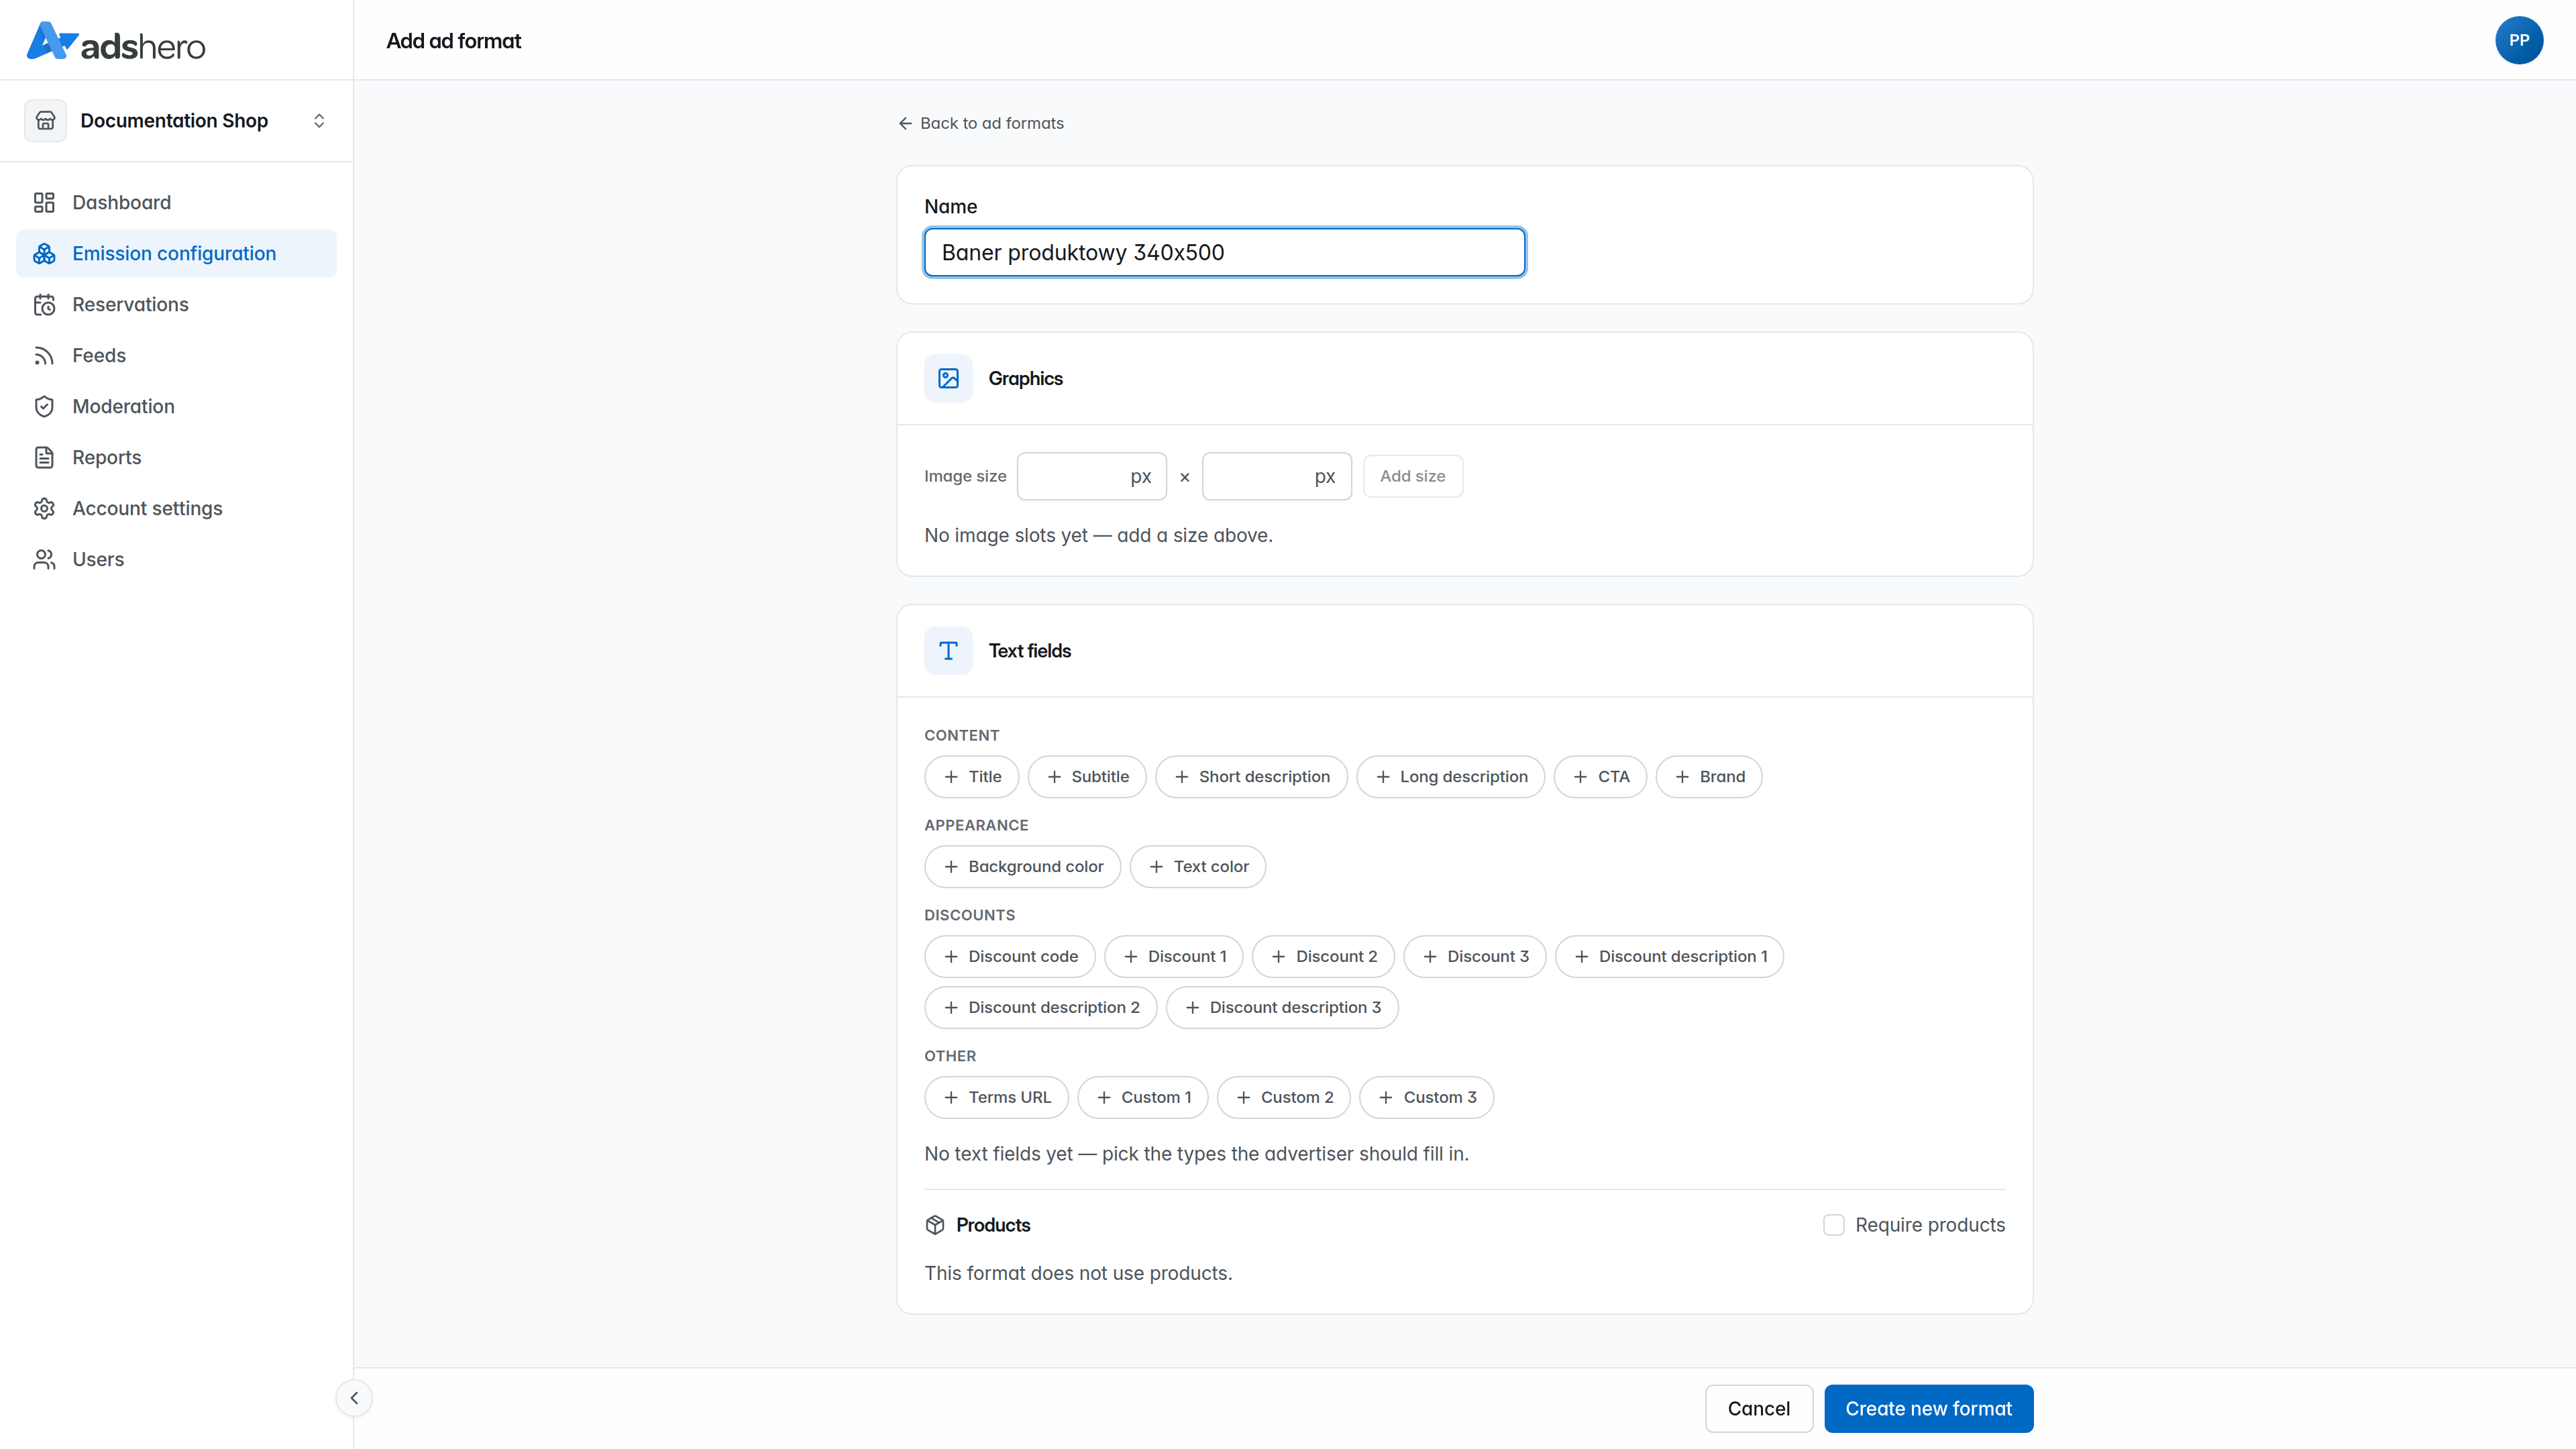
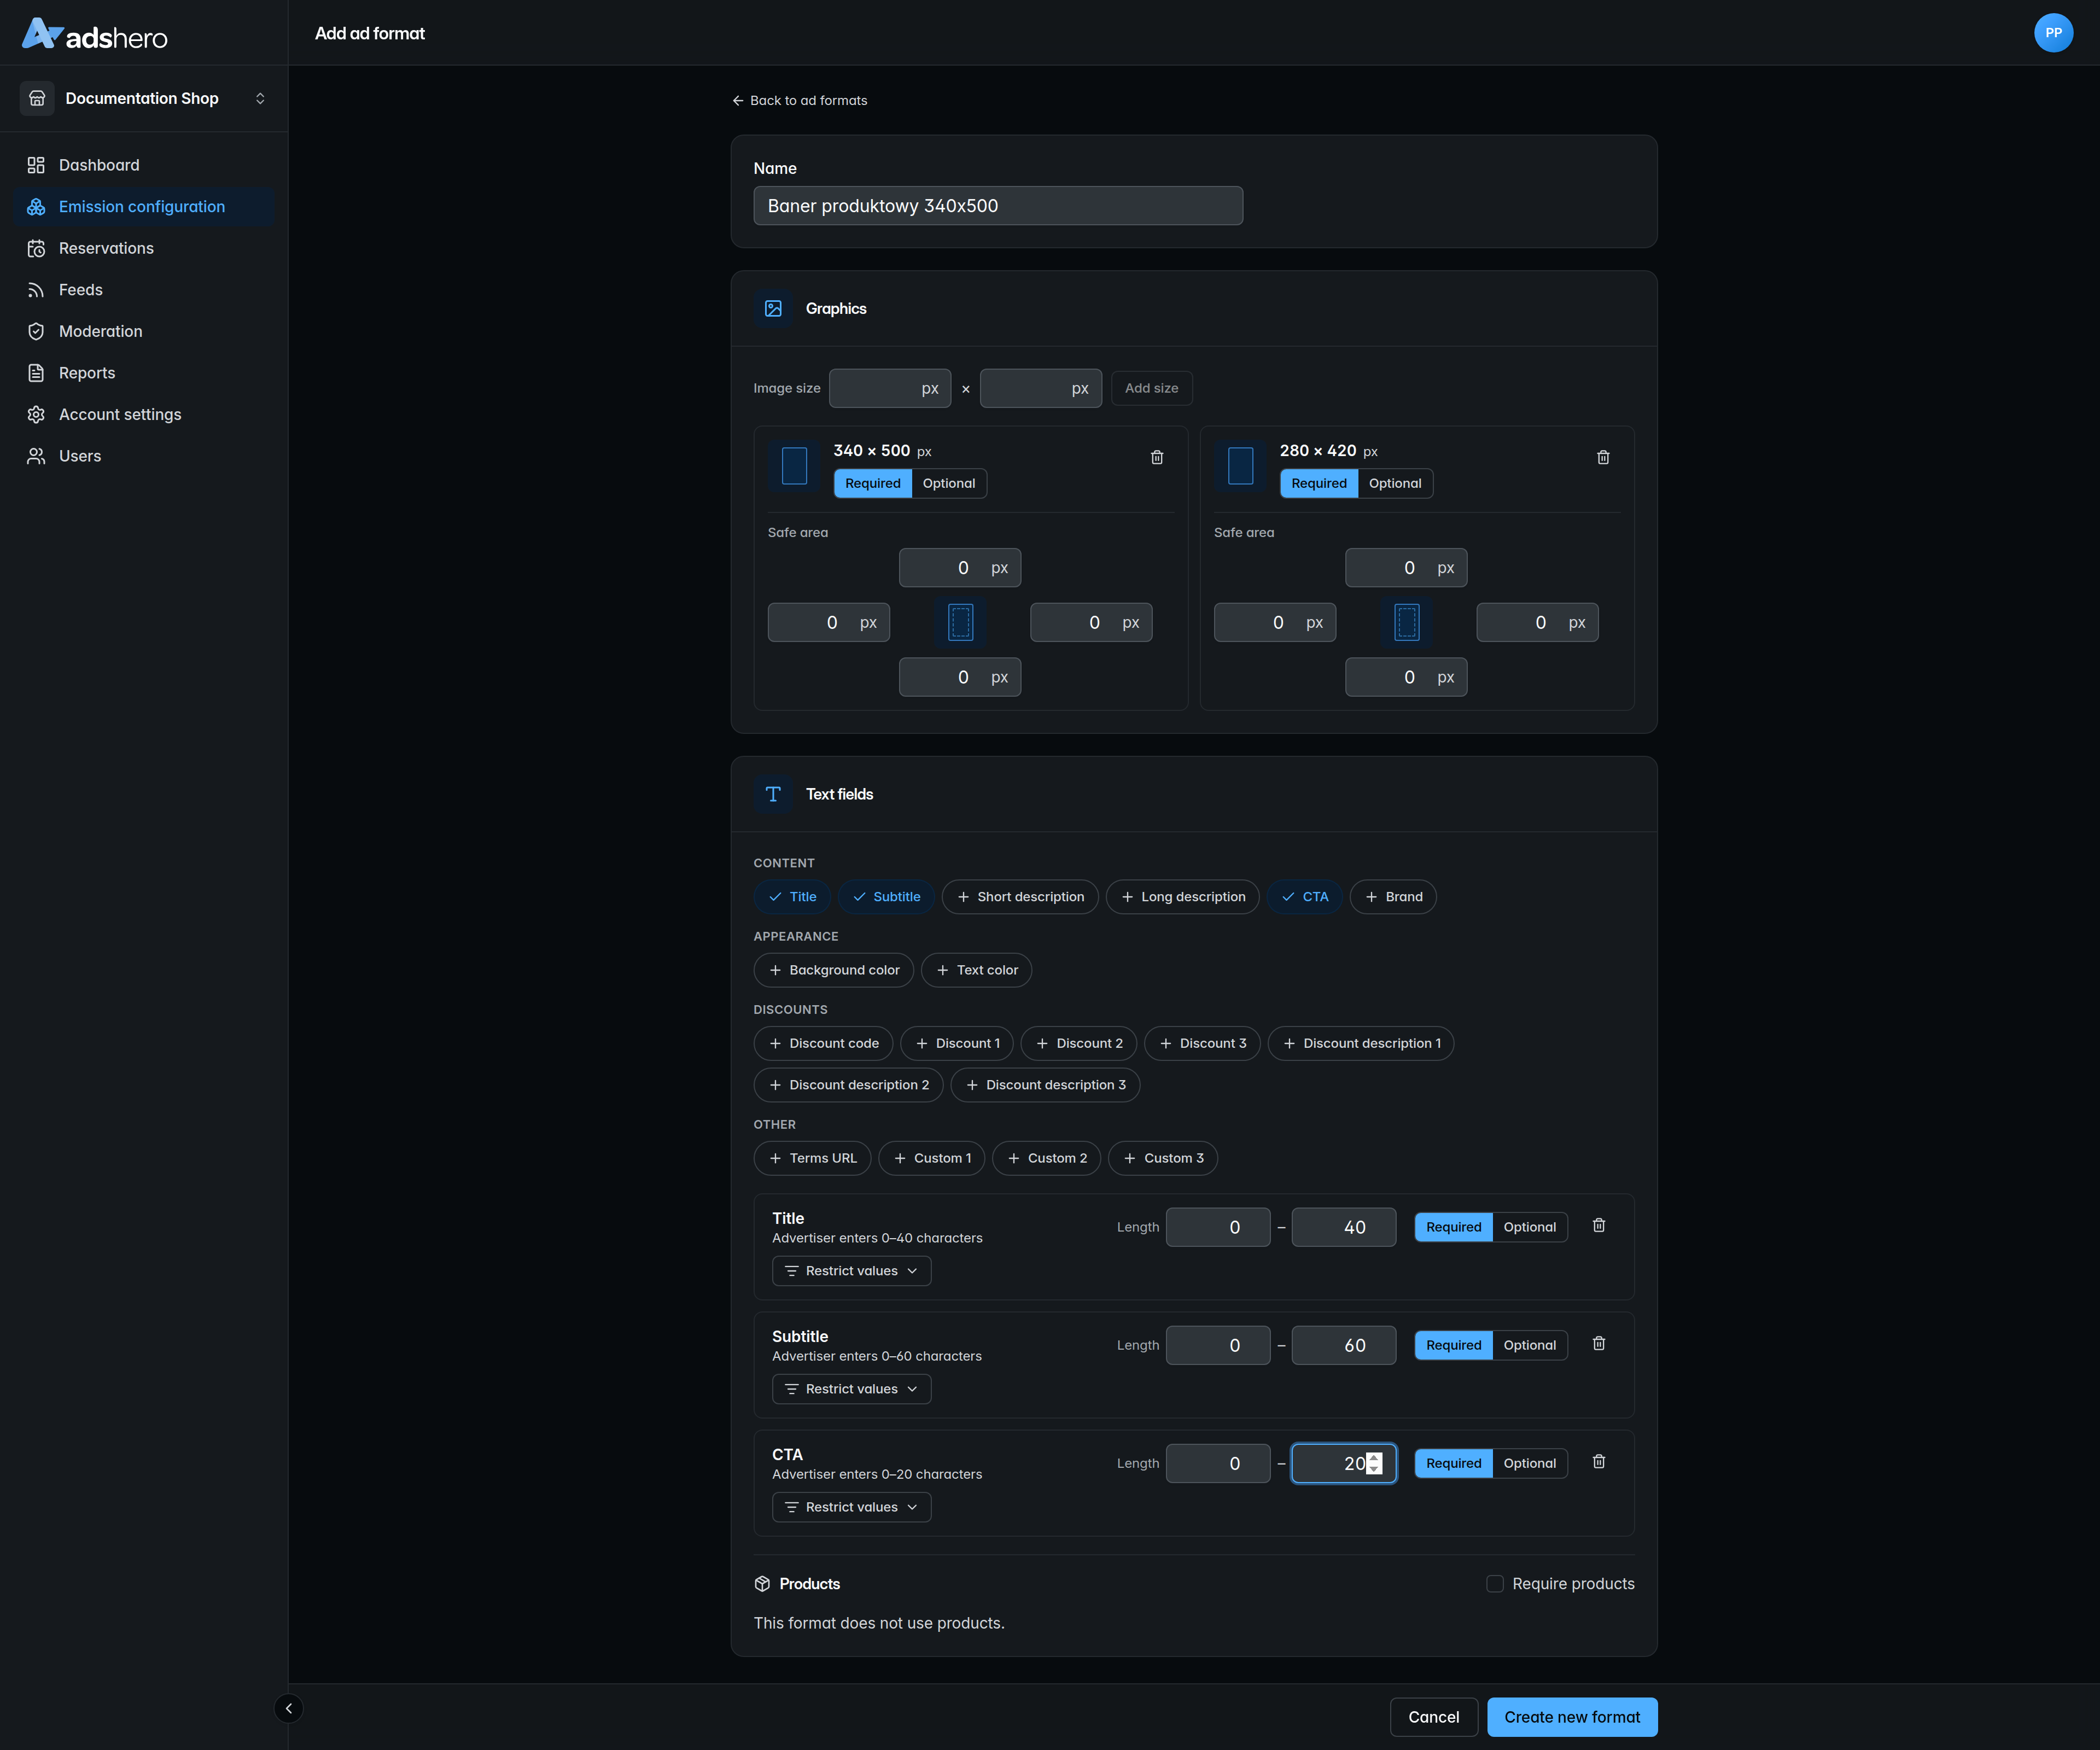
Next, configure the format. The screenshot below shows an example configuration — a detailed description of preparing formats can be found on the Ad Formats page. After configuring the format, click “Create new format”:
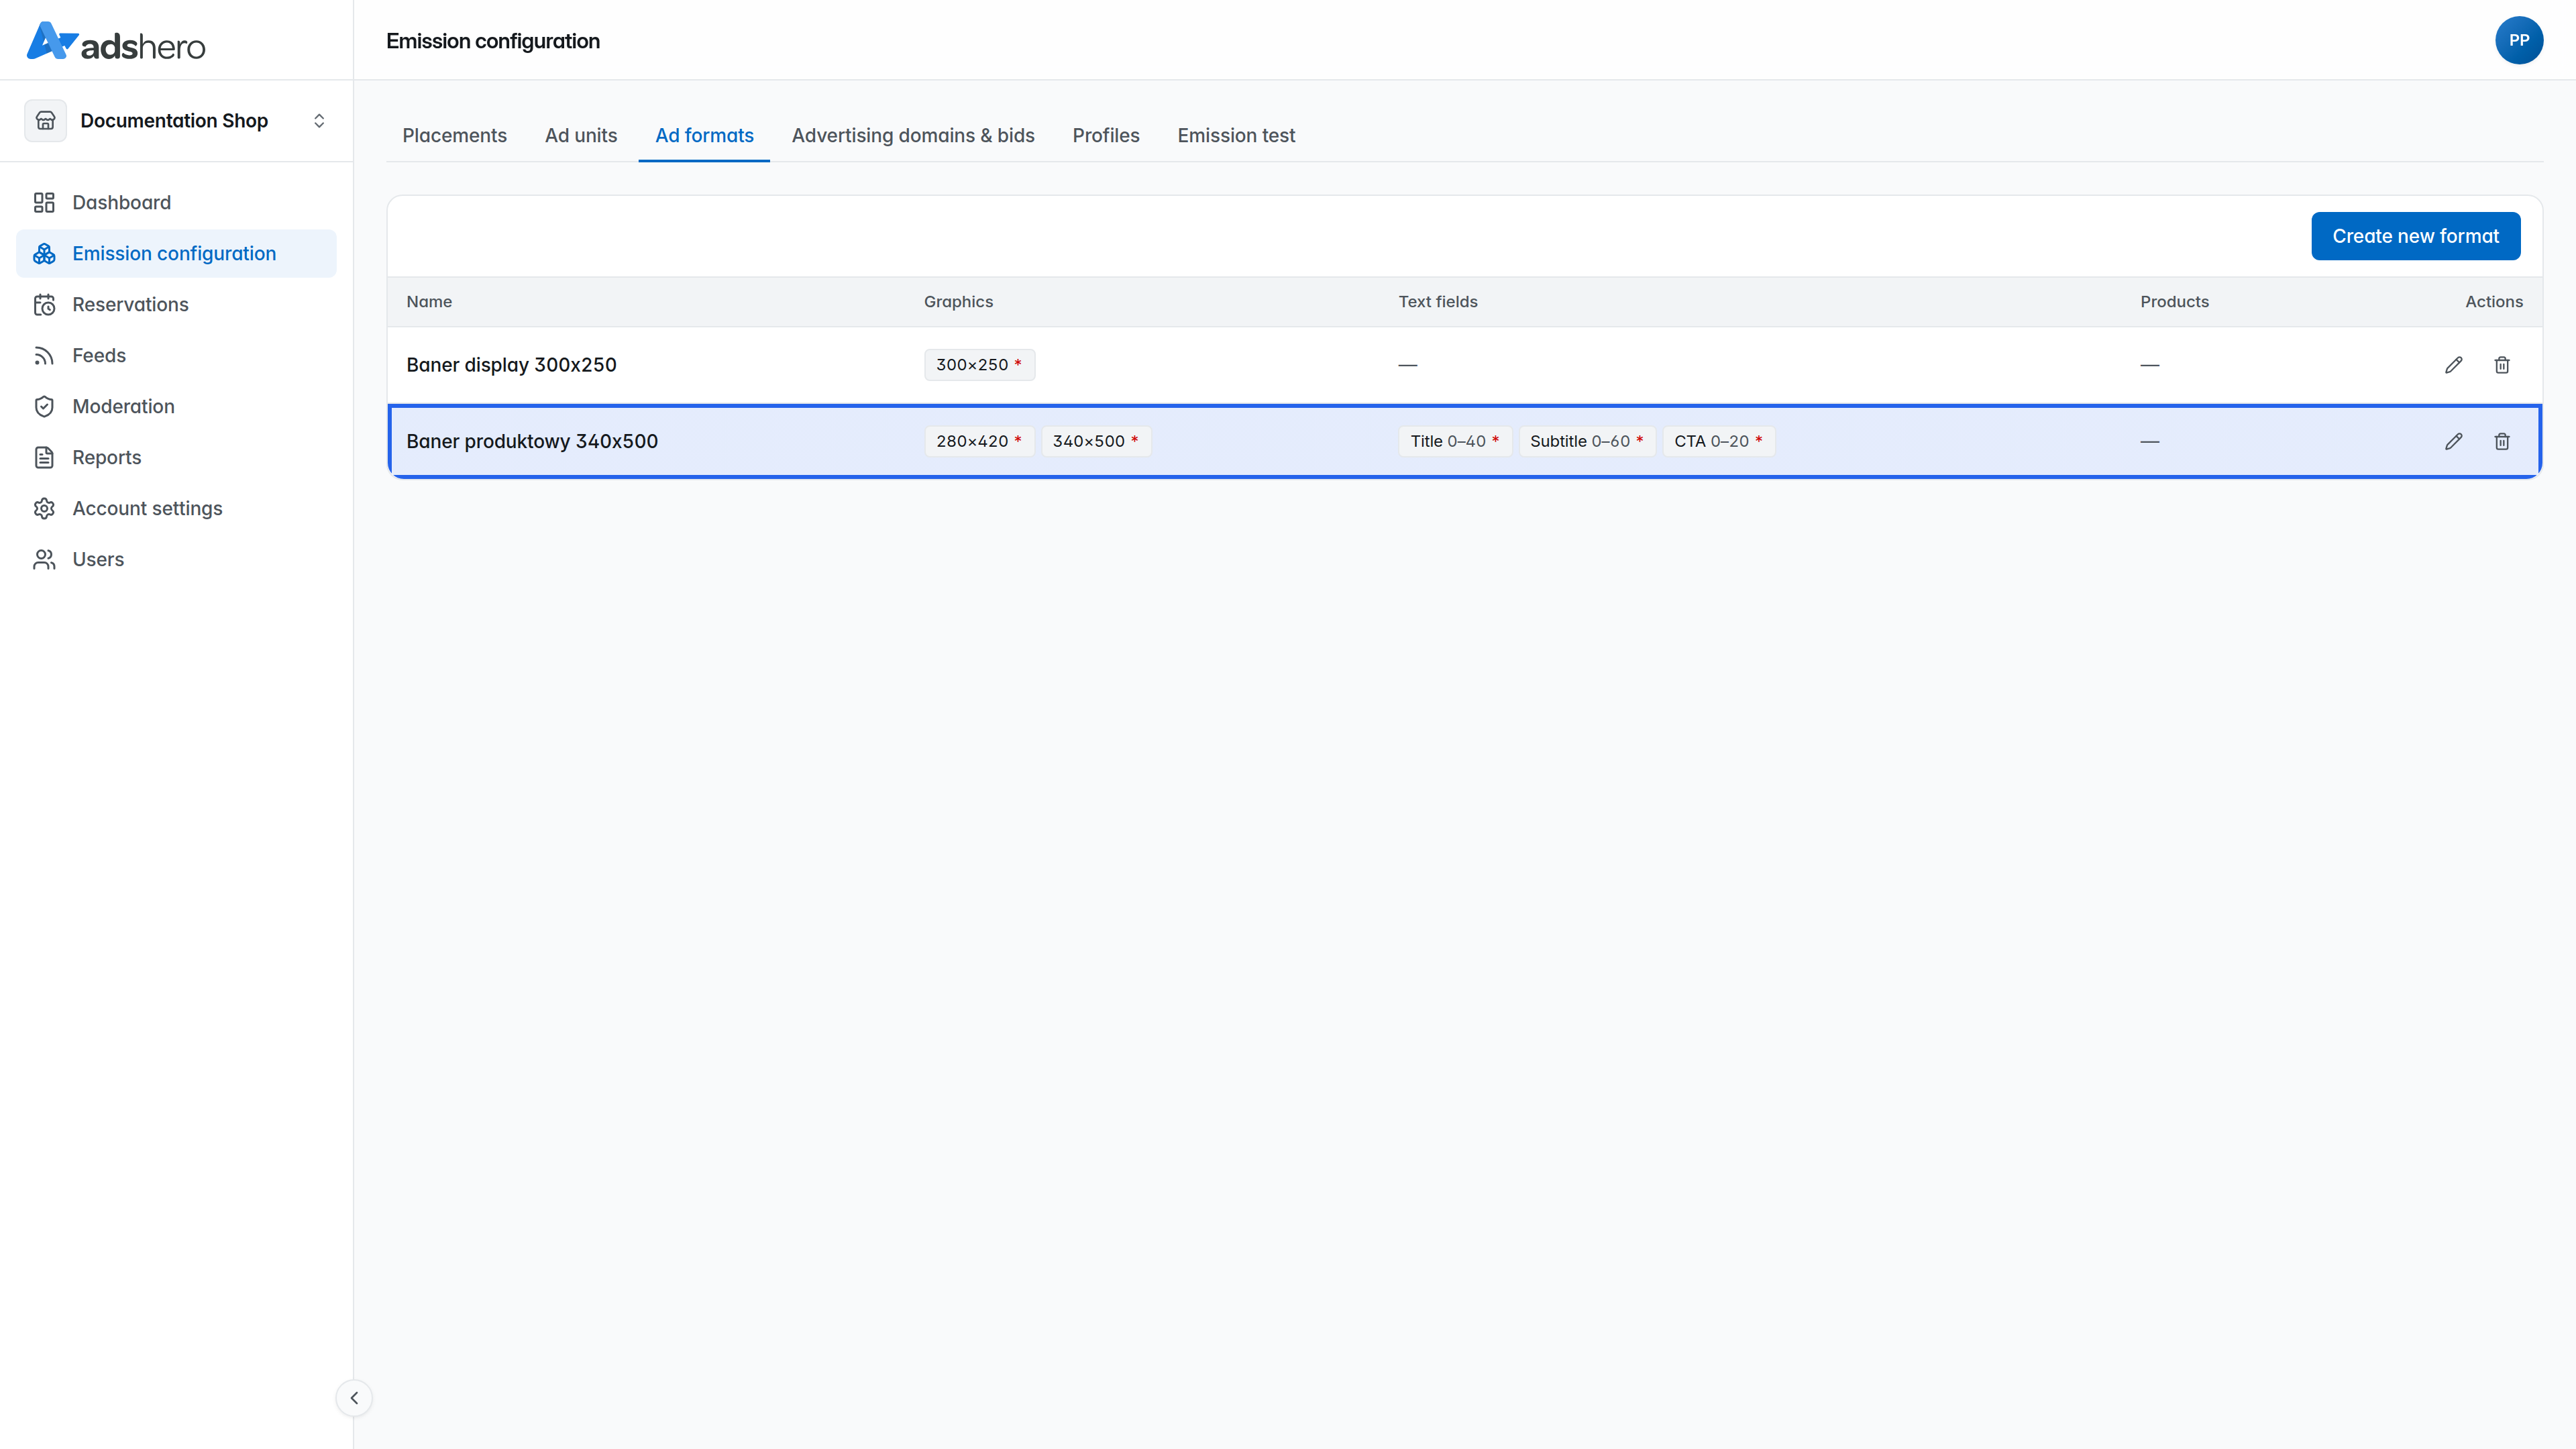
The newly created format will be visible in the list of formats:
Ad Unit
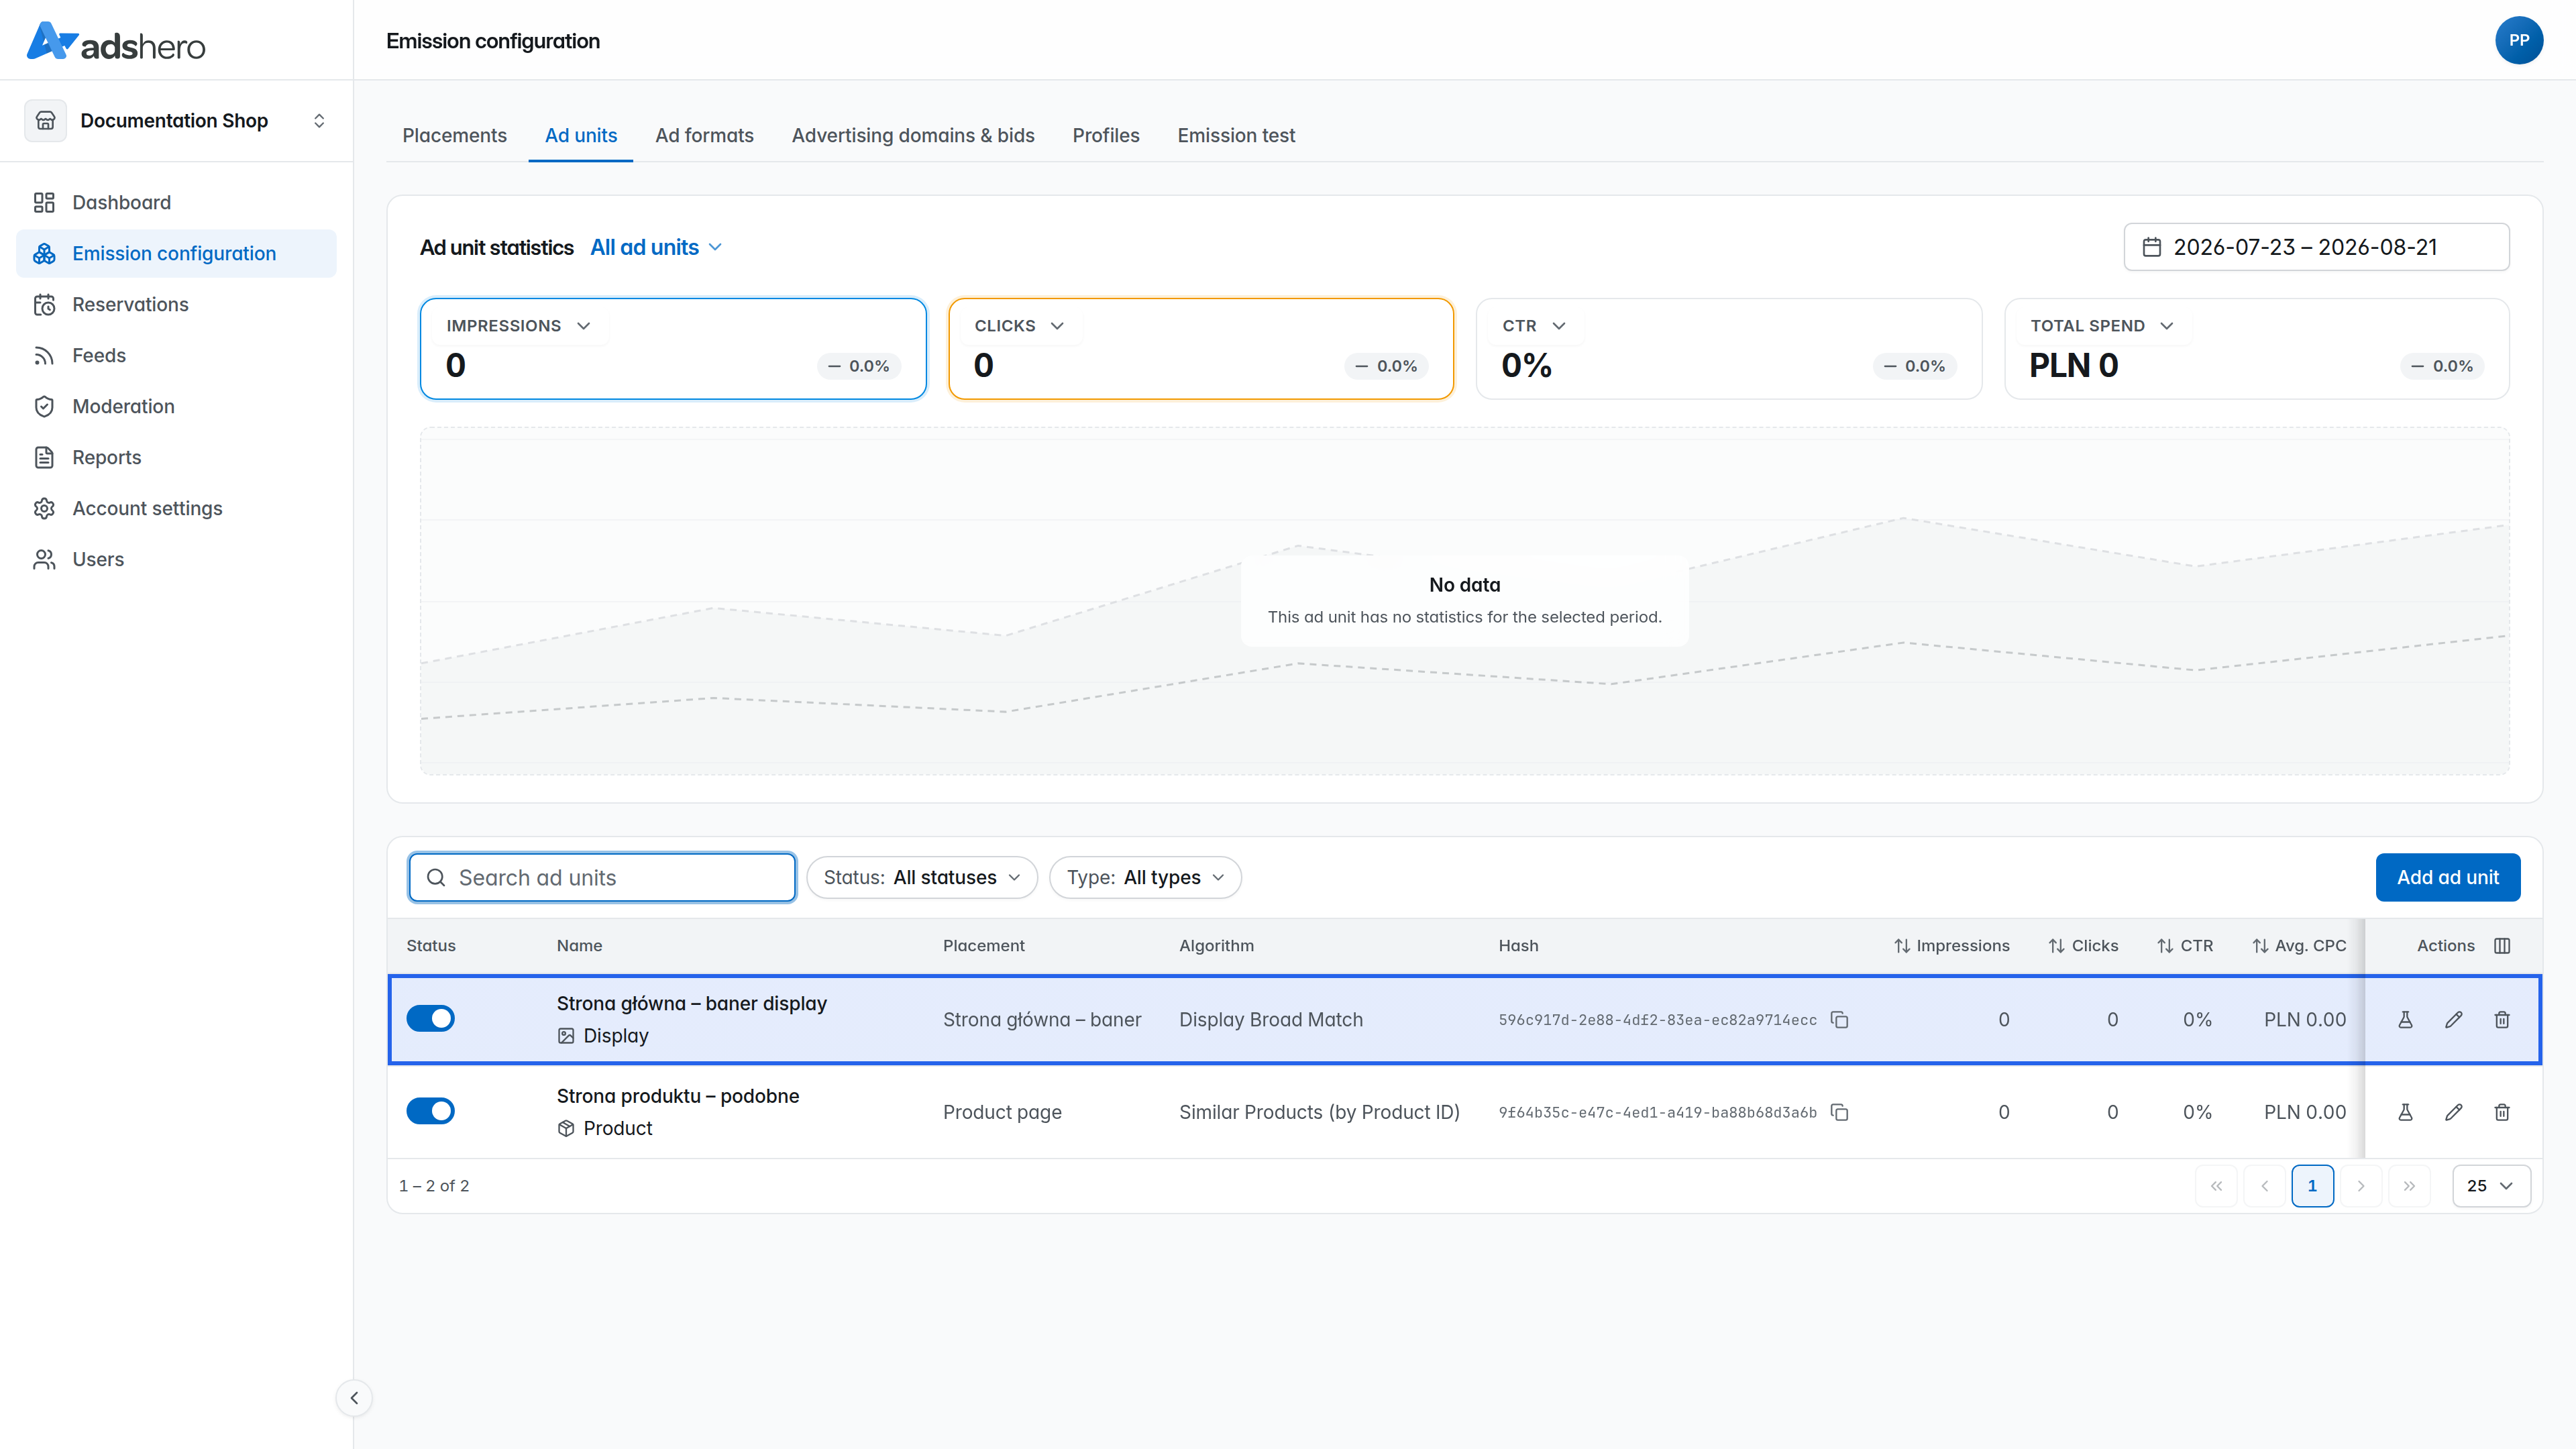
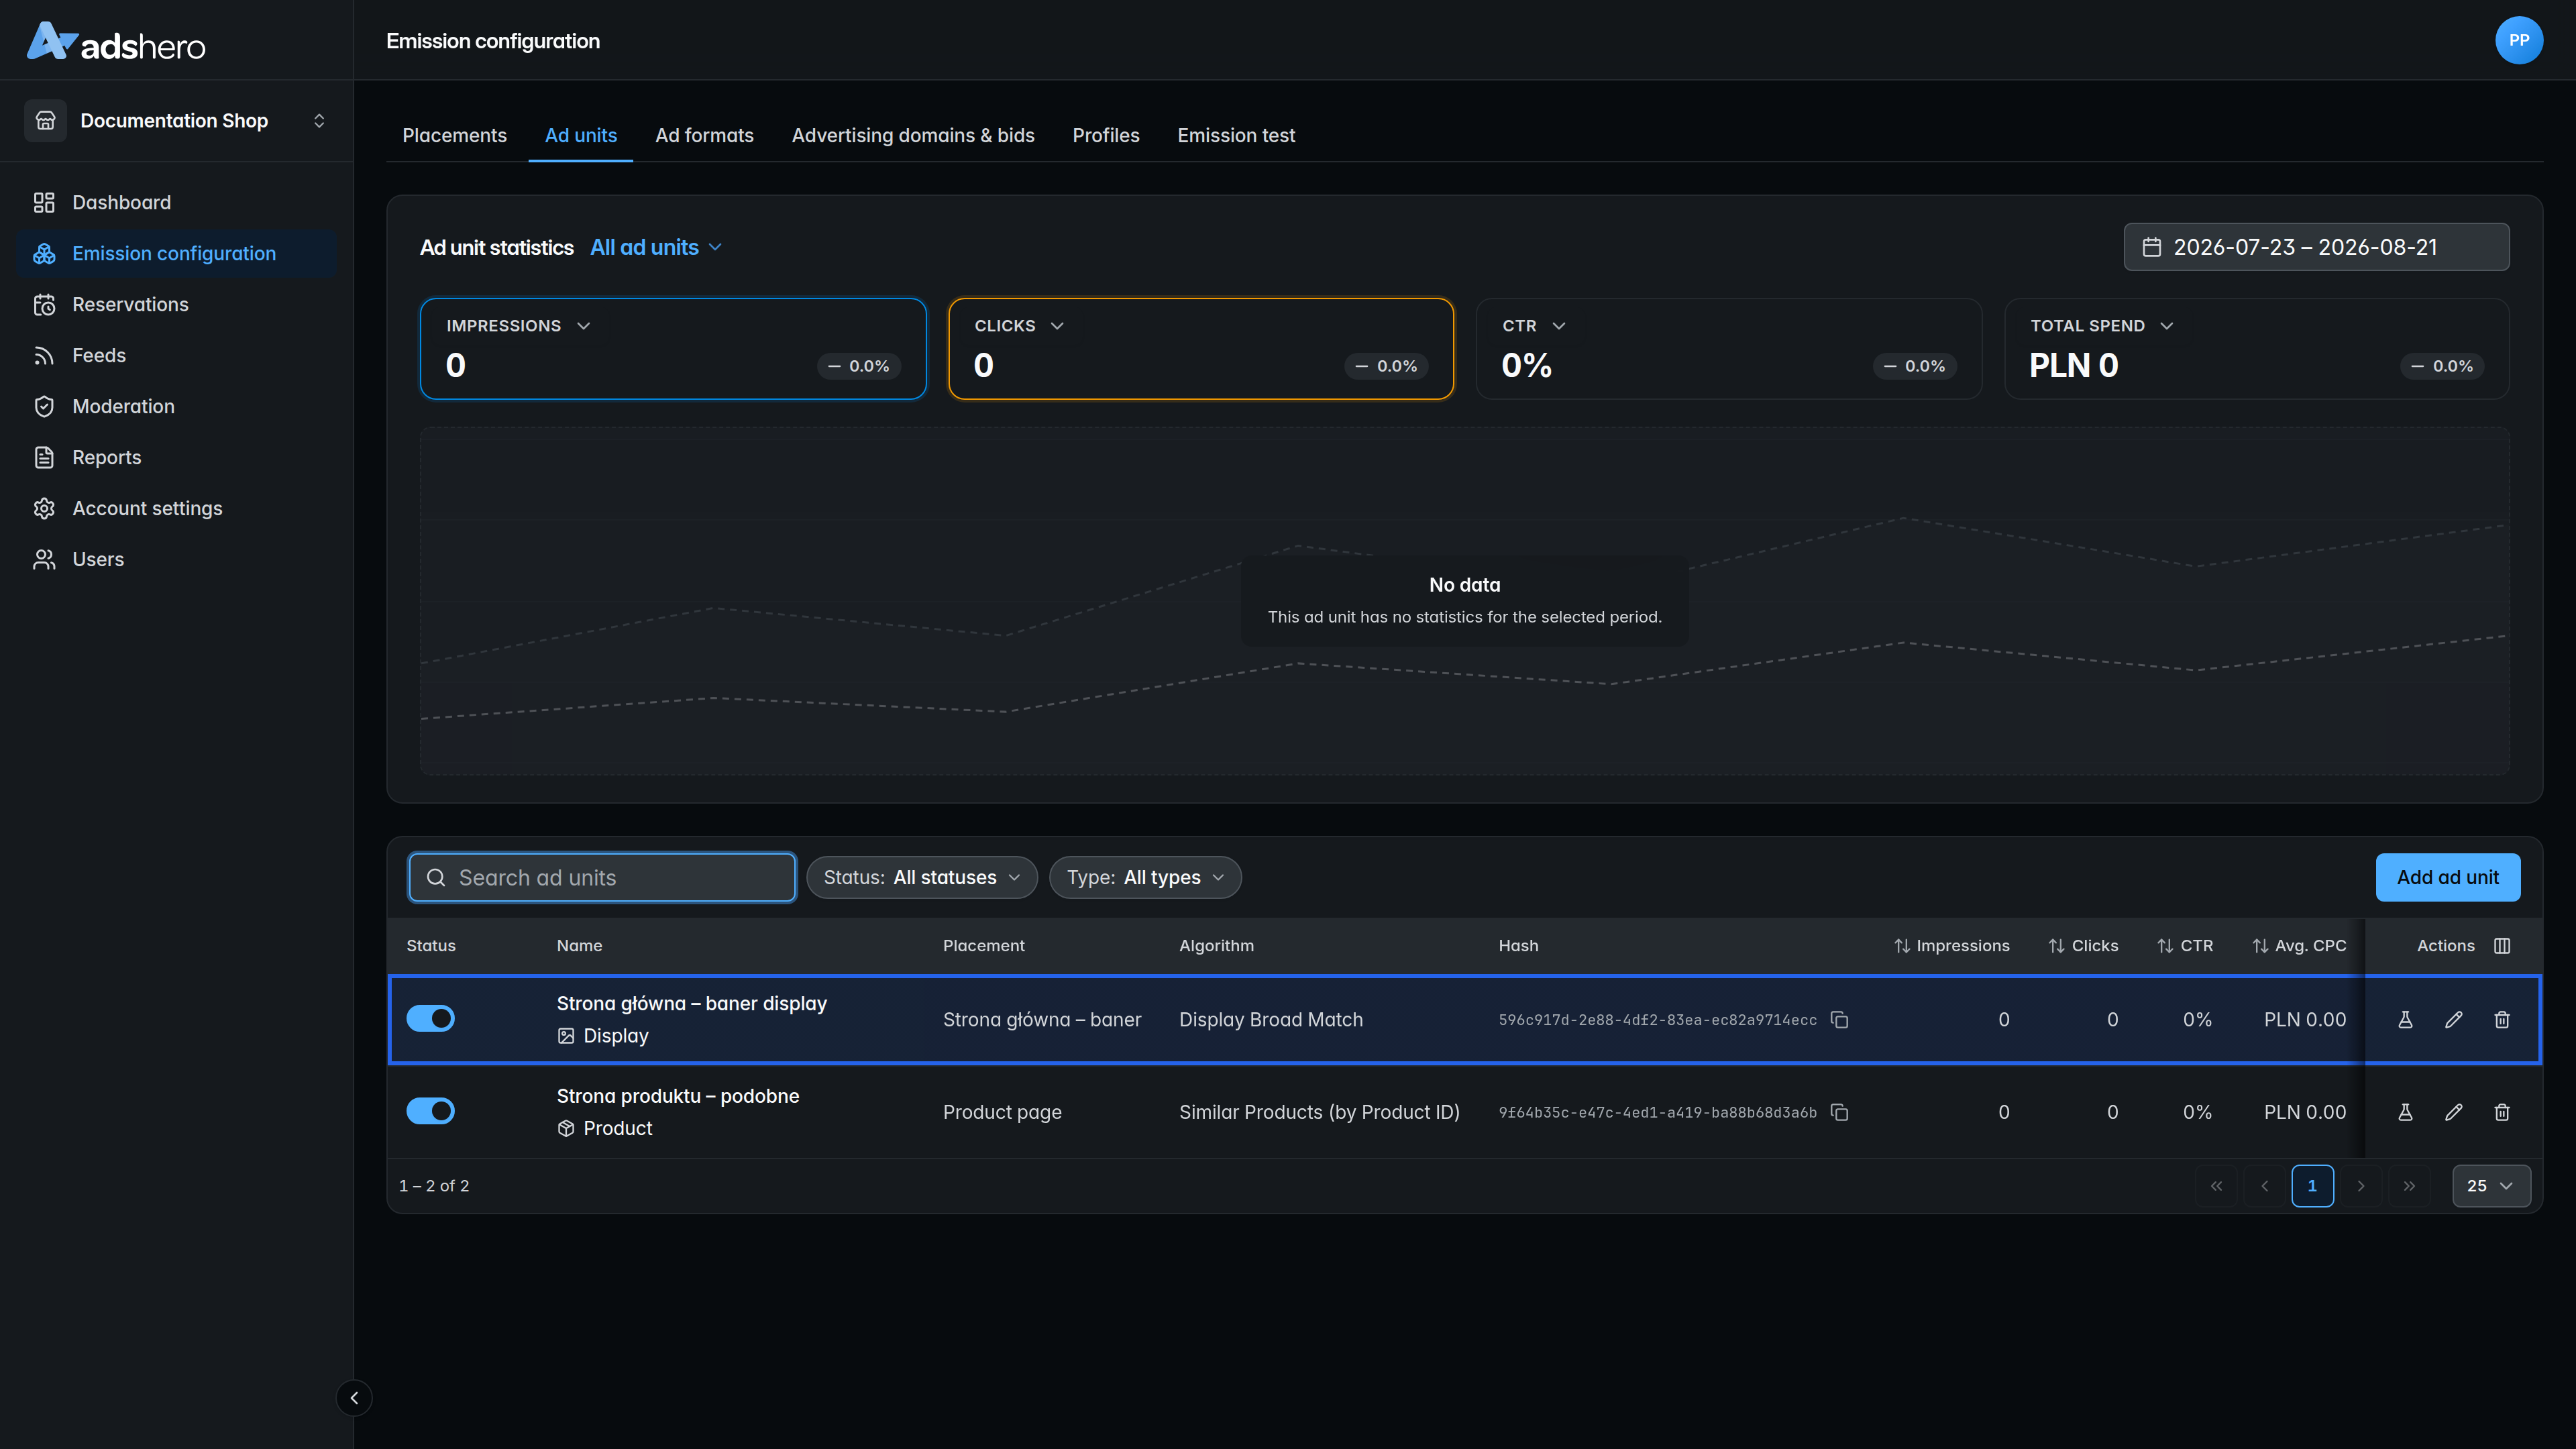
To create a new ad unit, go to the “Emission configuration” section, then “Ad units”.
Next, click “Add ad unit” and provide a name for the new unit. The key is to select the type as “Display”.
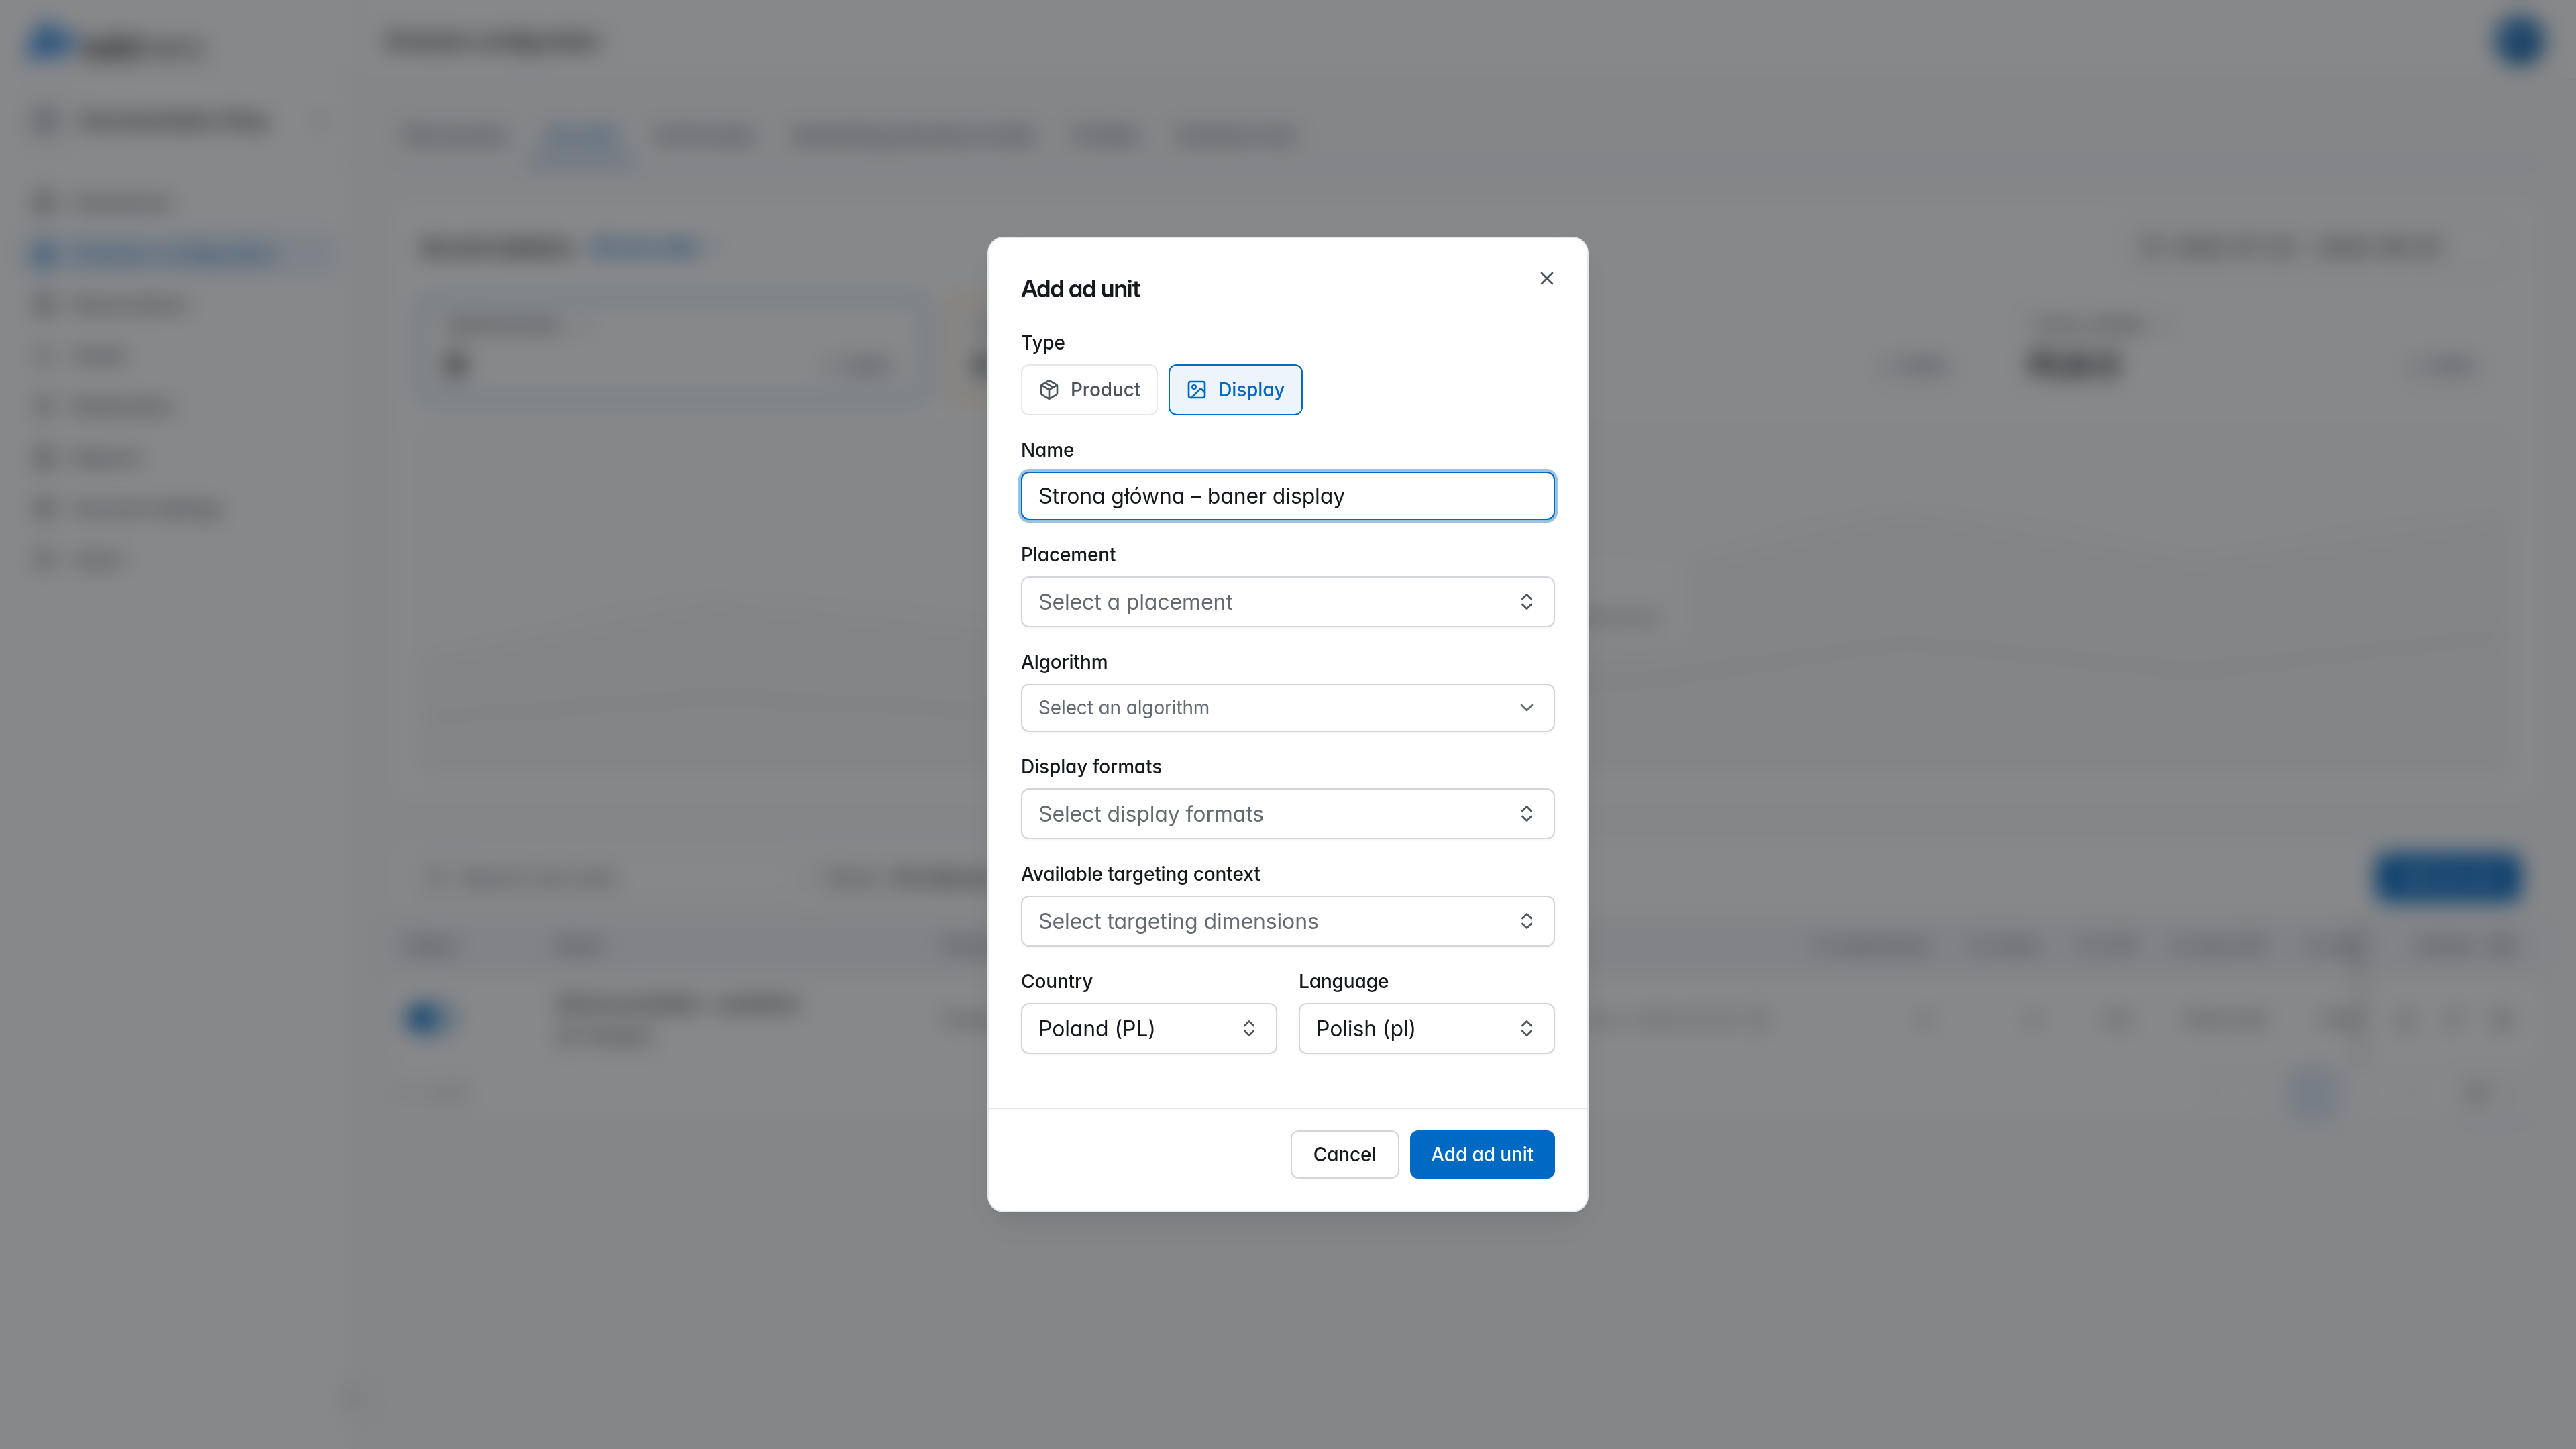
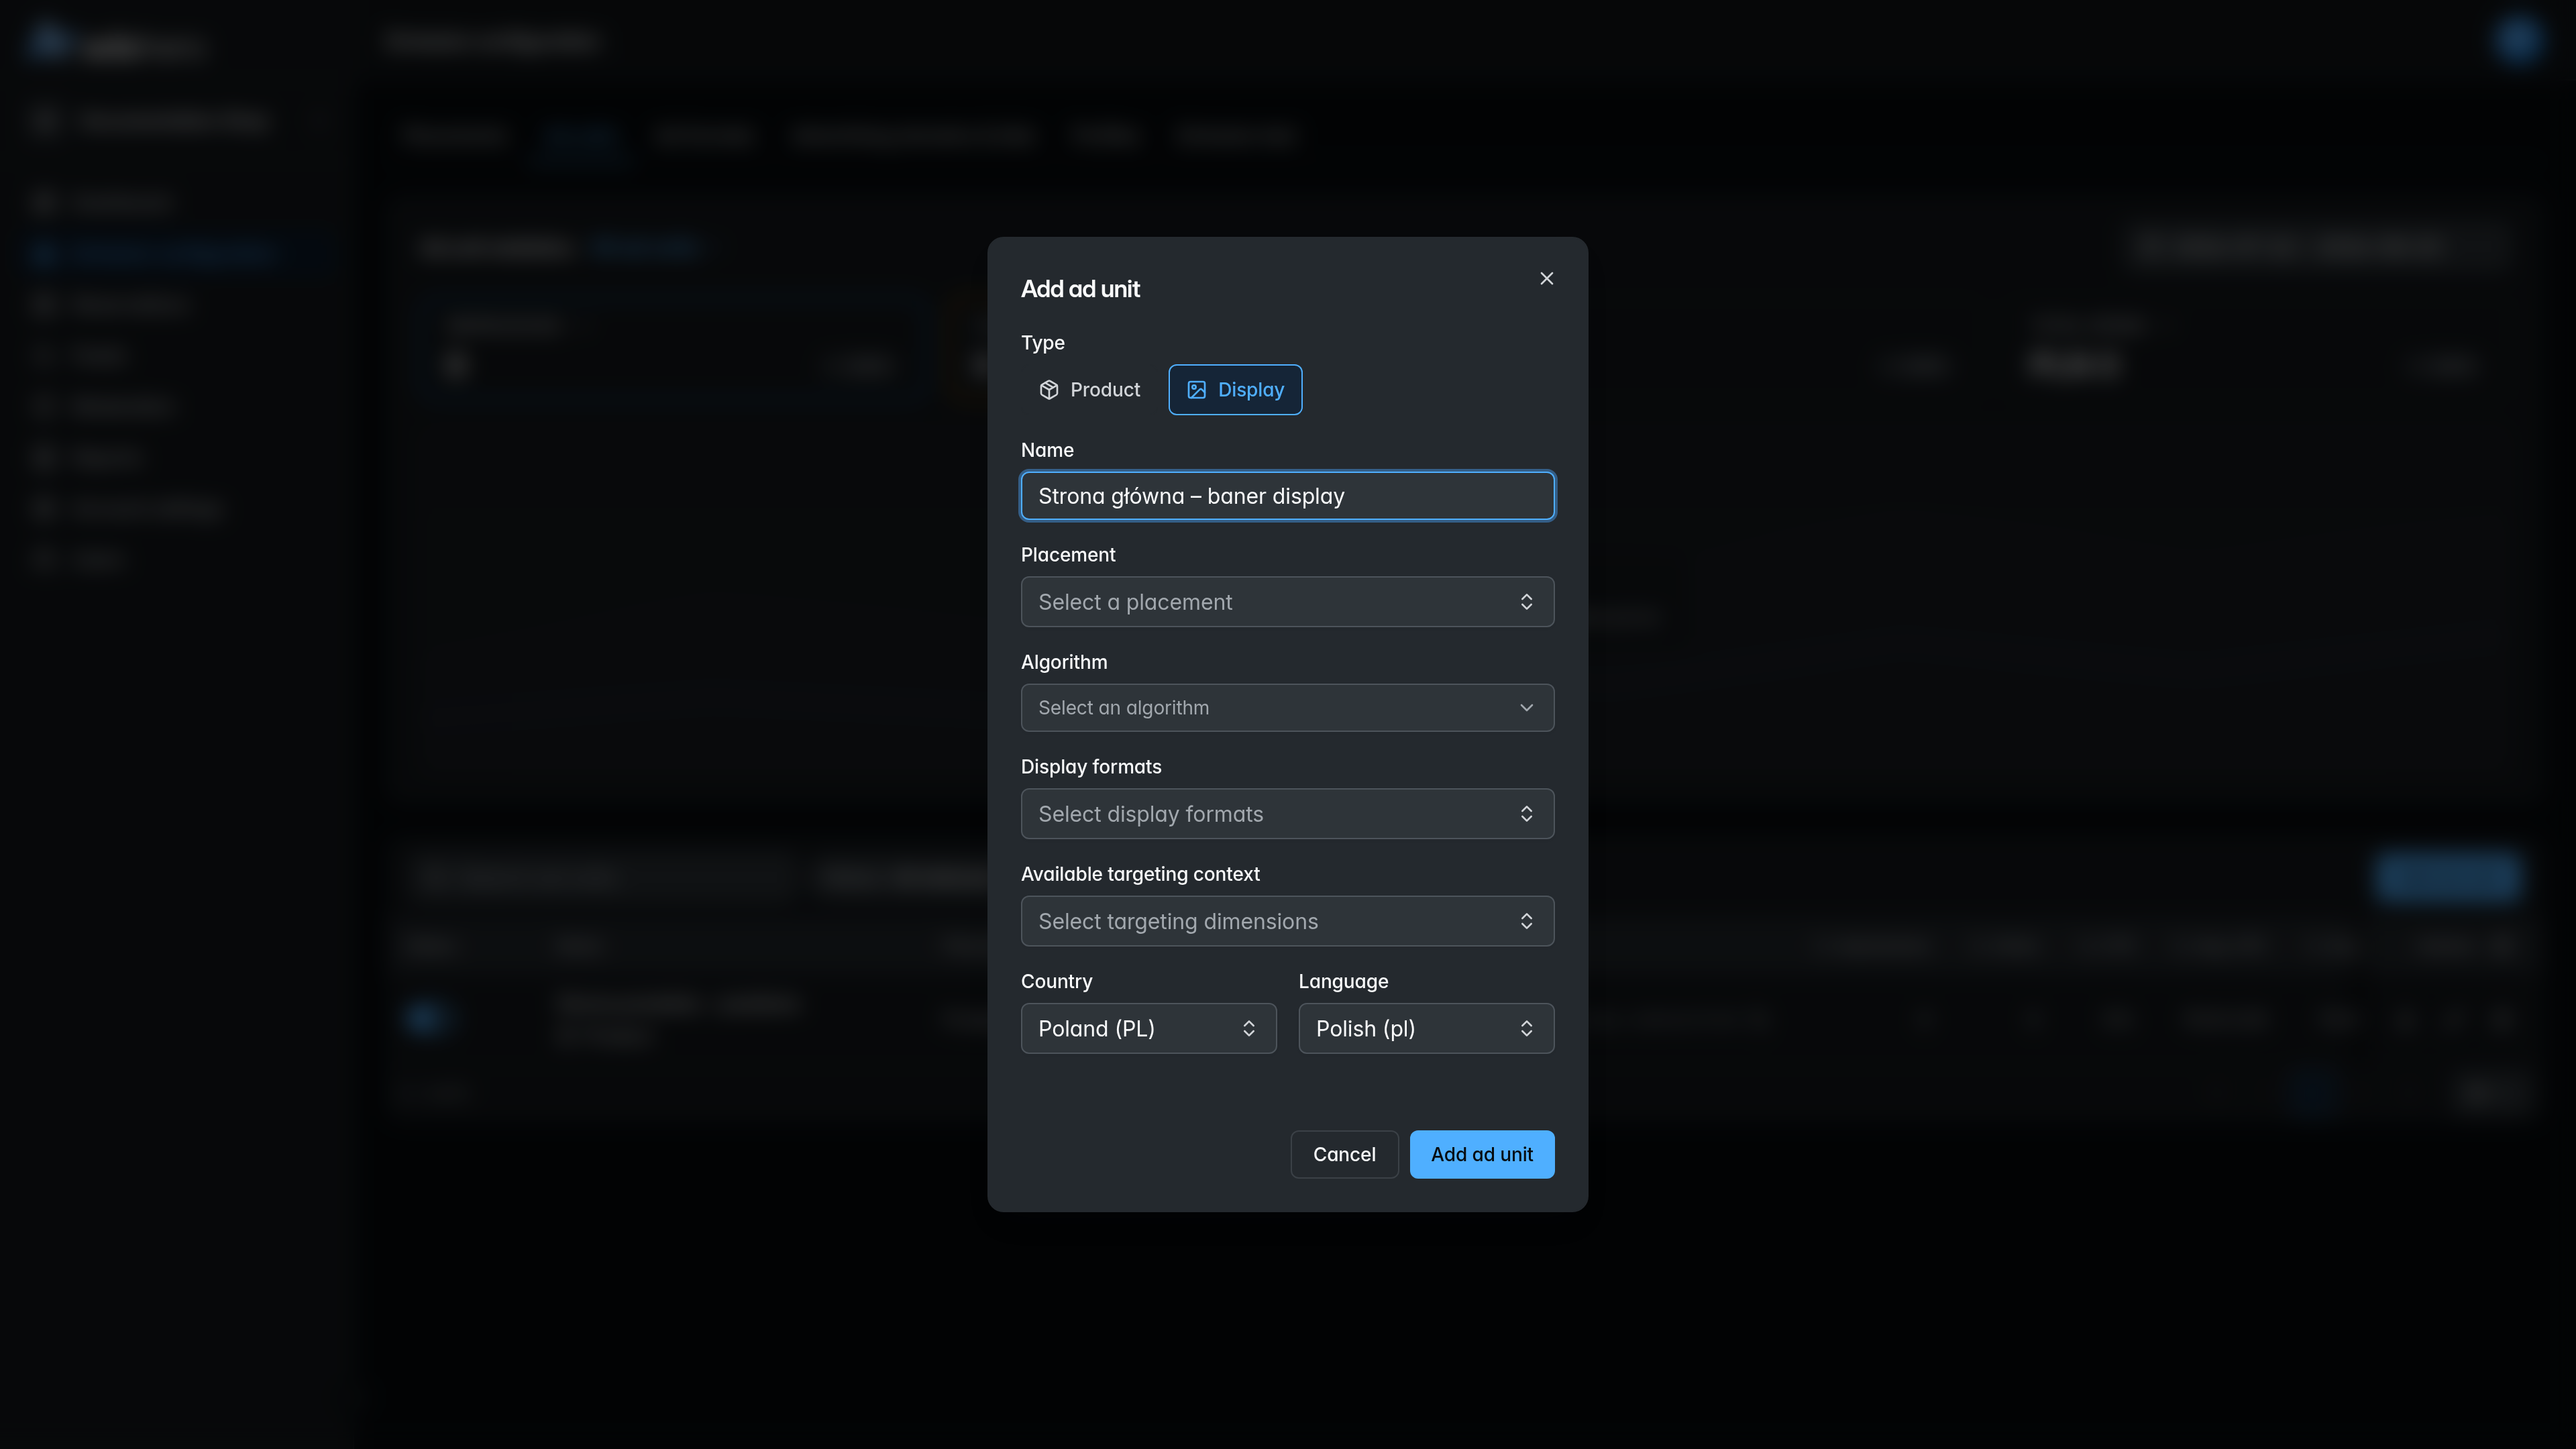
Then choose the placement — here, the one we just created — and select the ad formats that can be rendered in it (the one created in the previous step). You can also select the targeting options available in this ad unit: these let the advertiser target it during campaign configuration (for example, by user profiles or categories), and the same information must be passed to the rendering endpoint at serve time.
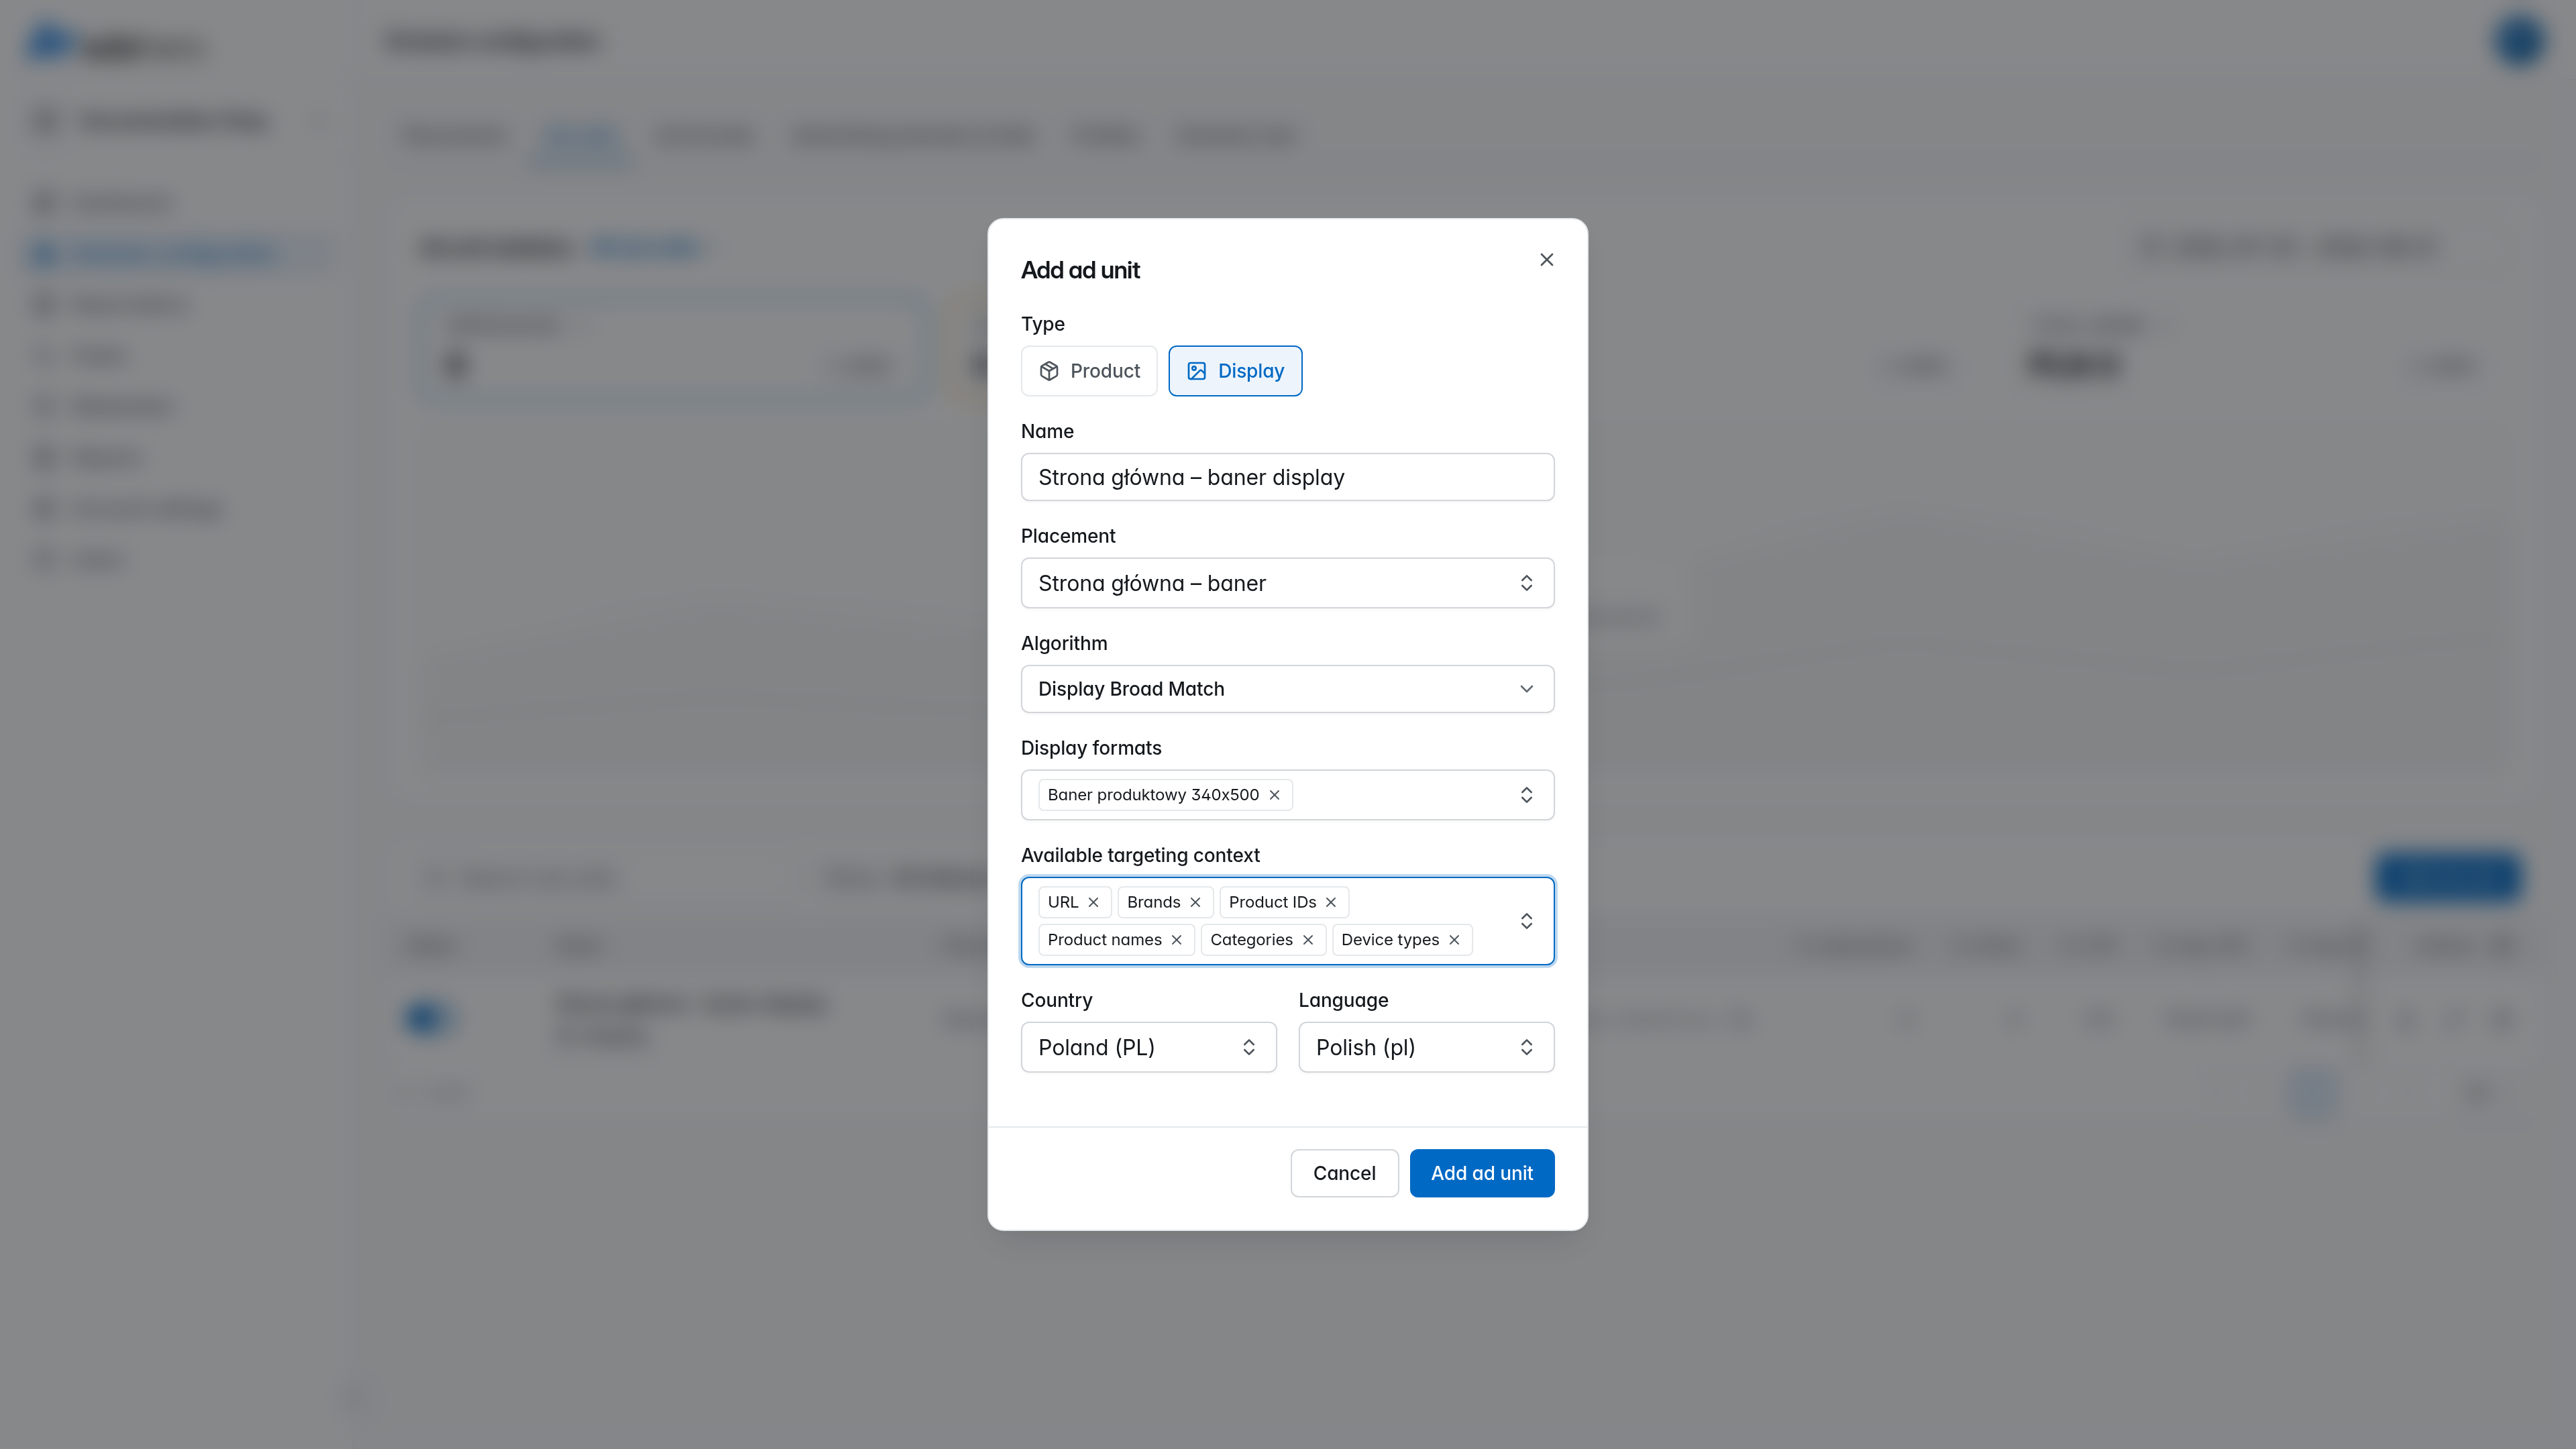
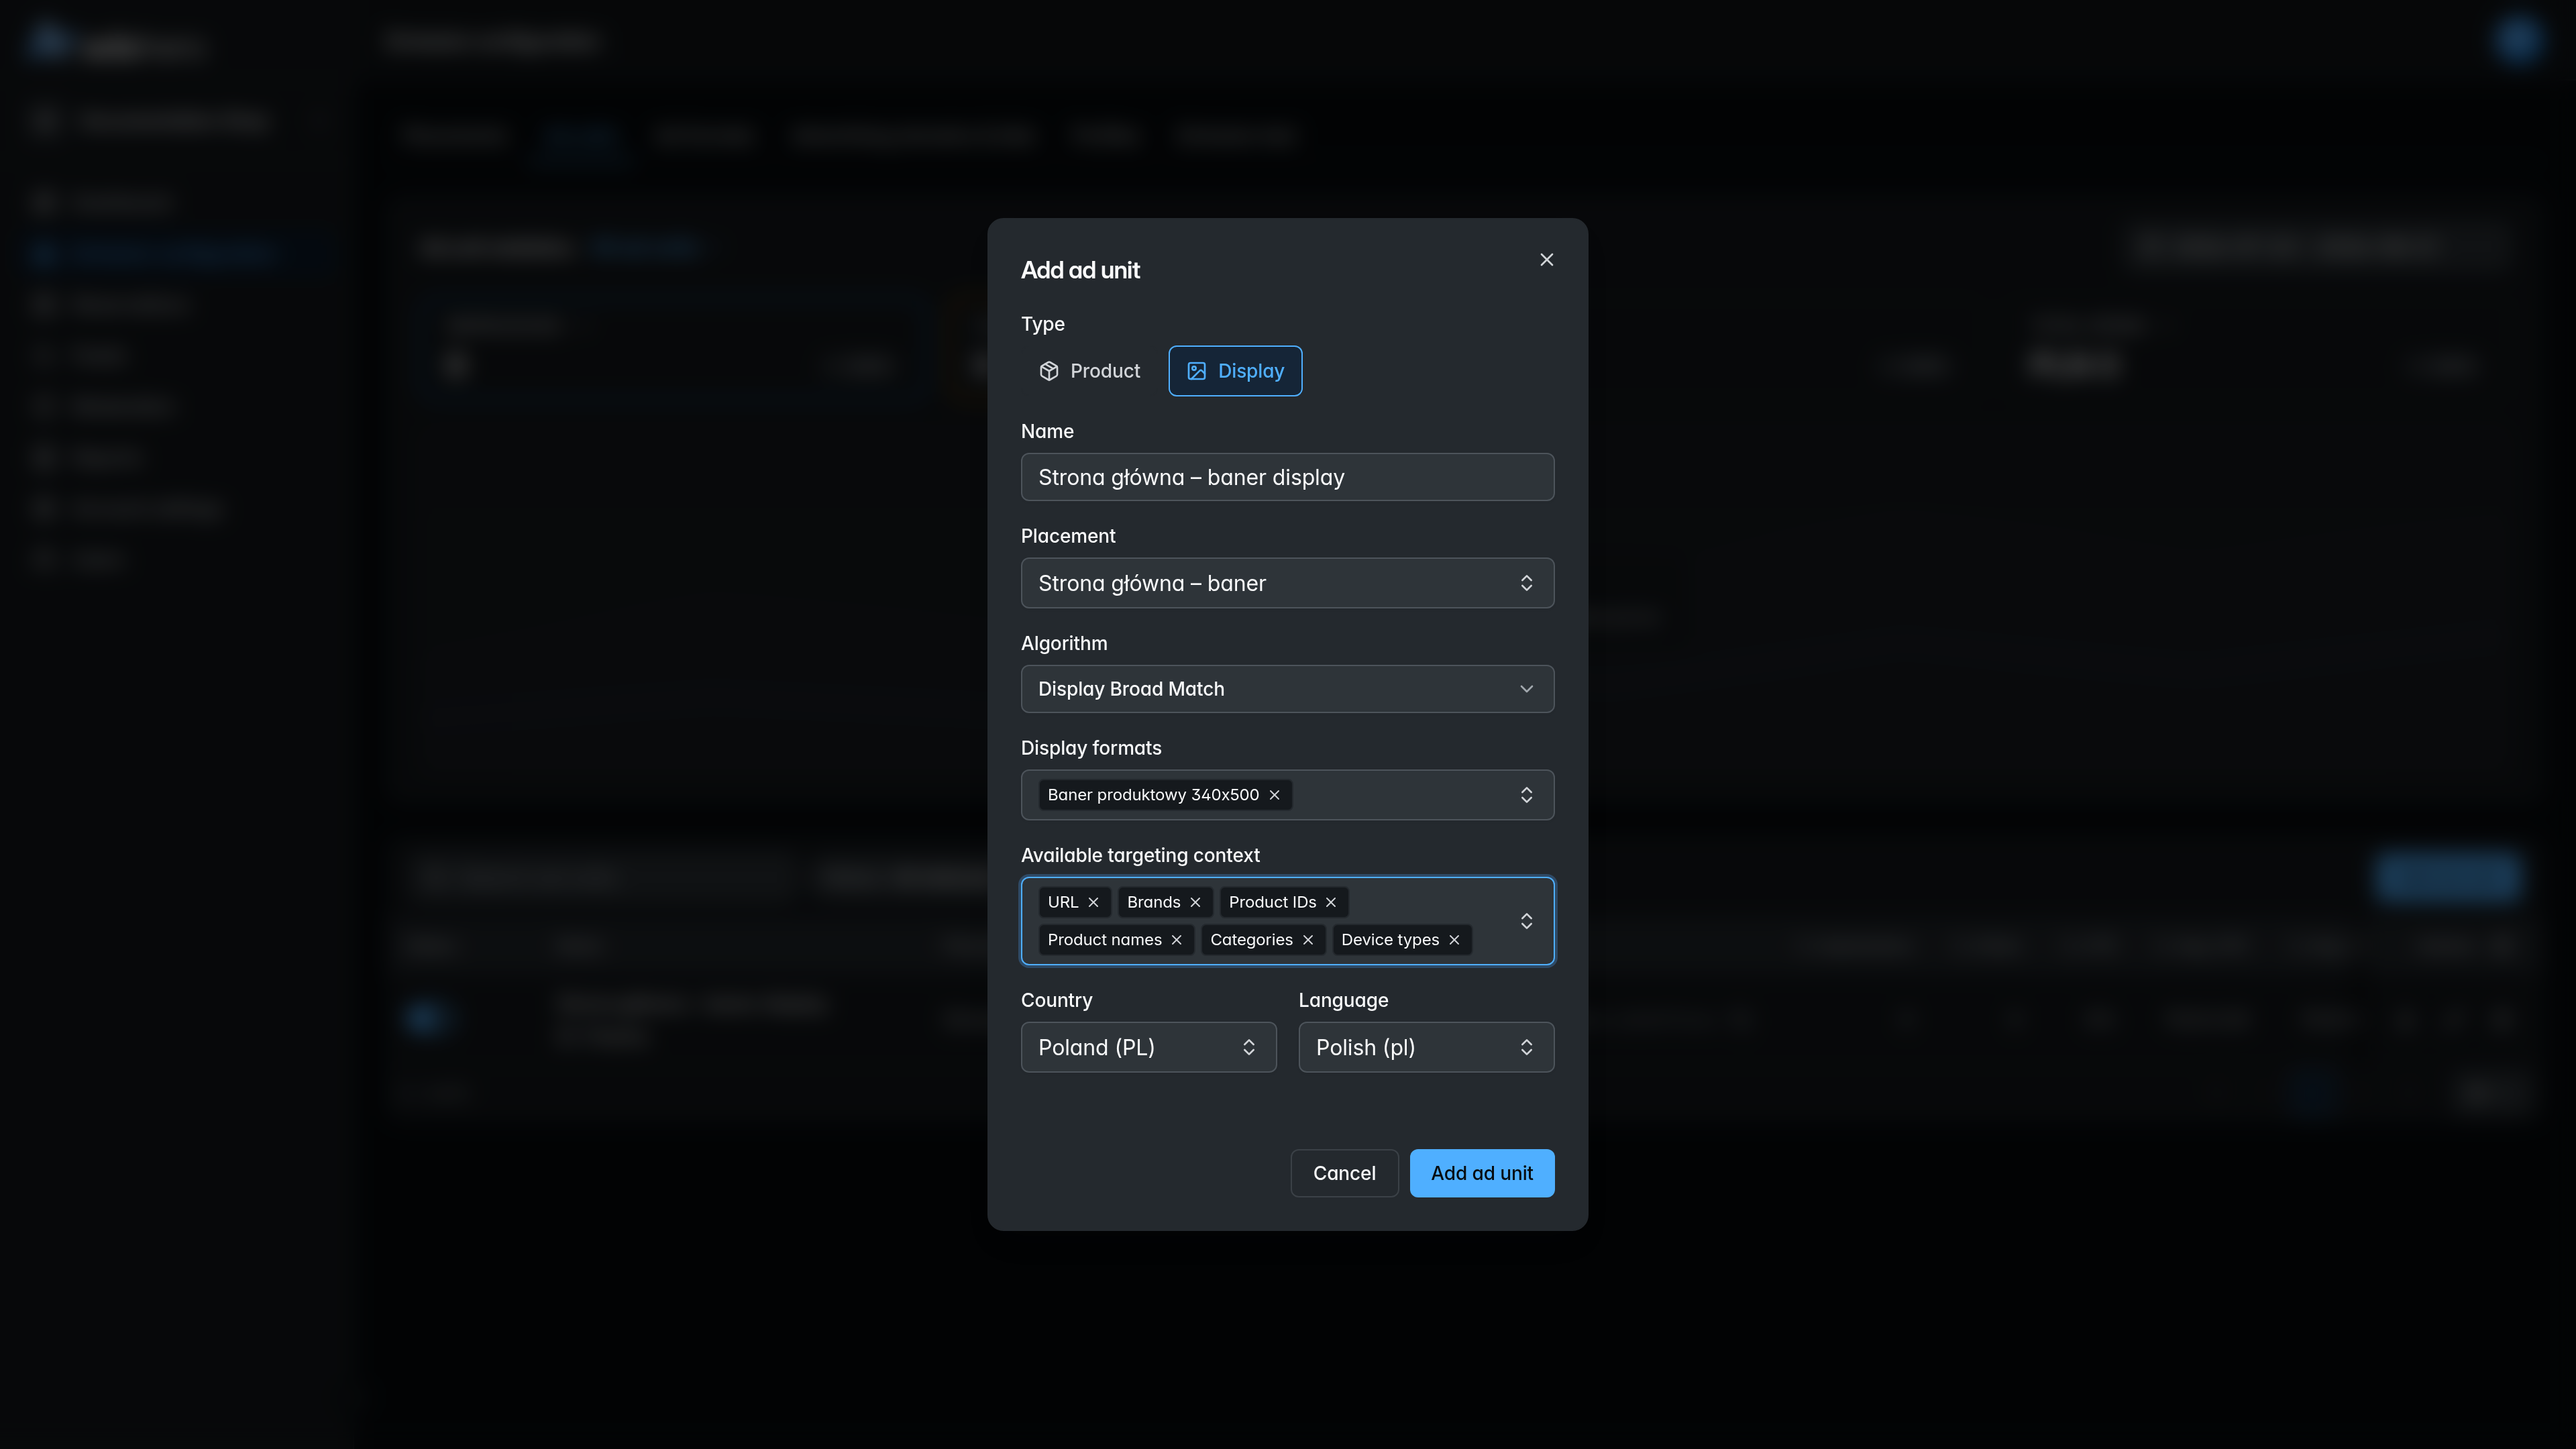
After clicking “Add ad unit”, the new ad unit is visible in the list:
Create a test campaign
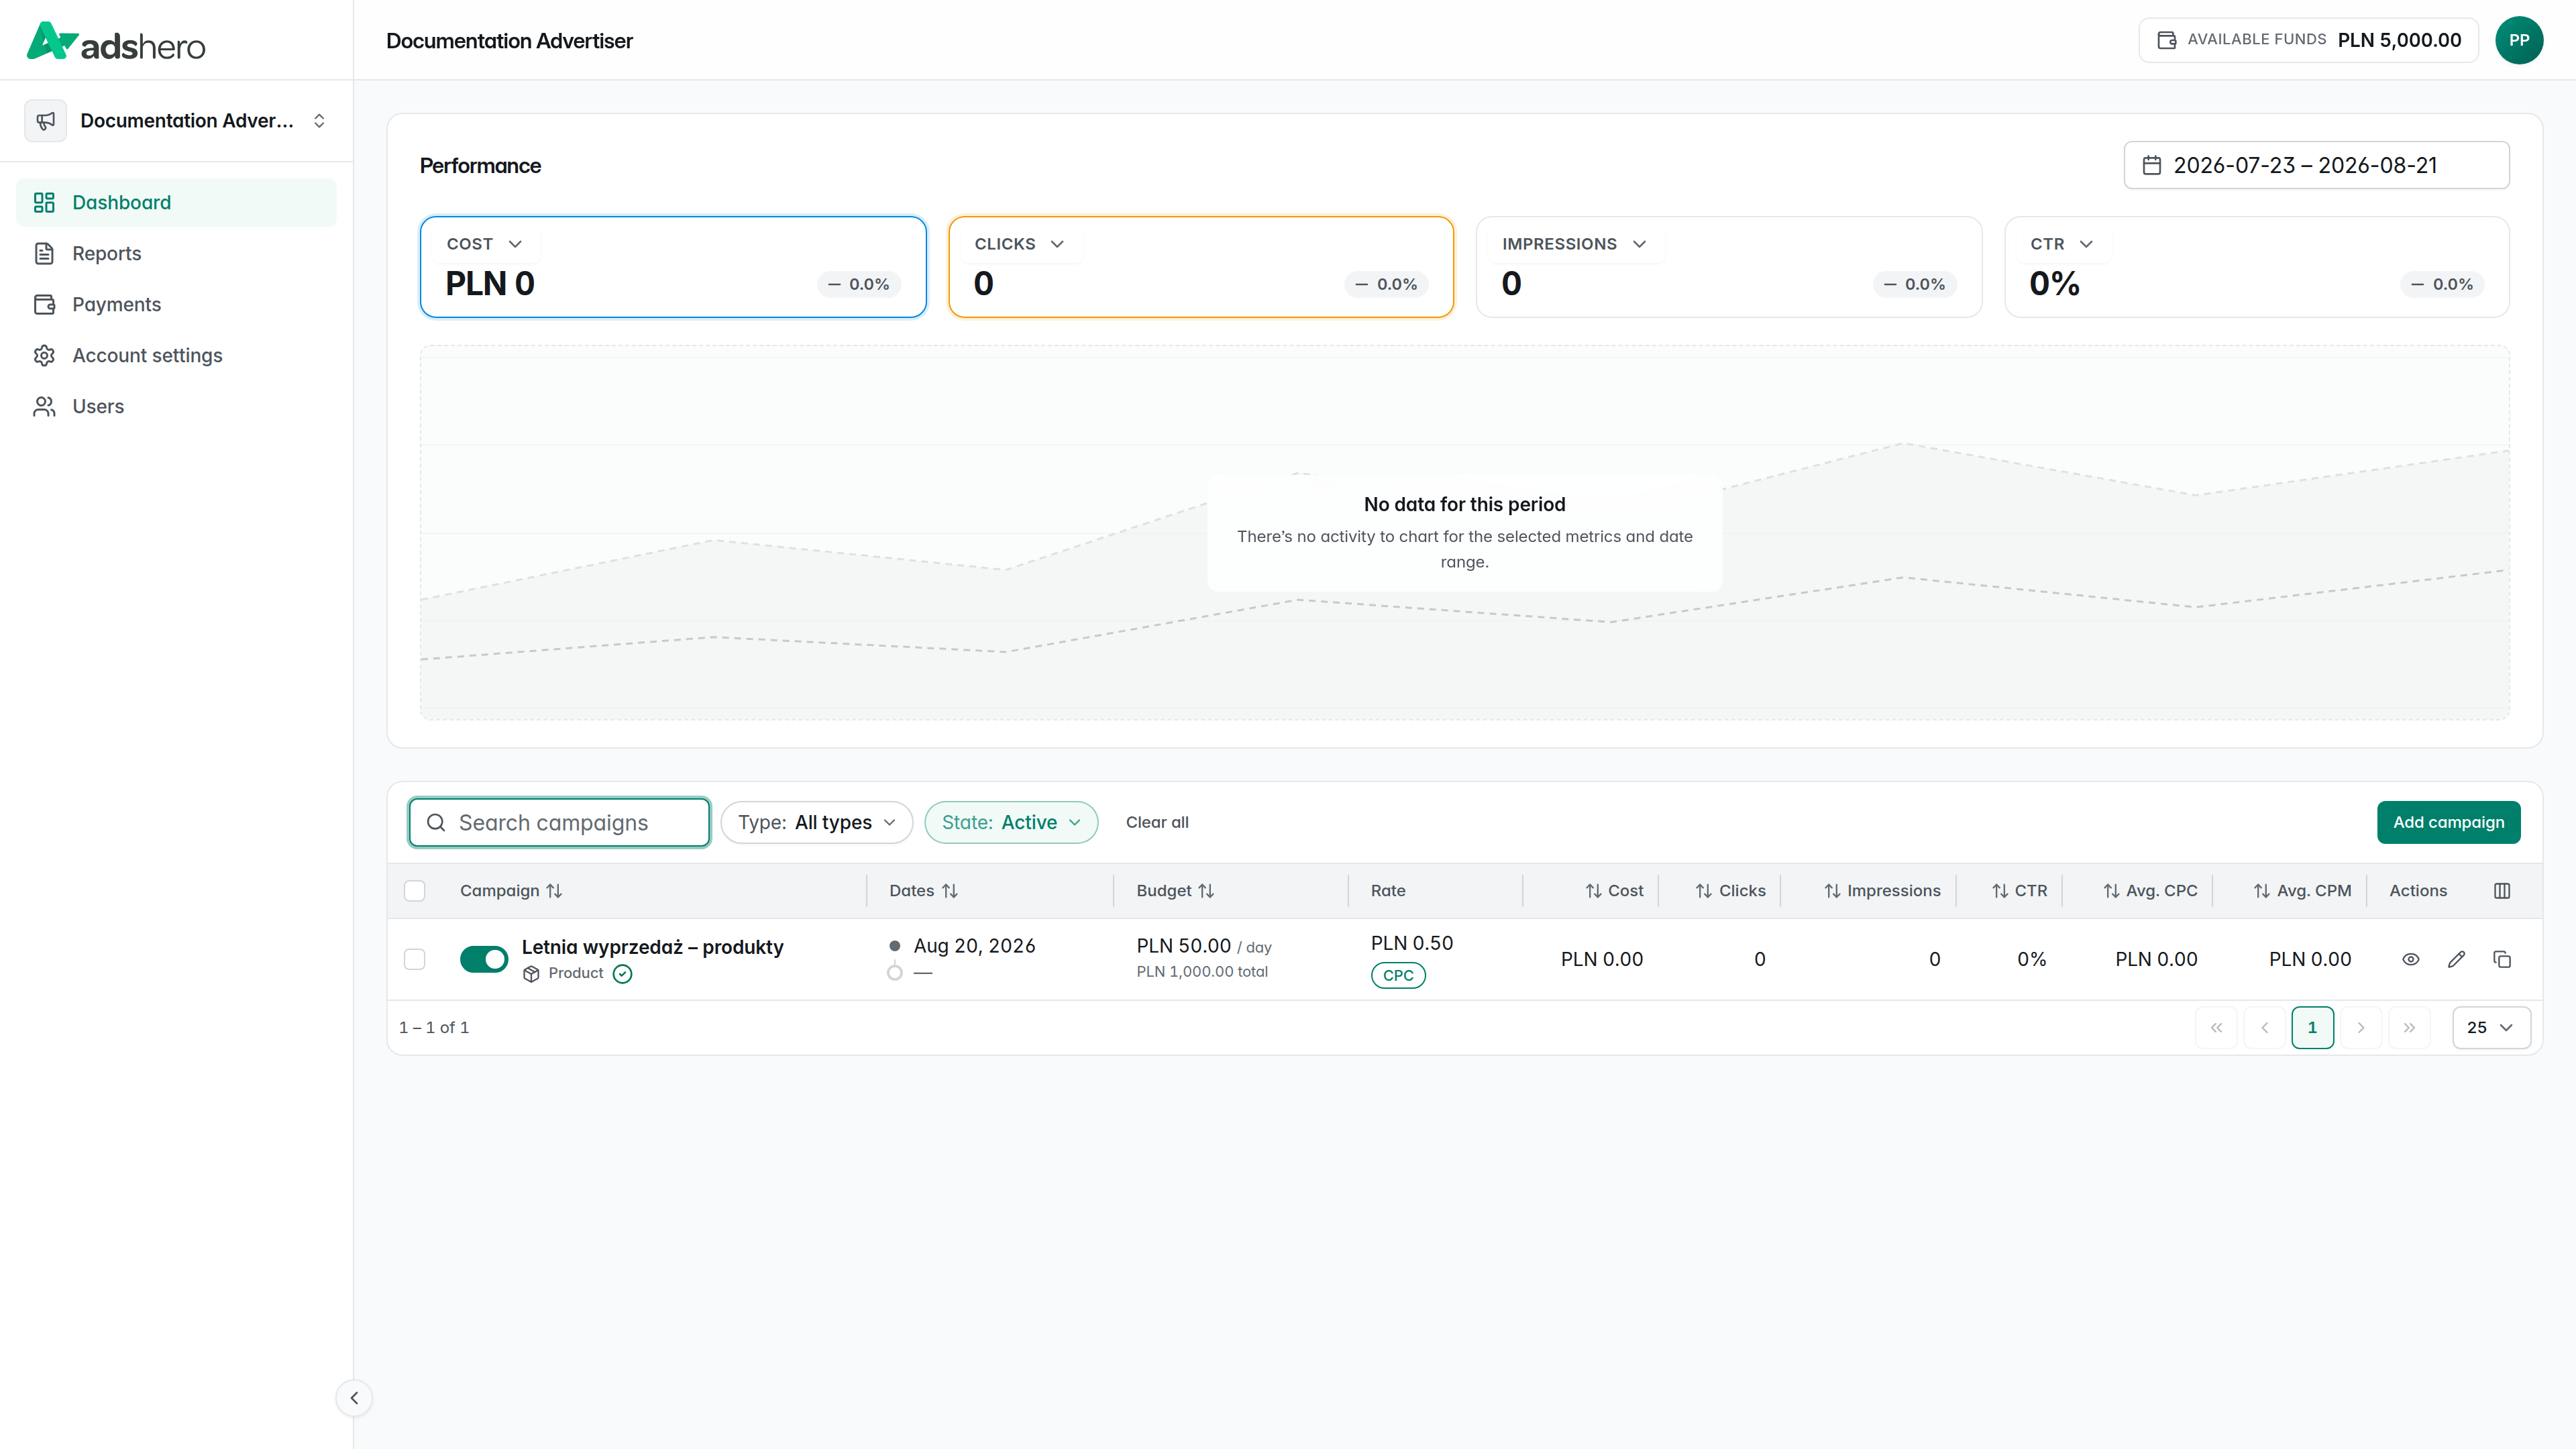
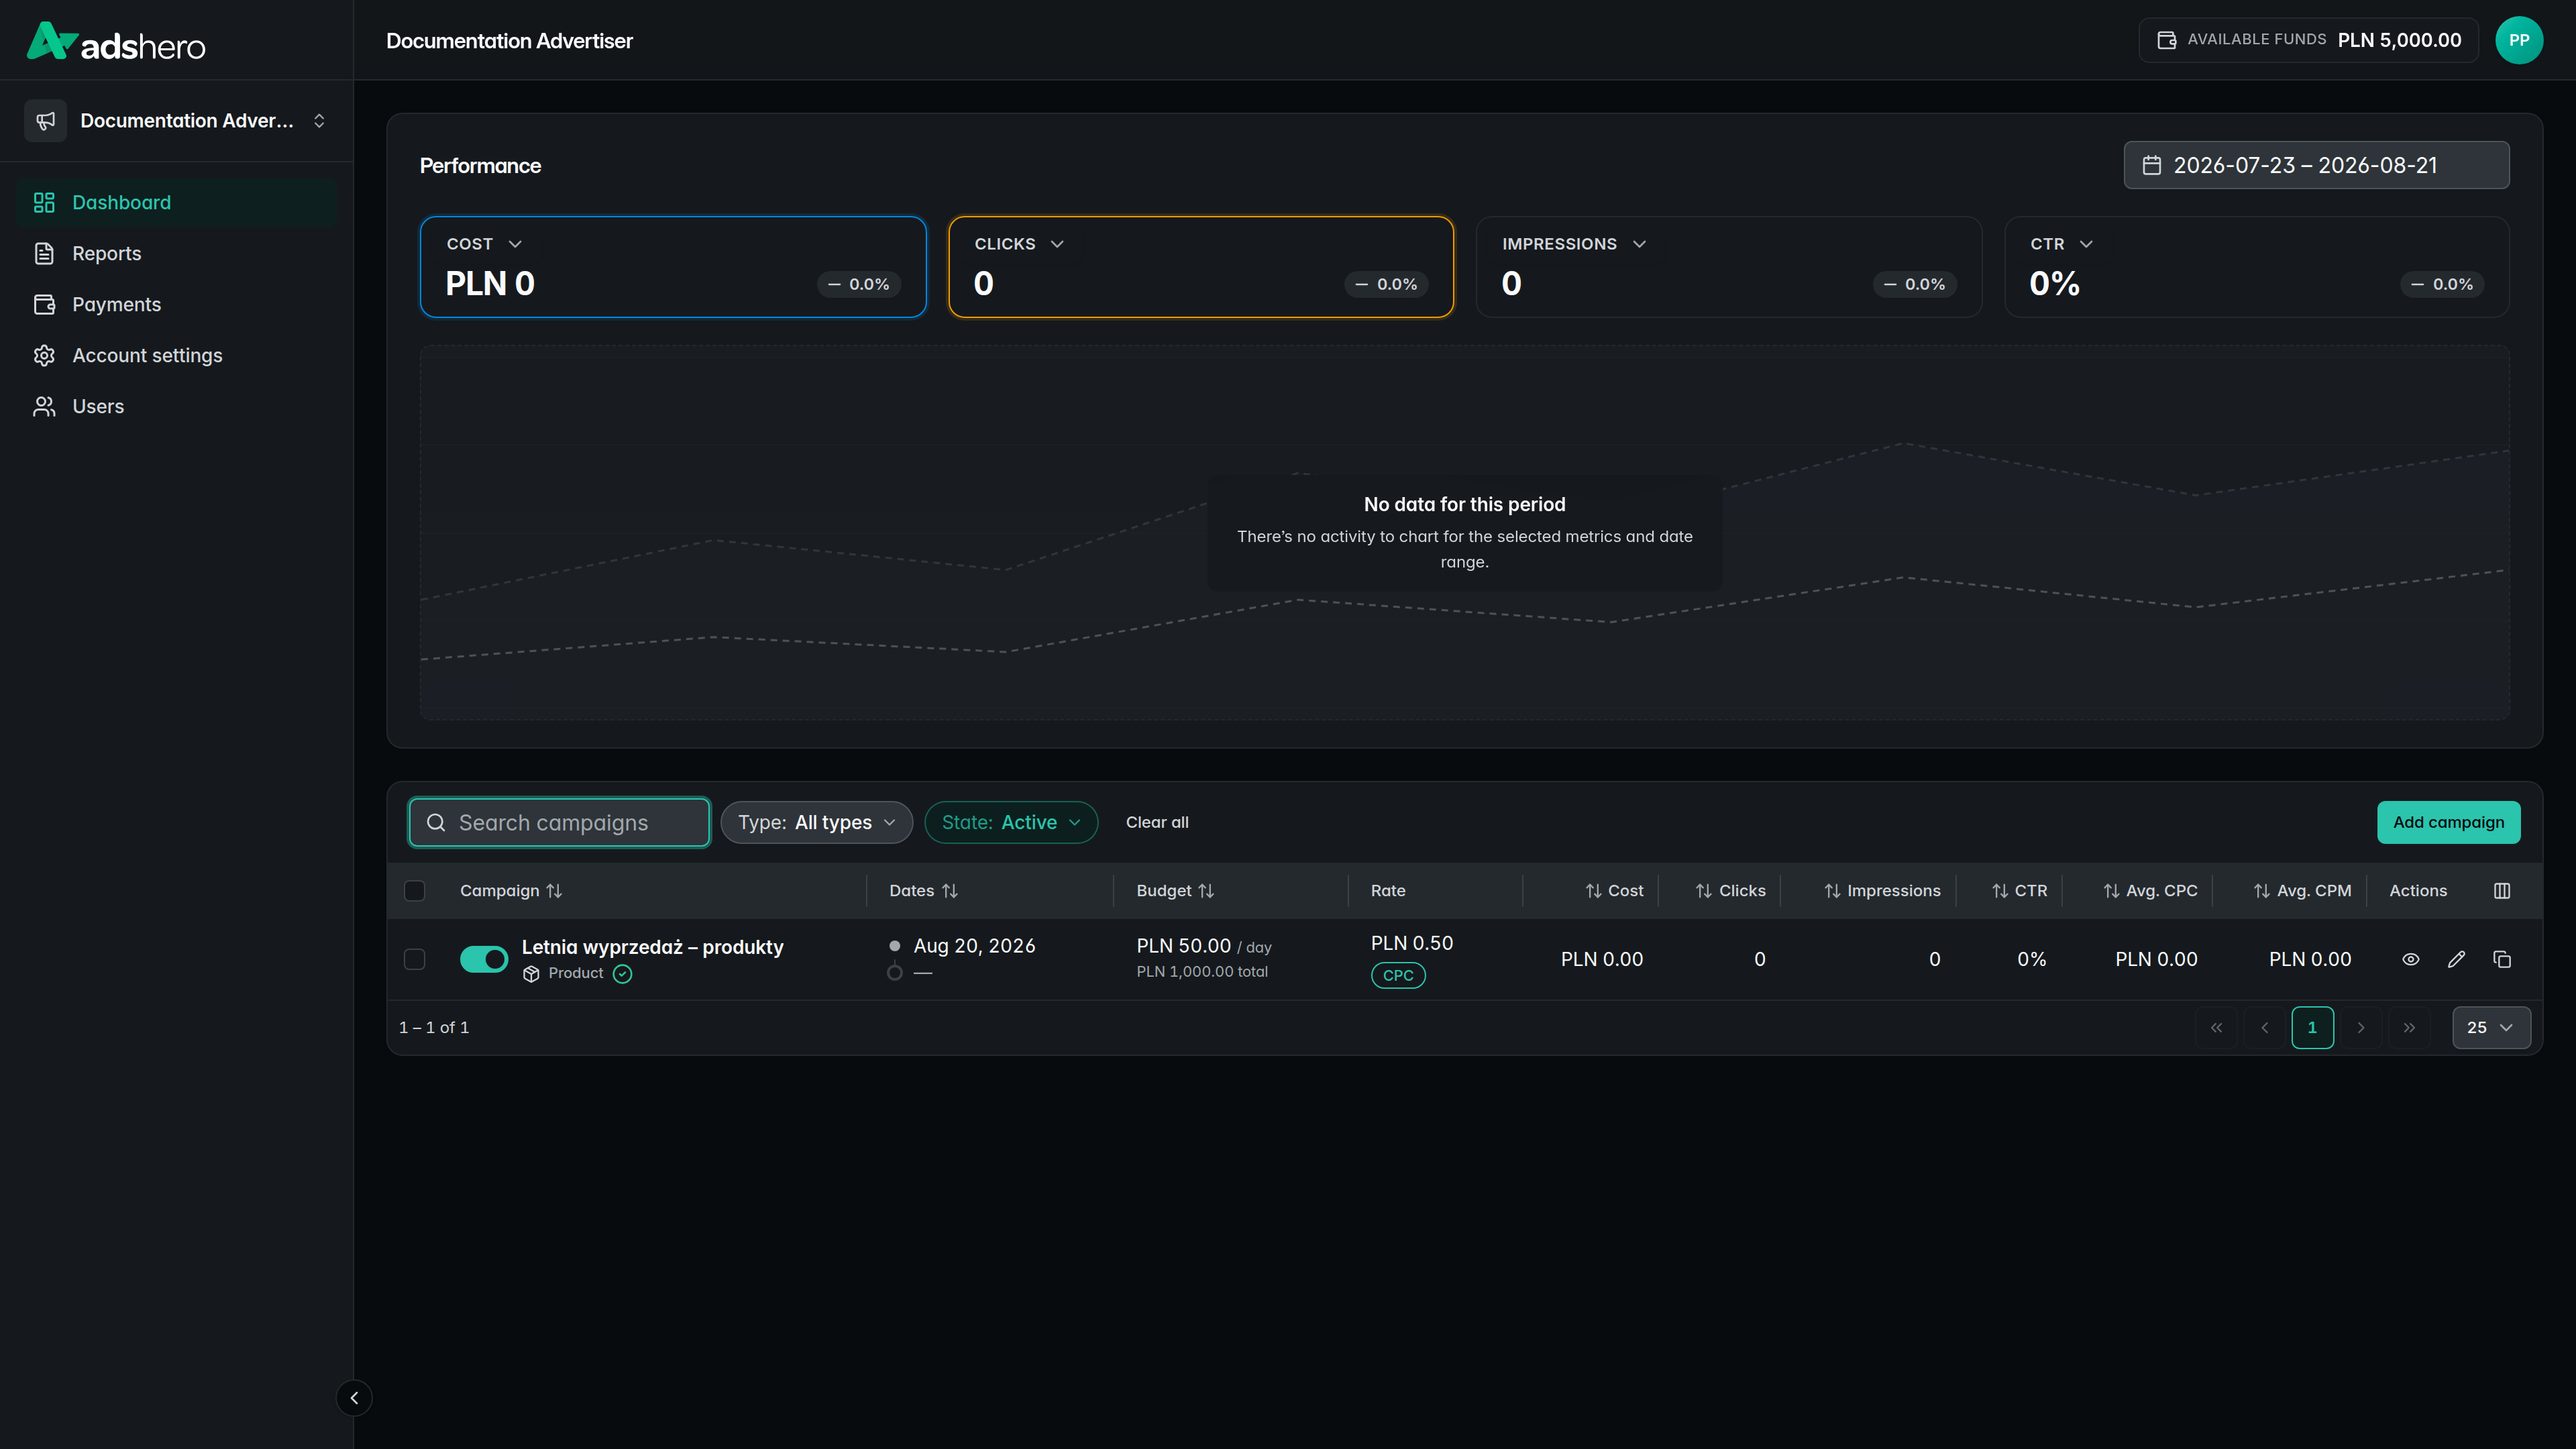
On the campaign list on the dashboard, click “Add campaign”:
In the dialog, choose the “Display” campaign type and select the shop the ads will render in. Display ads do not render right away — because the shop has no control over the supplied graphics, every ad goes through moderation. Give the campaign a name and click “Continue”:
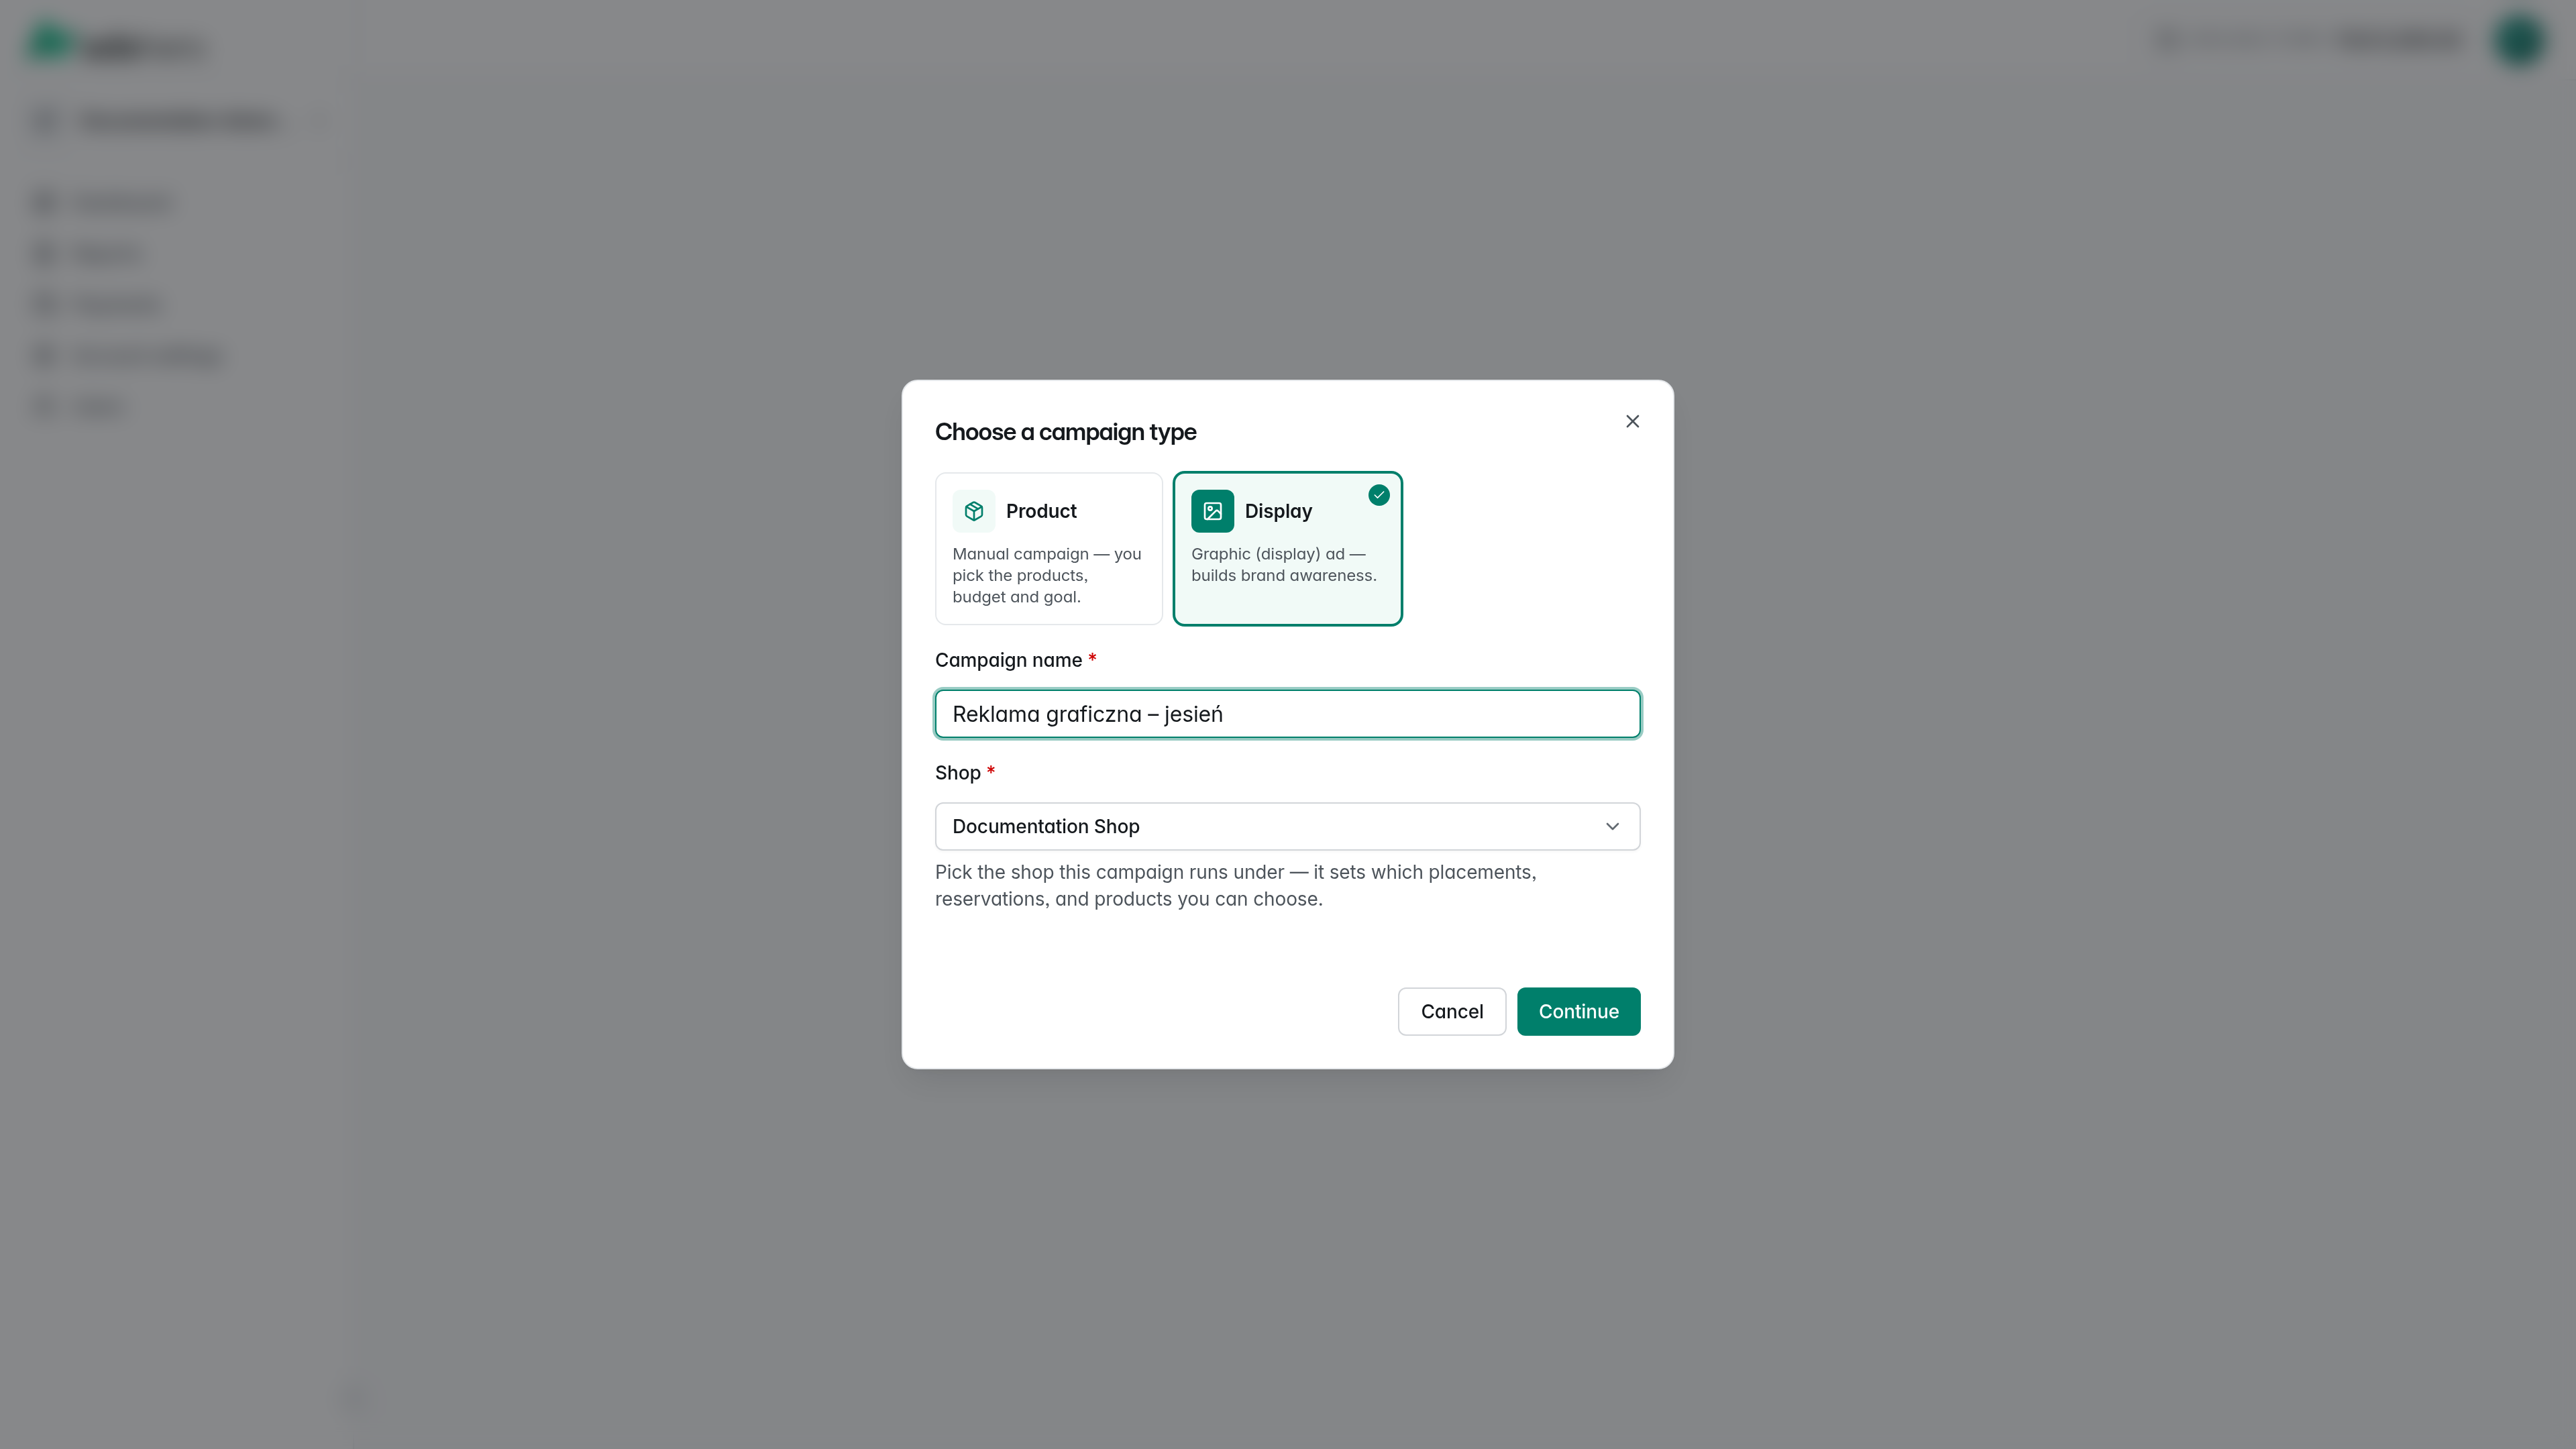
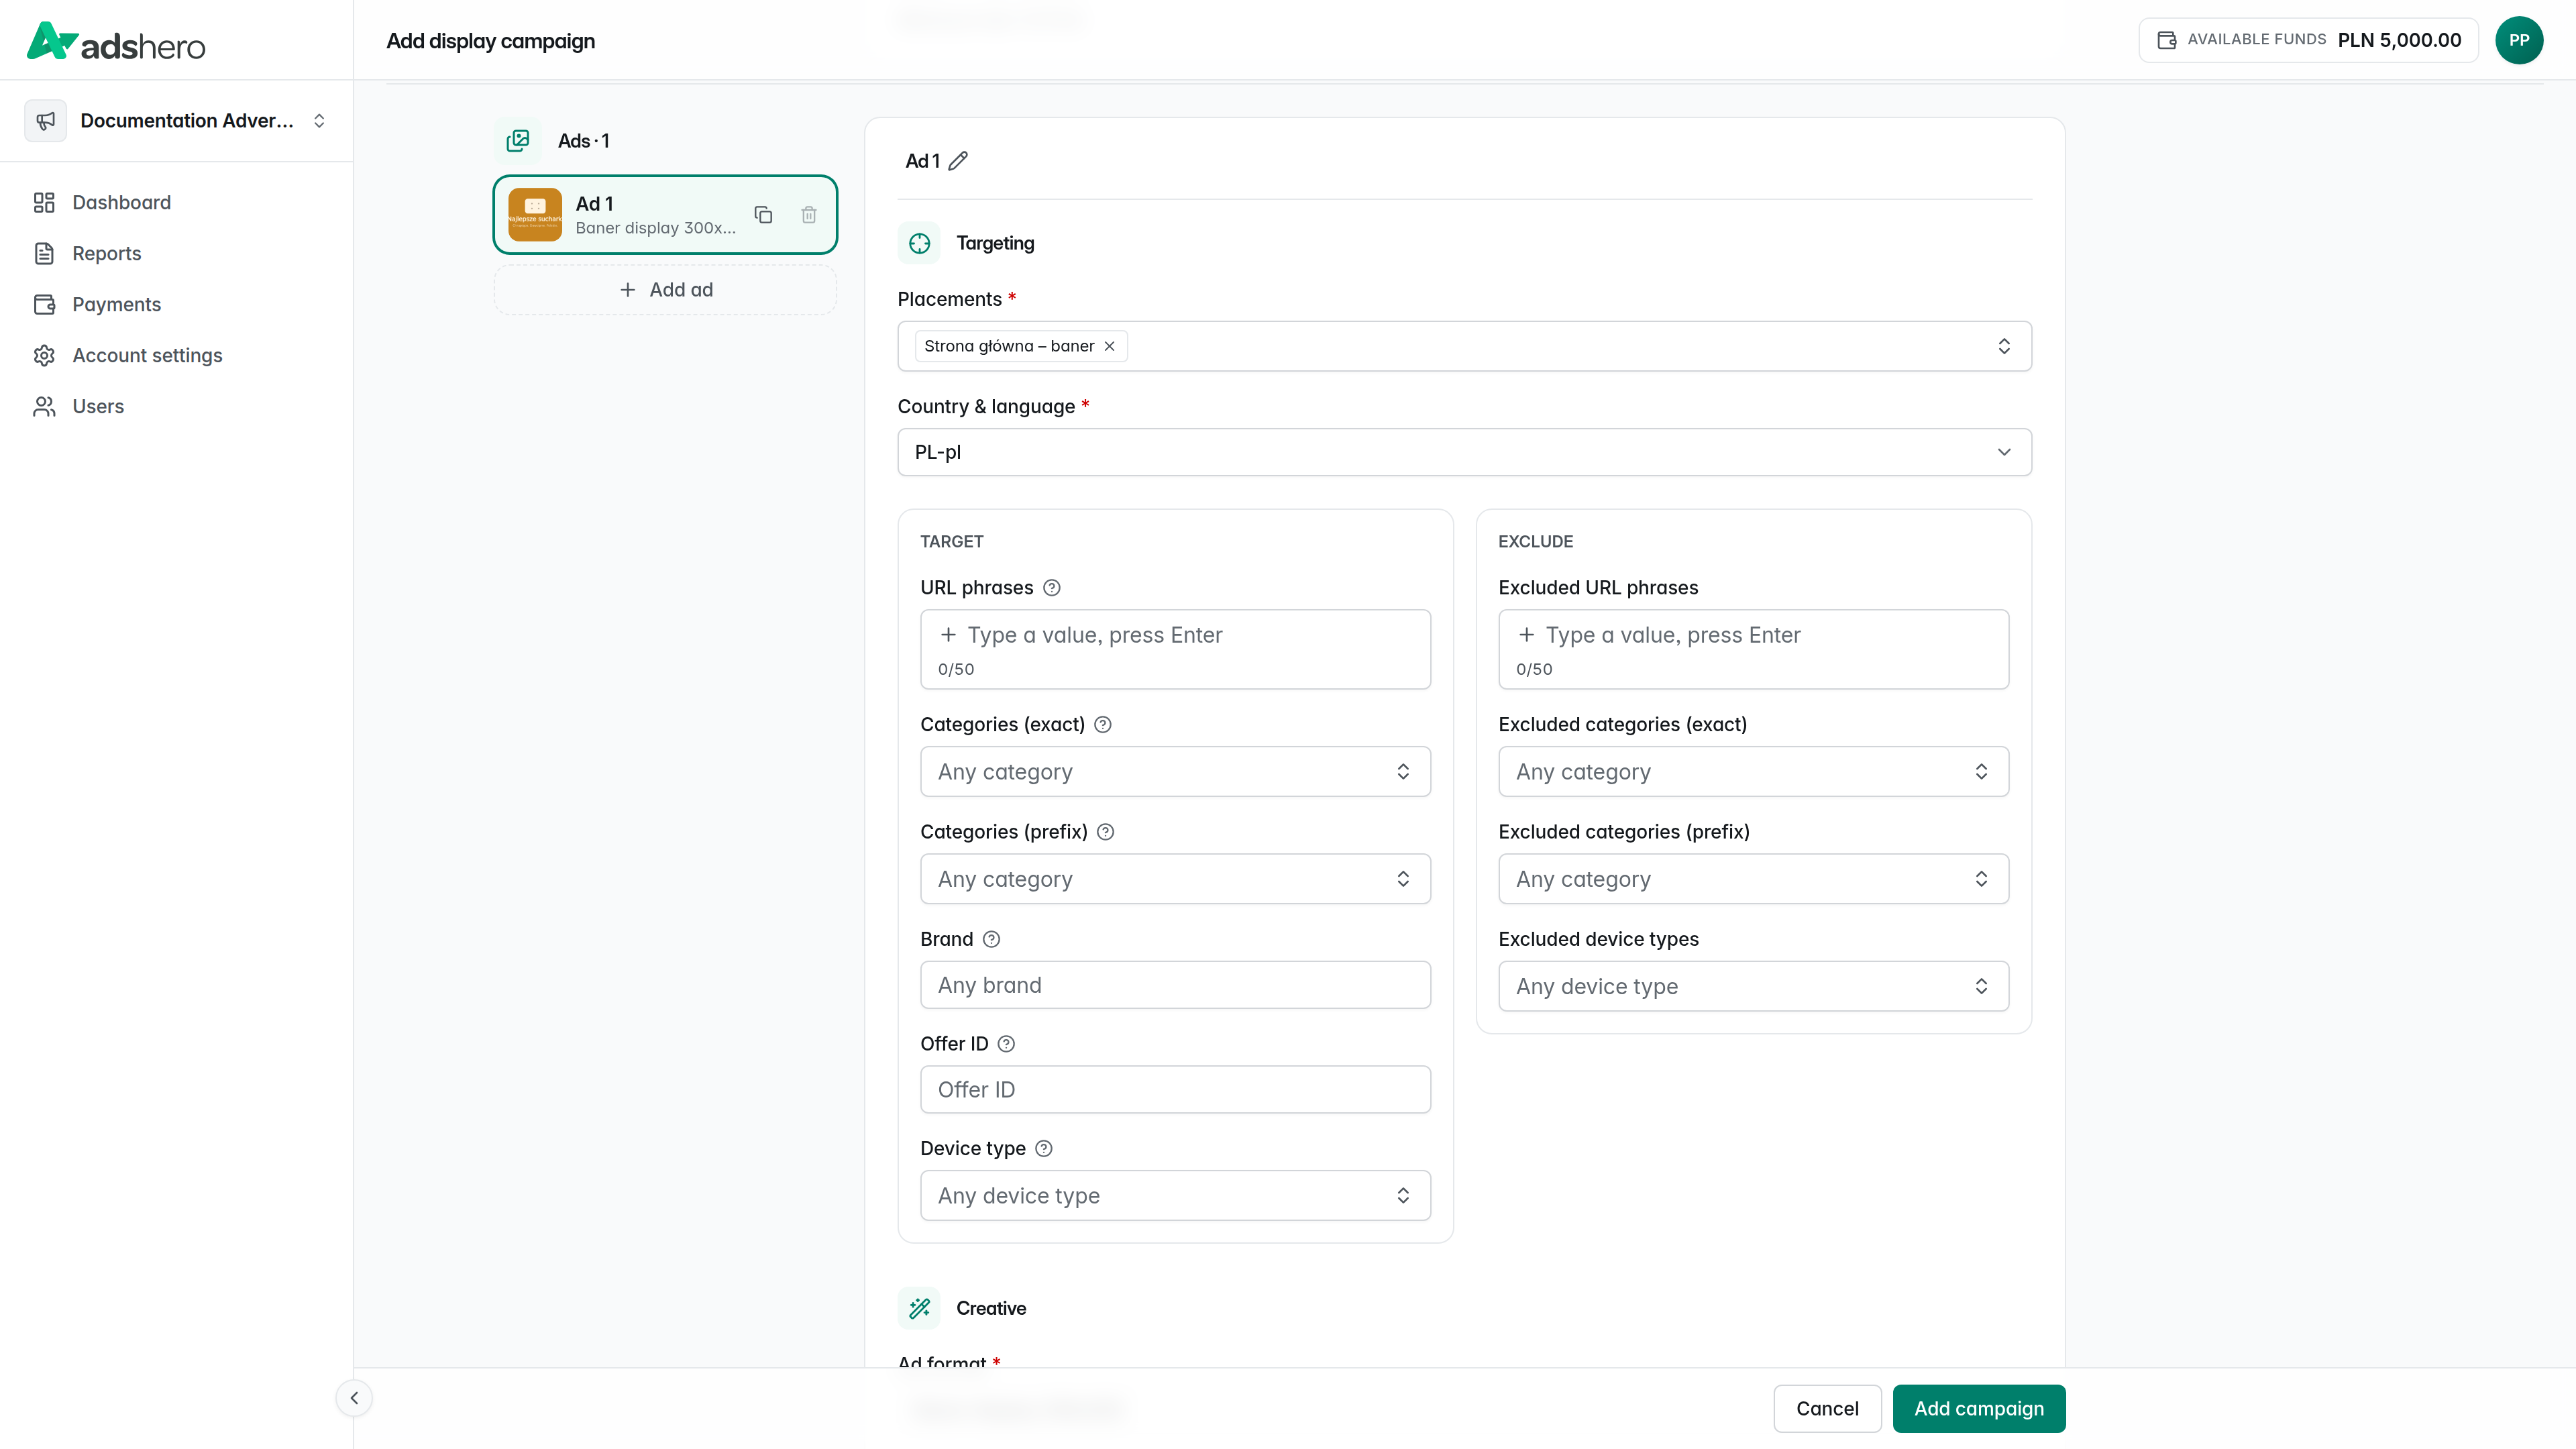
The campaign opens as one form that holds both the individual ads and the campaign-wide settings. A Display campaign contains one or more ads (banners); the sections below walk through a single ad and then the campaign settings.
Ad configuration
Give the ad a name and choose its placement. The name identifies the ad in the campaign’s ad list, so make it reflect the ad’s content and intent (for example, its targeting).
“Country & language” narrows the placement’s ad units to those present in that market, which lets one campaign carry localized ads for several markets at once.
“Destination URL” — under “Creative” — is the address the user is taken to after clicking the ad.
Targeting and exclusions
Targeting precisely selects the users and contexts the ad renders for. In this example we leave targeting open — configuration and best practices are described on a separate page.
Creative
The creative is what the user sees. Under “Creative” you first choose the ad format — the format defines what the ad must contain — then upload the “Images” it requires (we accept PNG, JPG, and WEBP) and fill in the “Text fields” the format defines.
The example uses an existing, simple image format, “Baner display 300x250”, so only the image has to be supplied; the “Baner produktowy 340x500” format built above shows a richer definition, with several sizes and text fields.
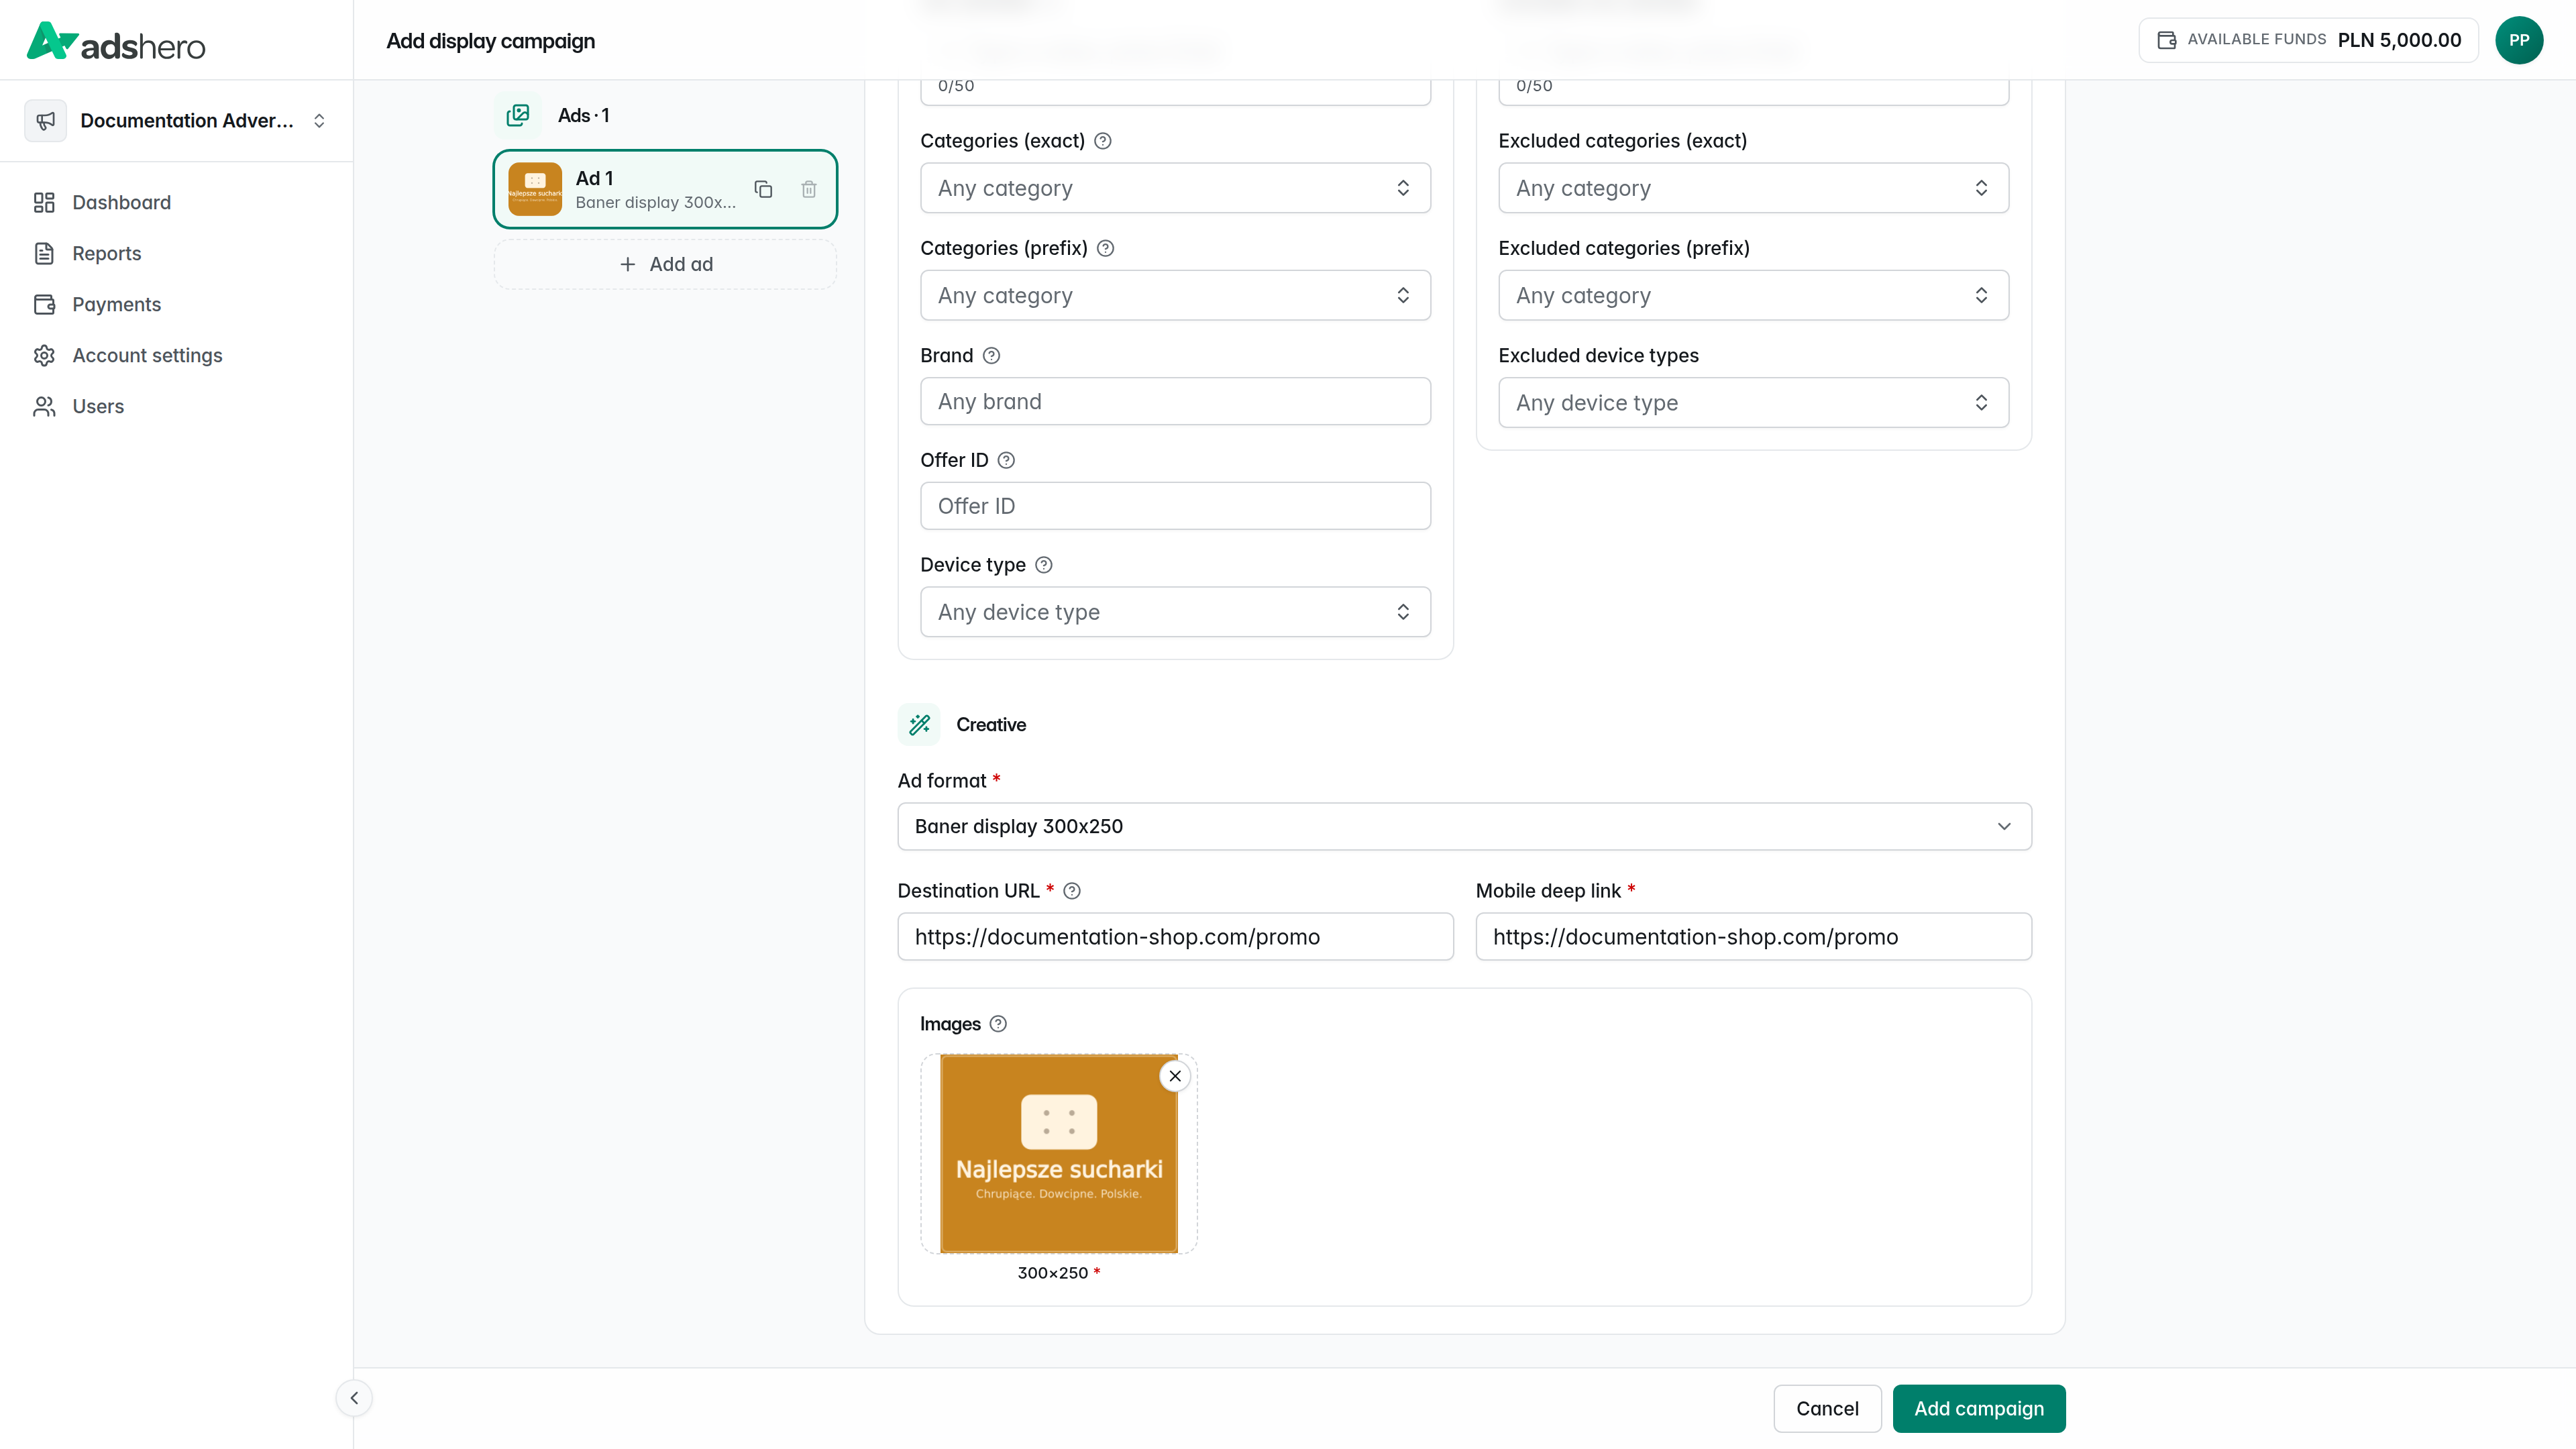
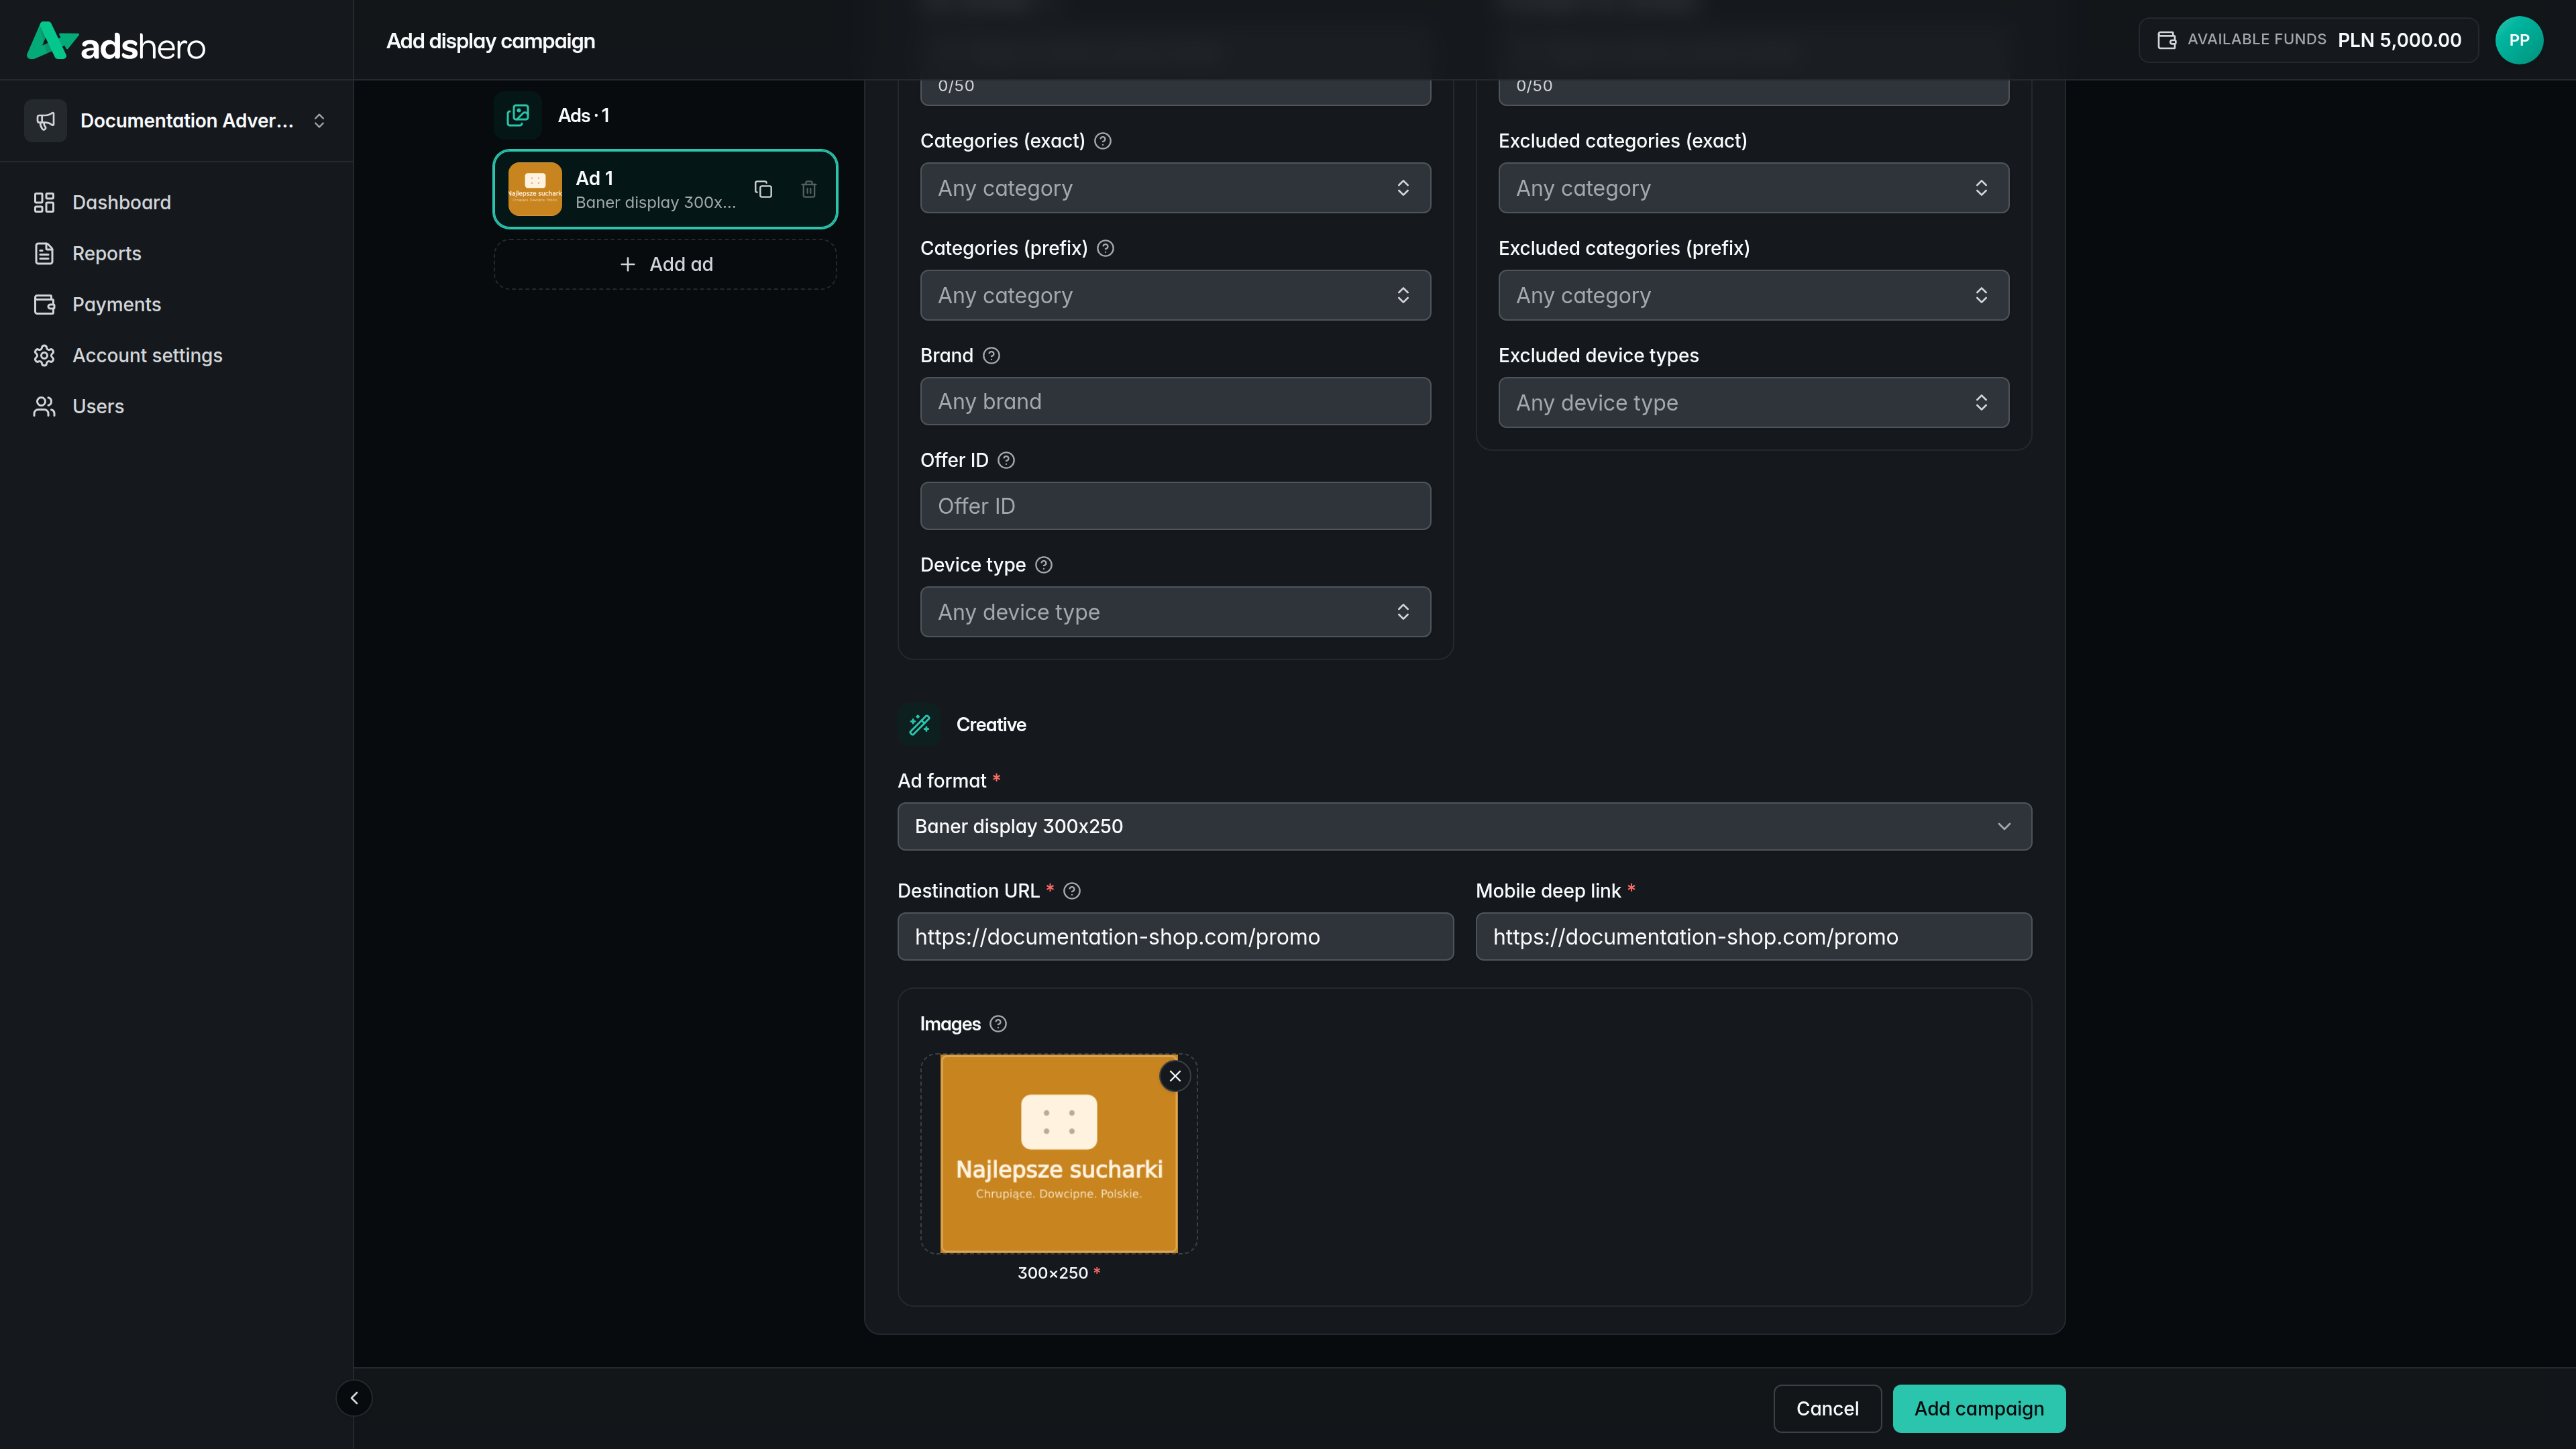
The “Ads” section lists every ad in the campaign. You can edit an ad, duplicate it (to build a similar one from a template) with “Duplicate”, or add another with “Add ad”. For this guide we keep a single ad:
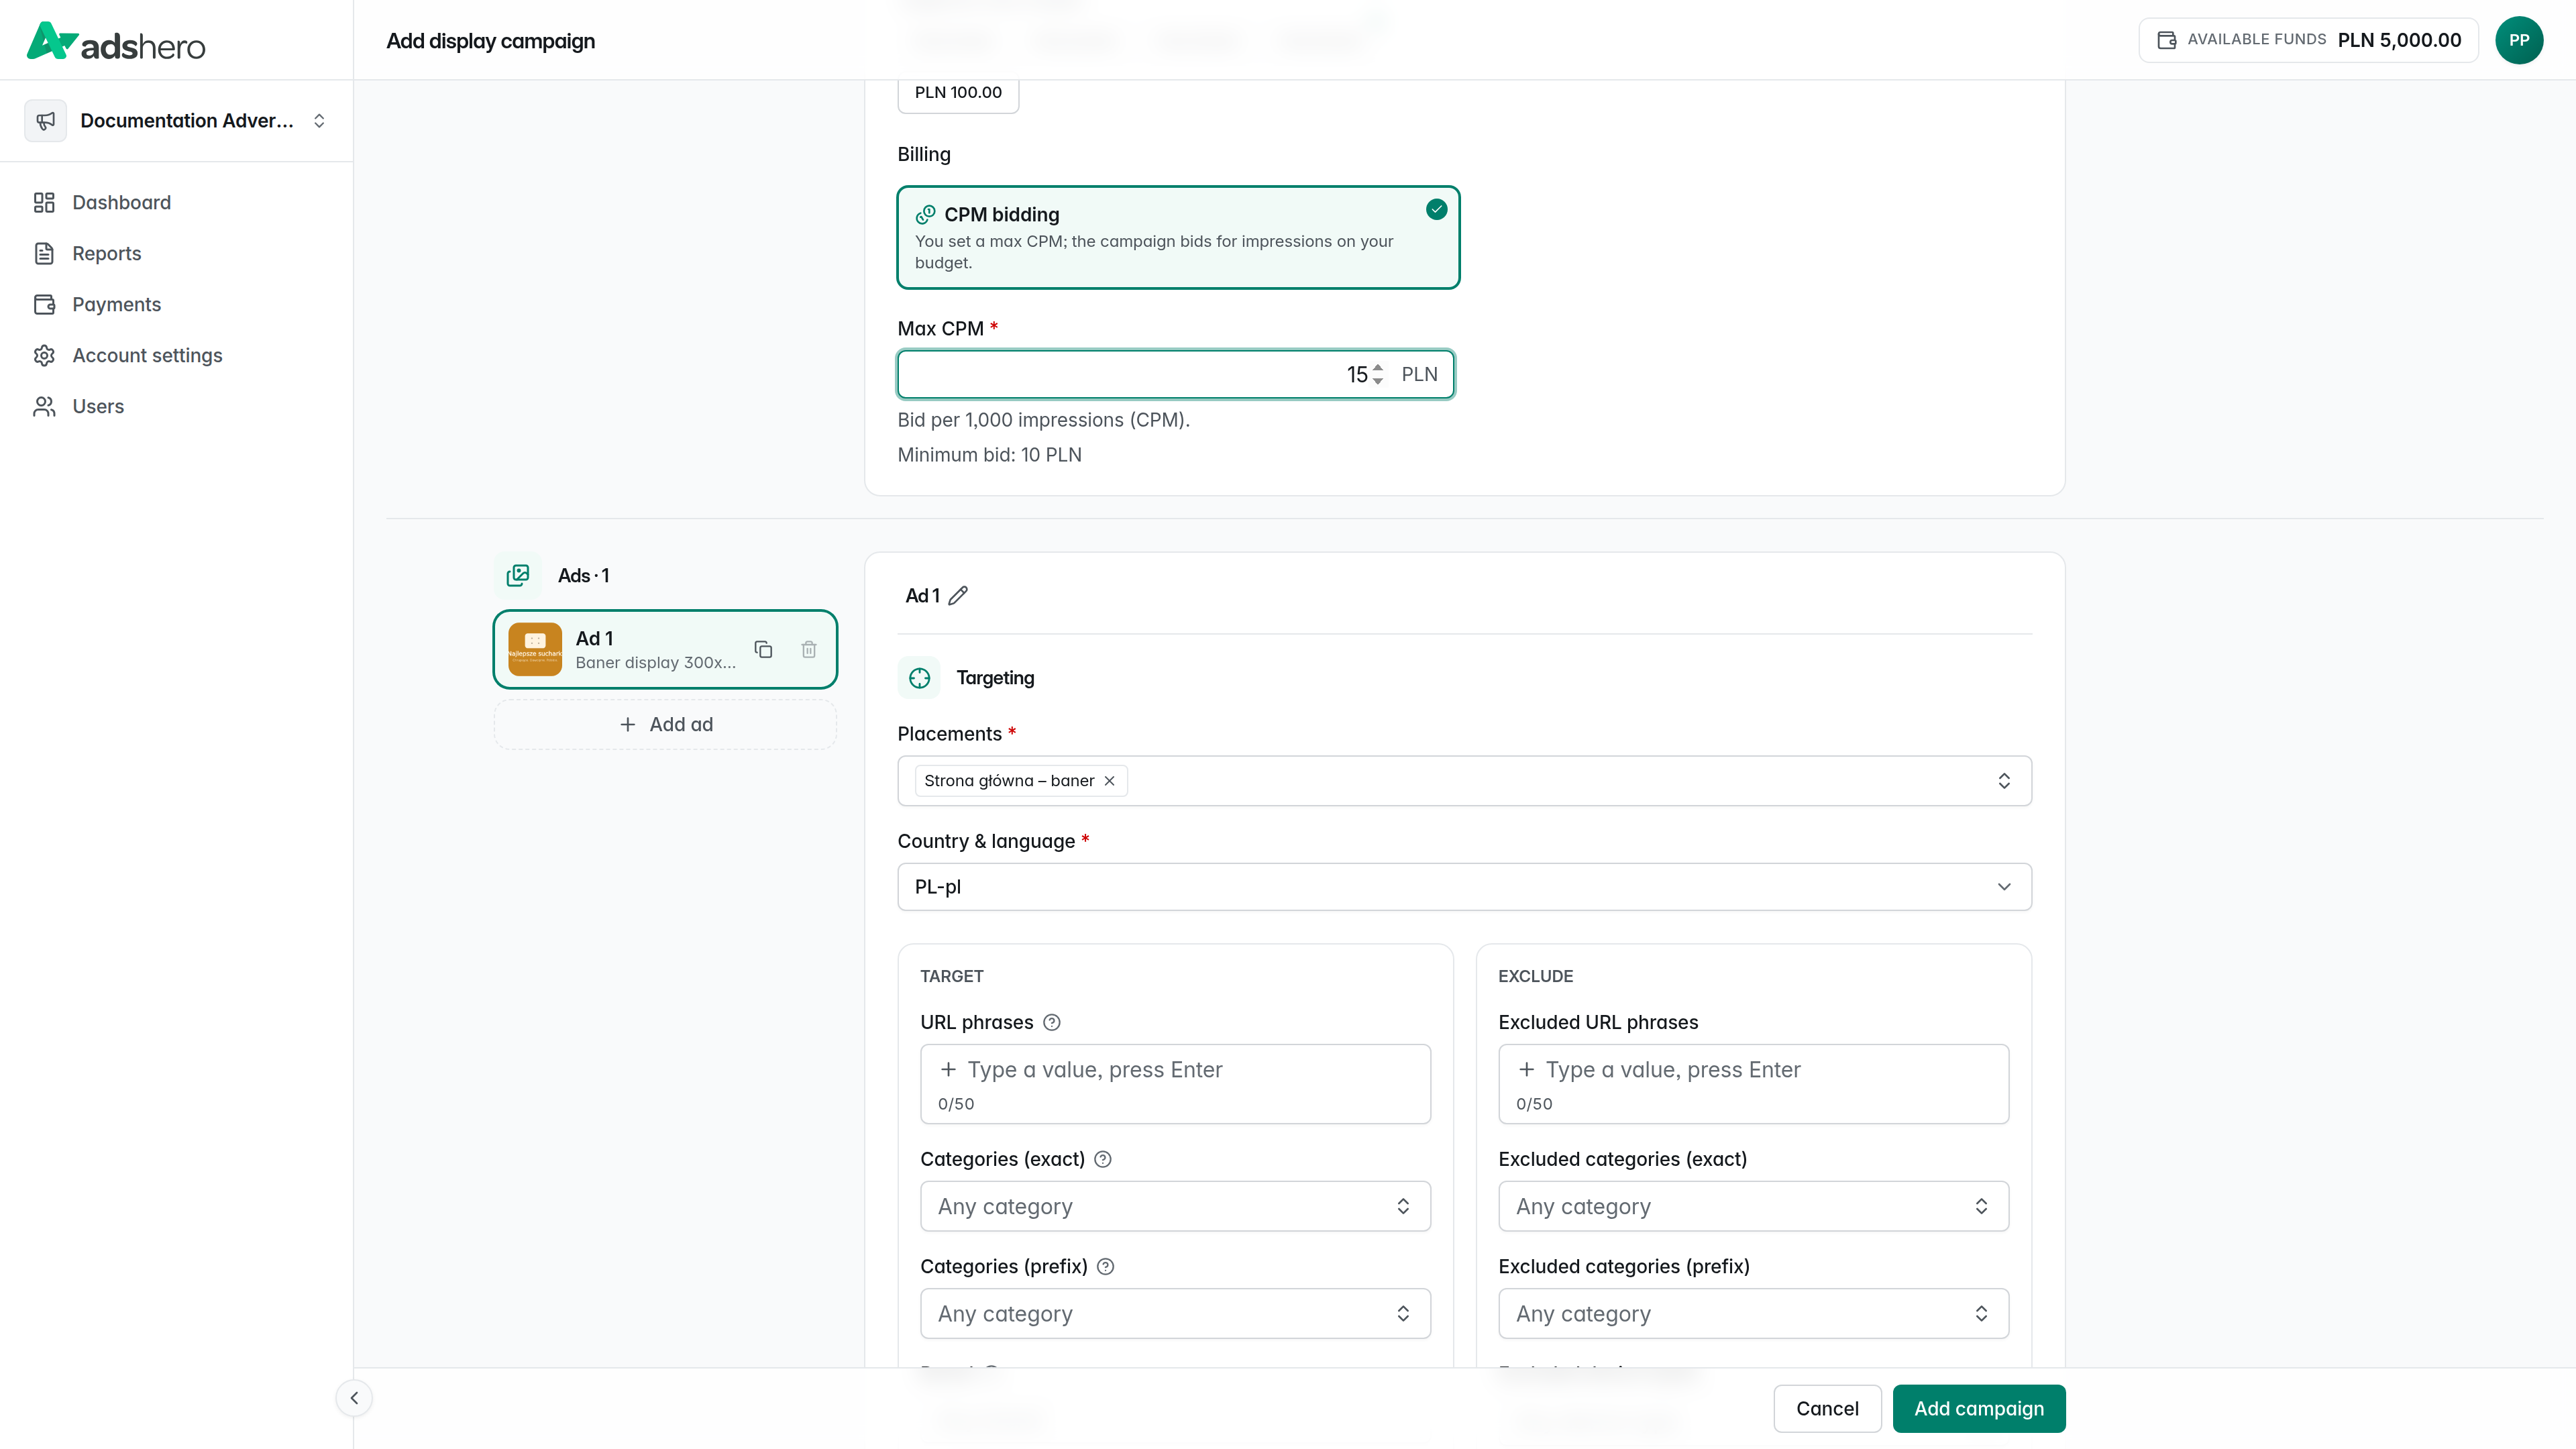
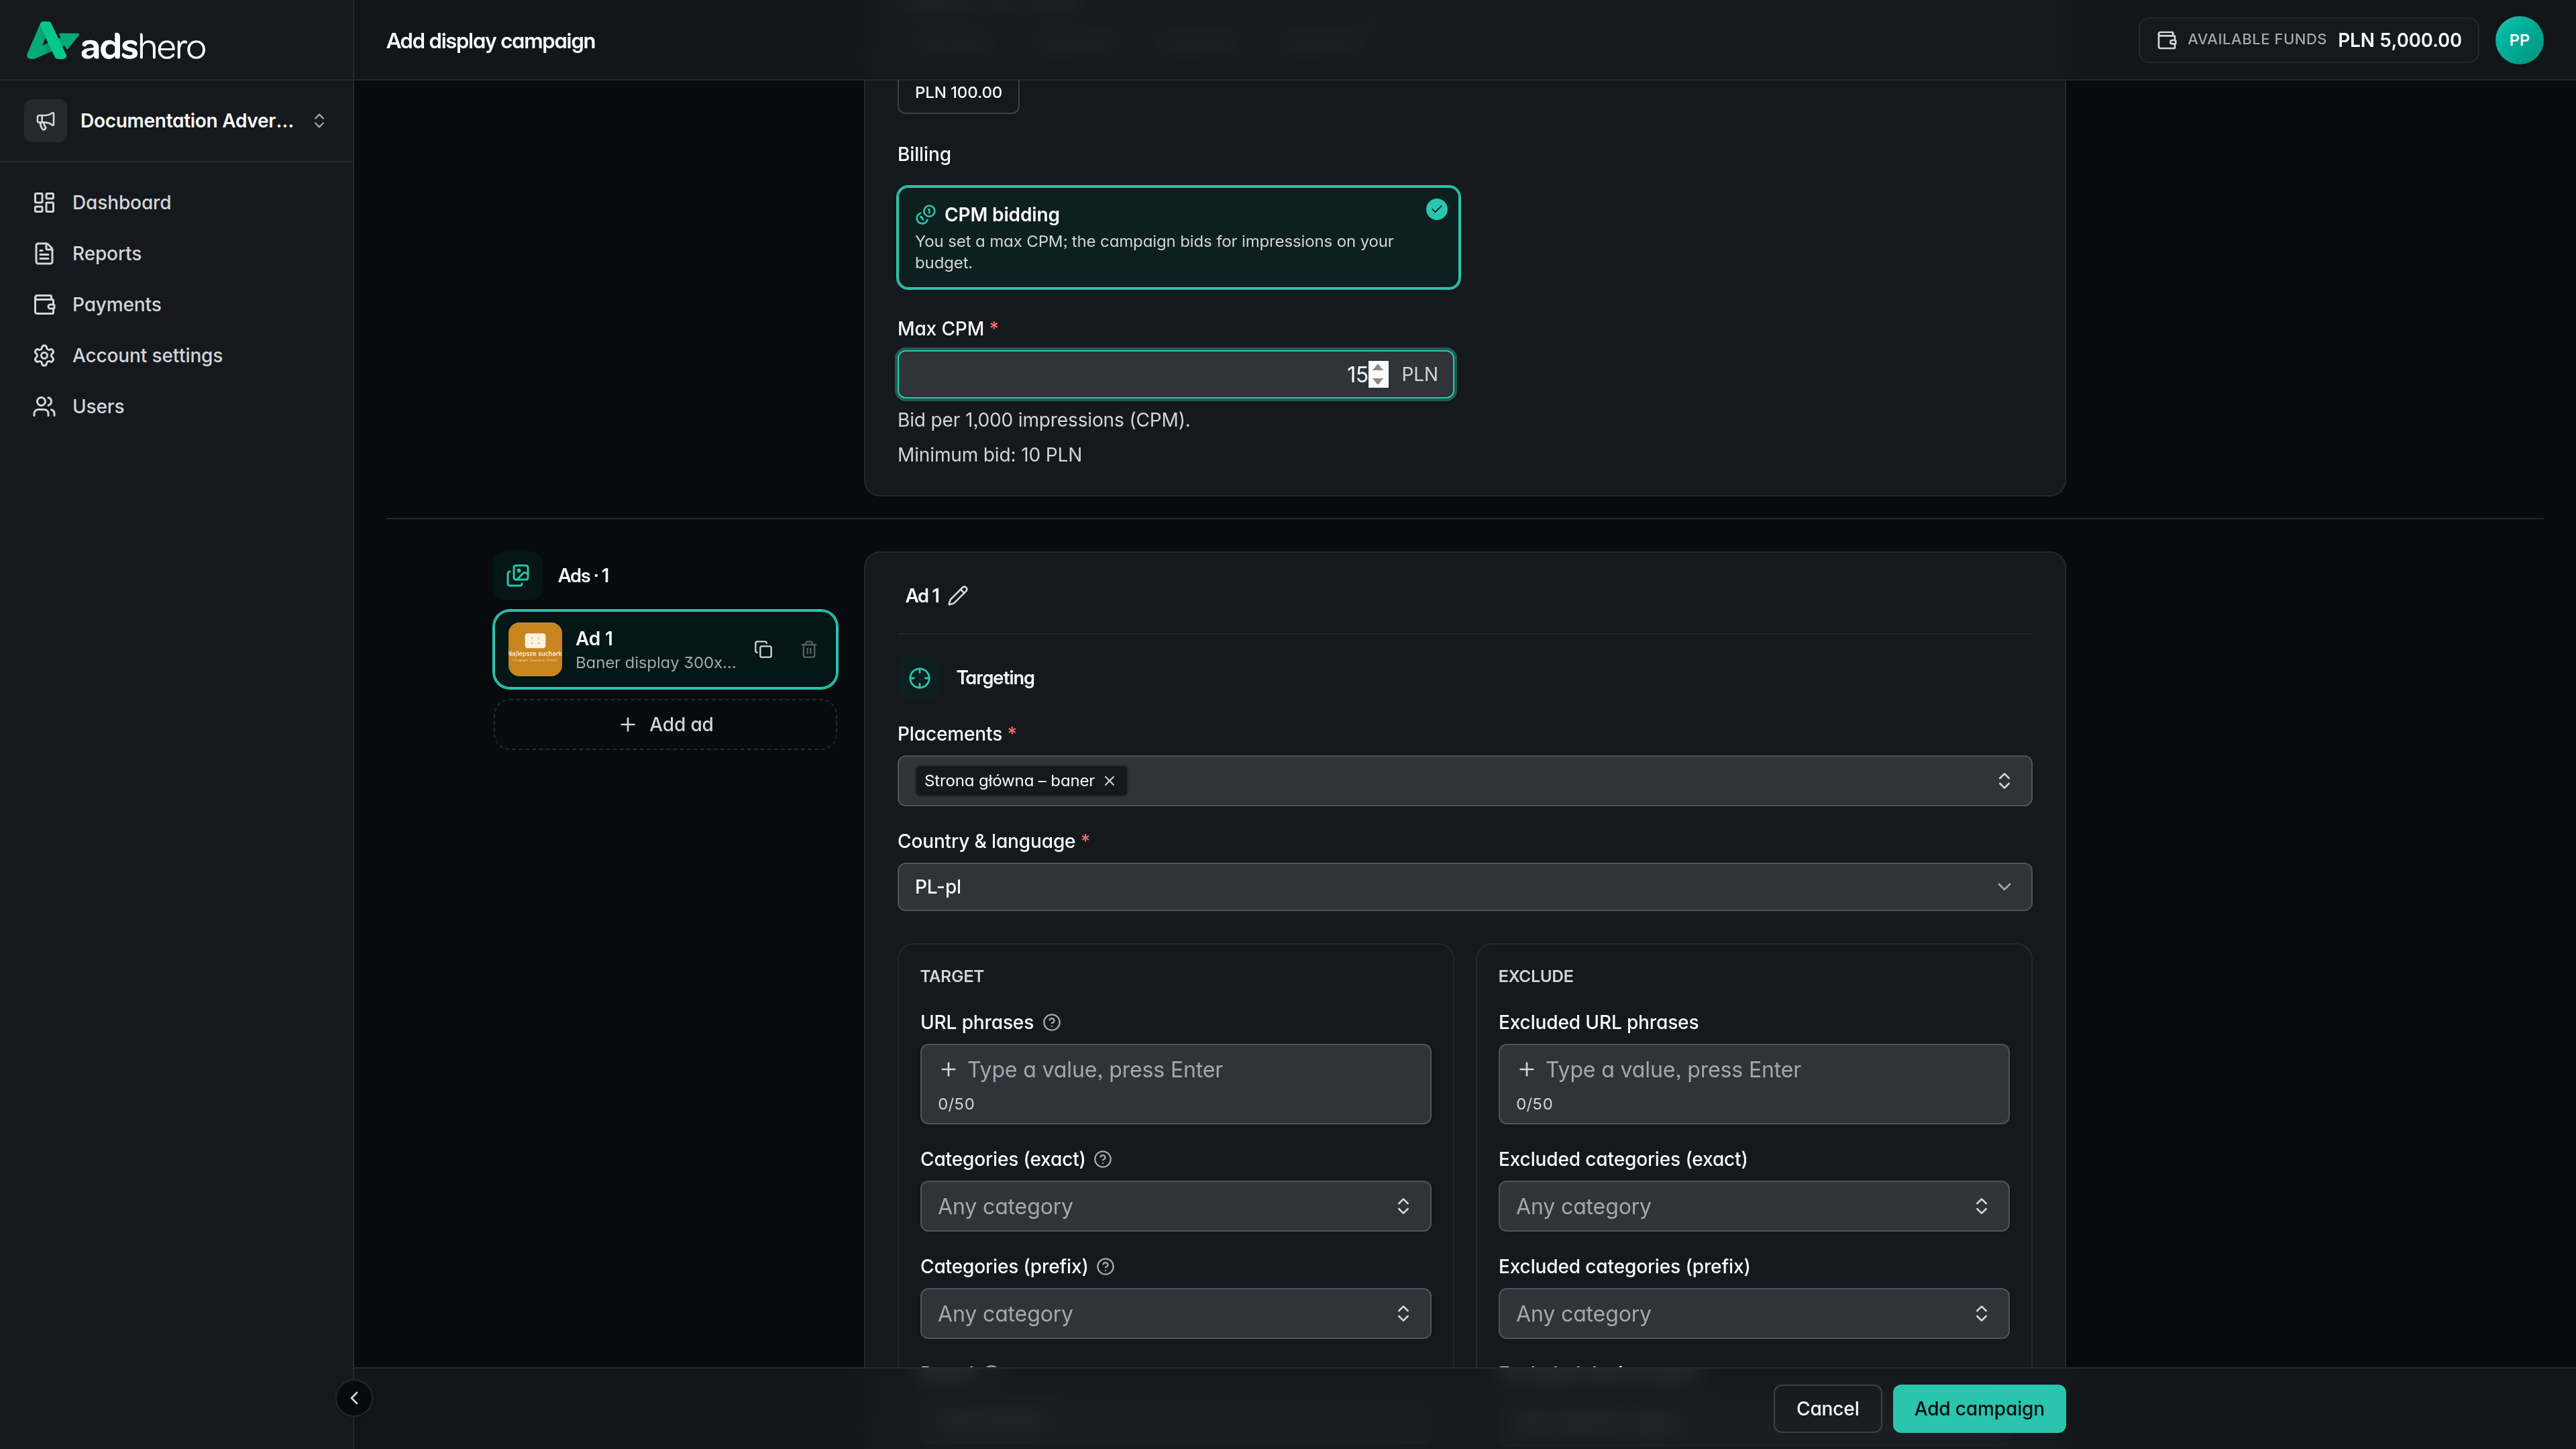
Settings, budget and advanced options
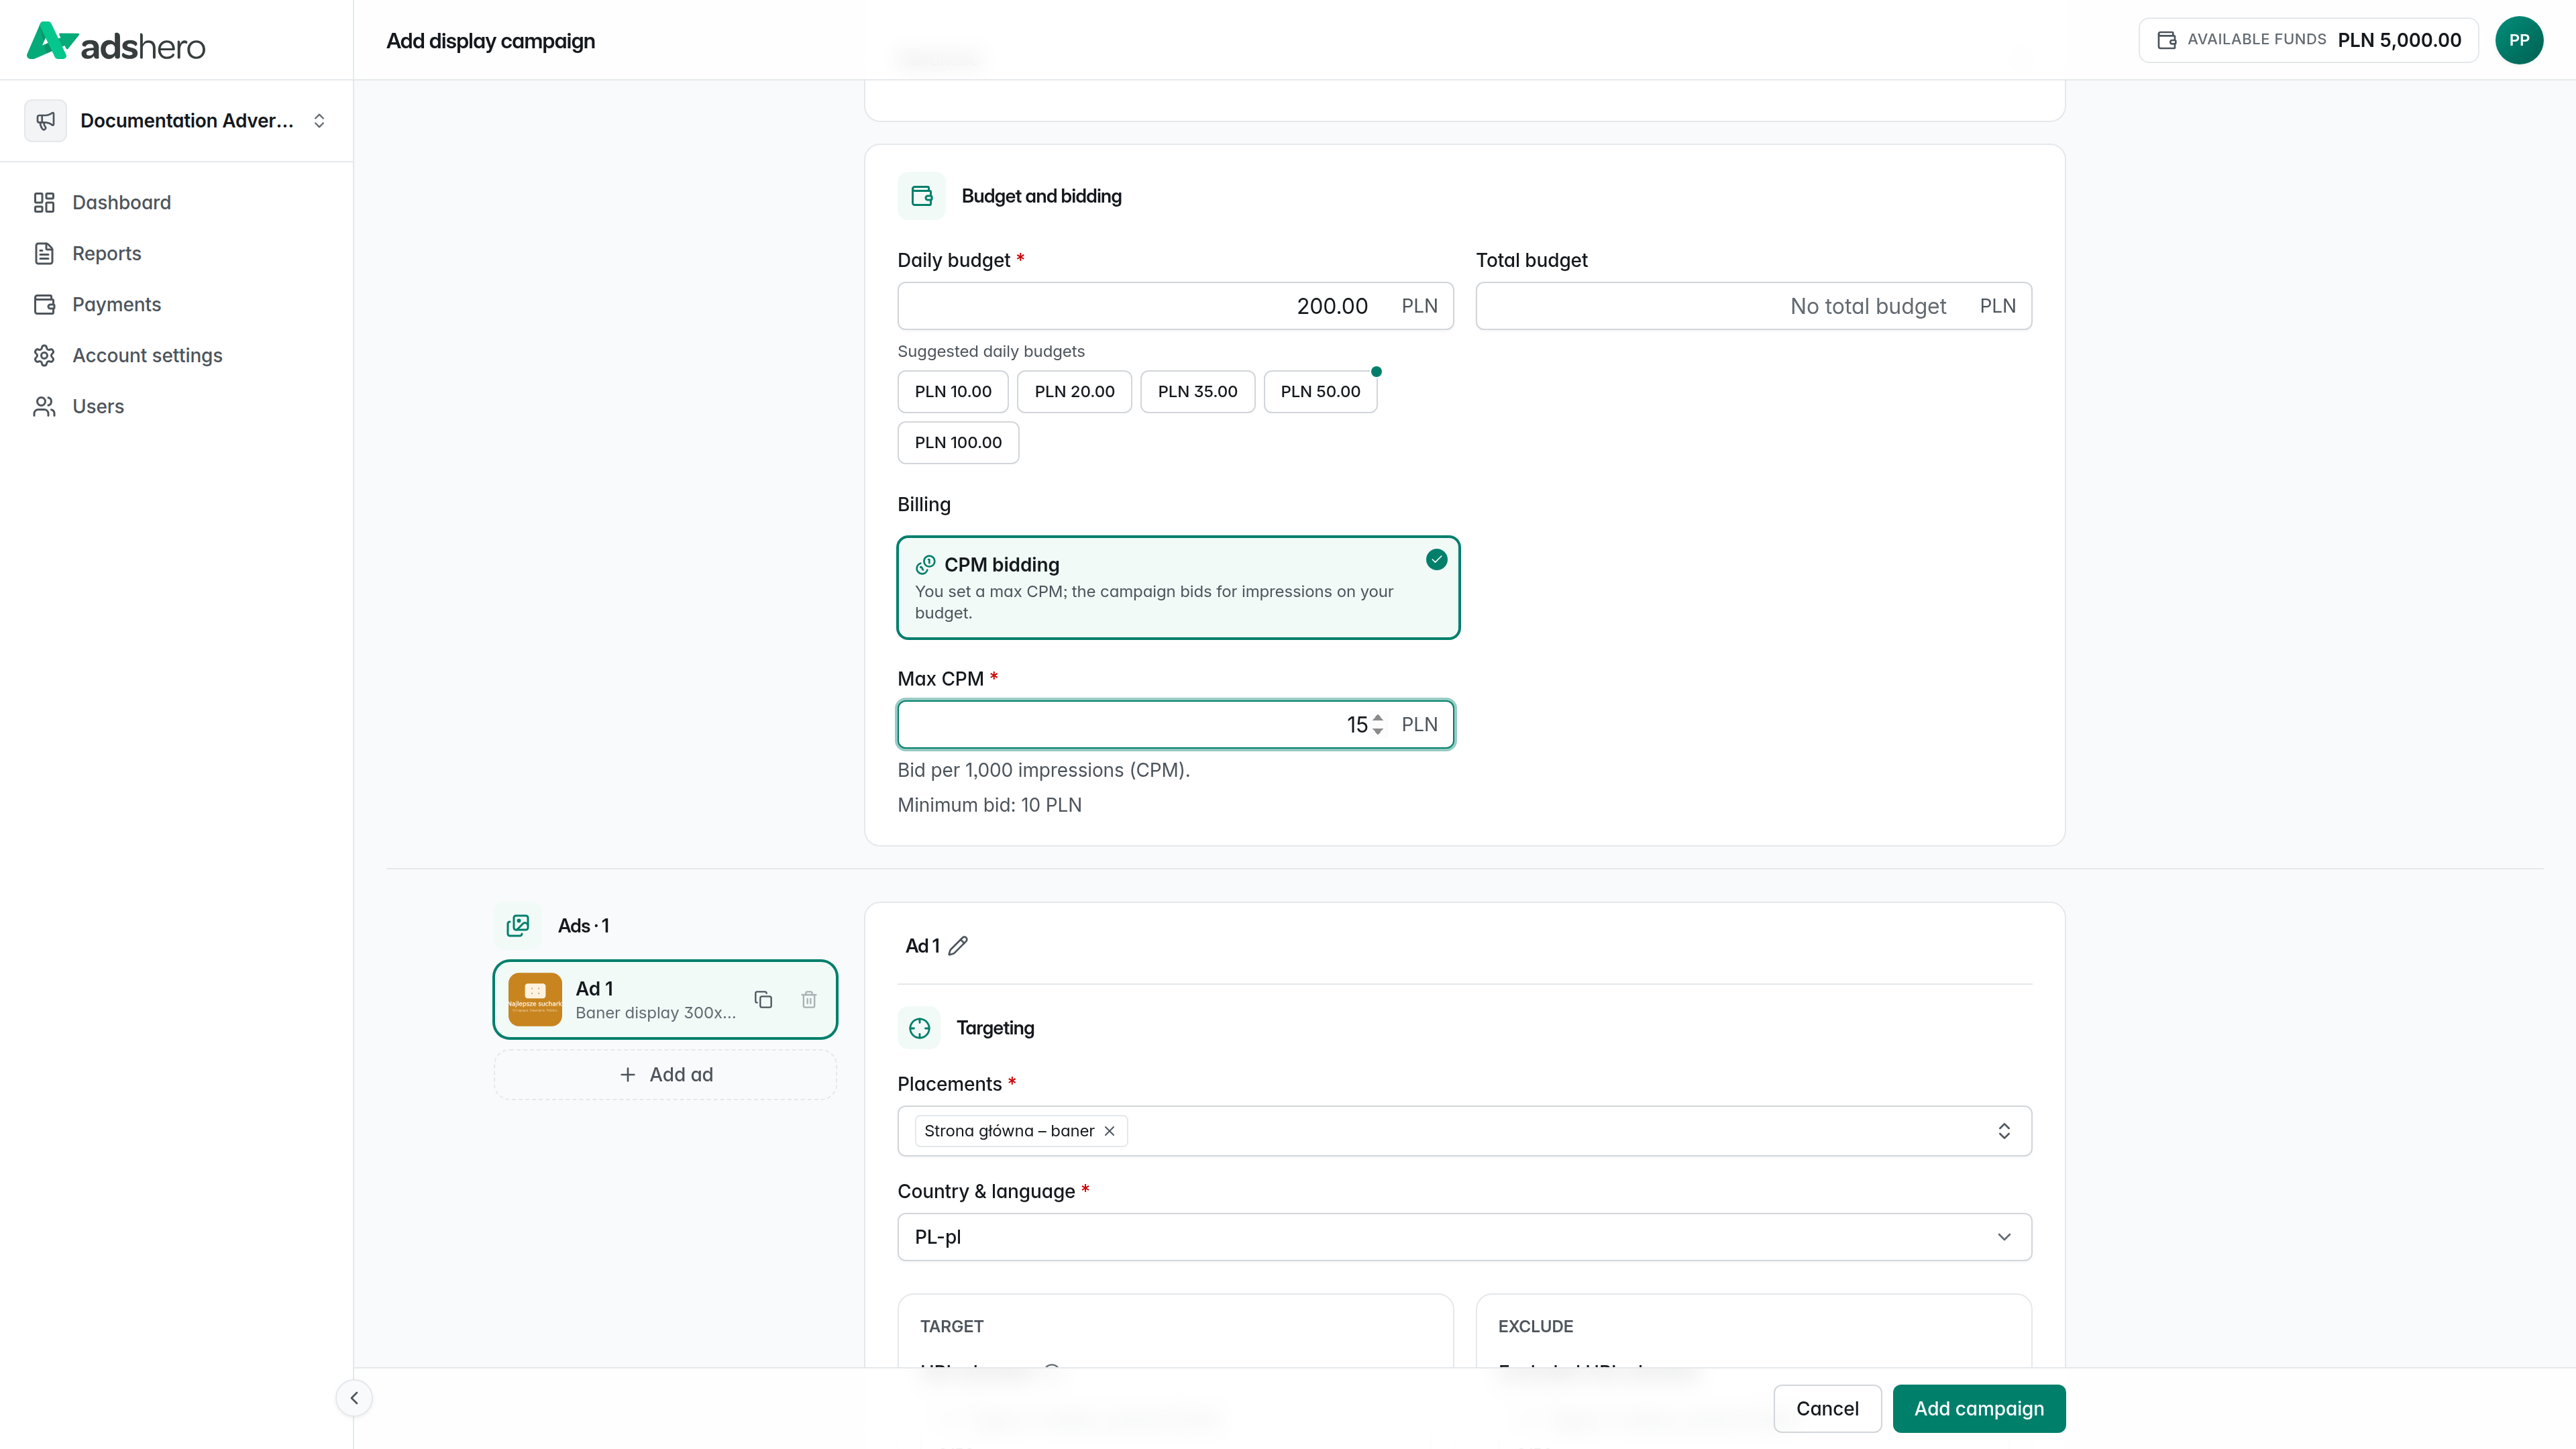
Under “Settings” set the campaign schedule, and under “Budget and bidding” set the “Max CPM” (cost per 1000 impressions) and the budget.
The “Advanced” section adds optional controls: “Impressions per user” caps how many times a single user can see an ad per day, and “Attributable offer IDs” lists the offers whose purchases are attributed to the campaign when the user saw an ad beforehand — this is how you measure the campaign’s effectiveness.
When the campaign is ready, click “Add campaign”:
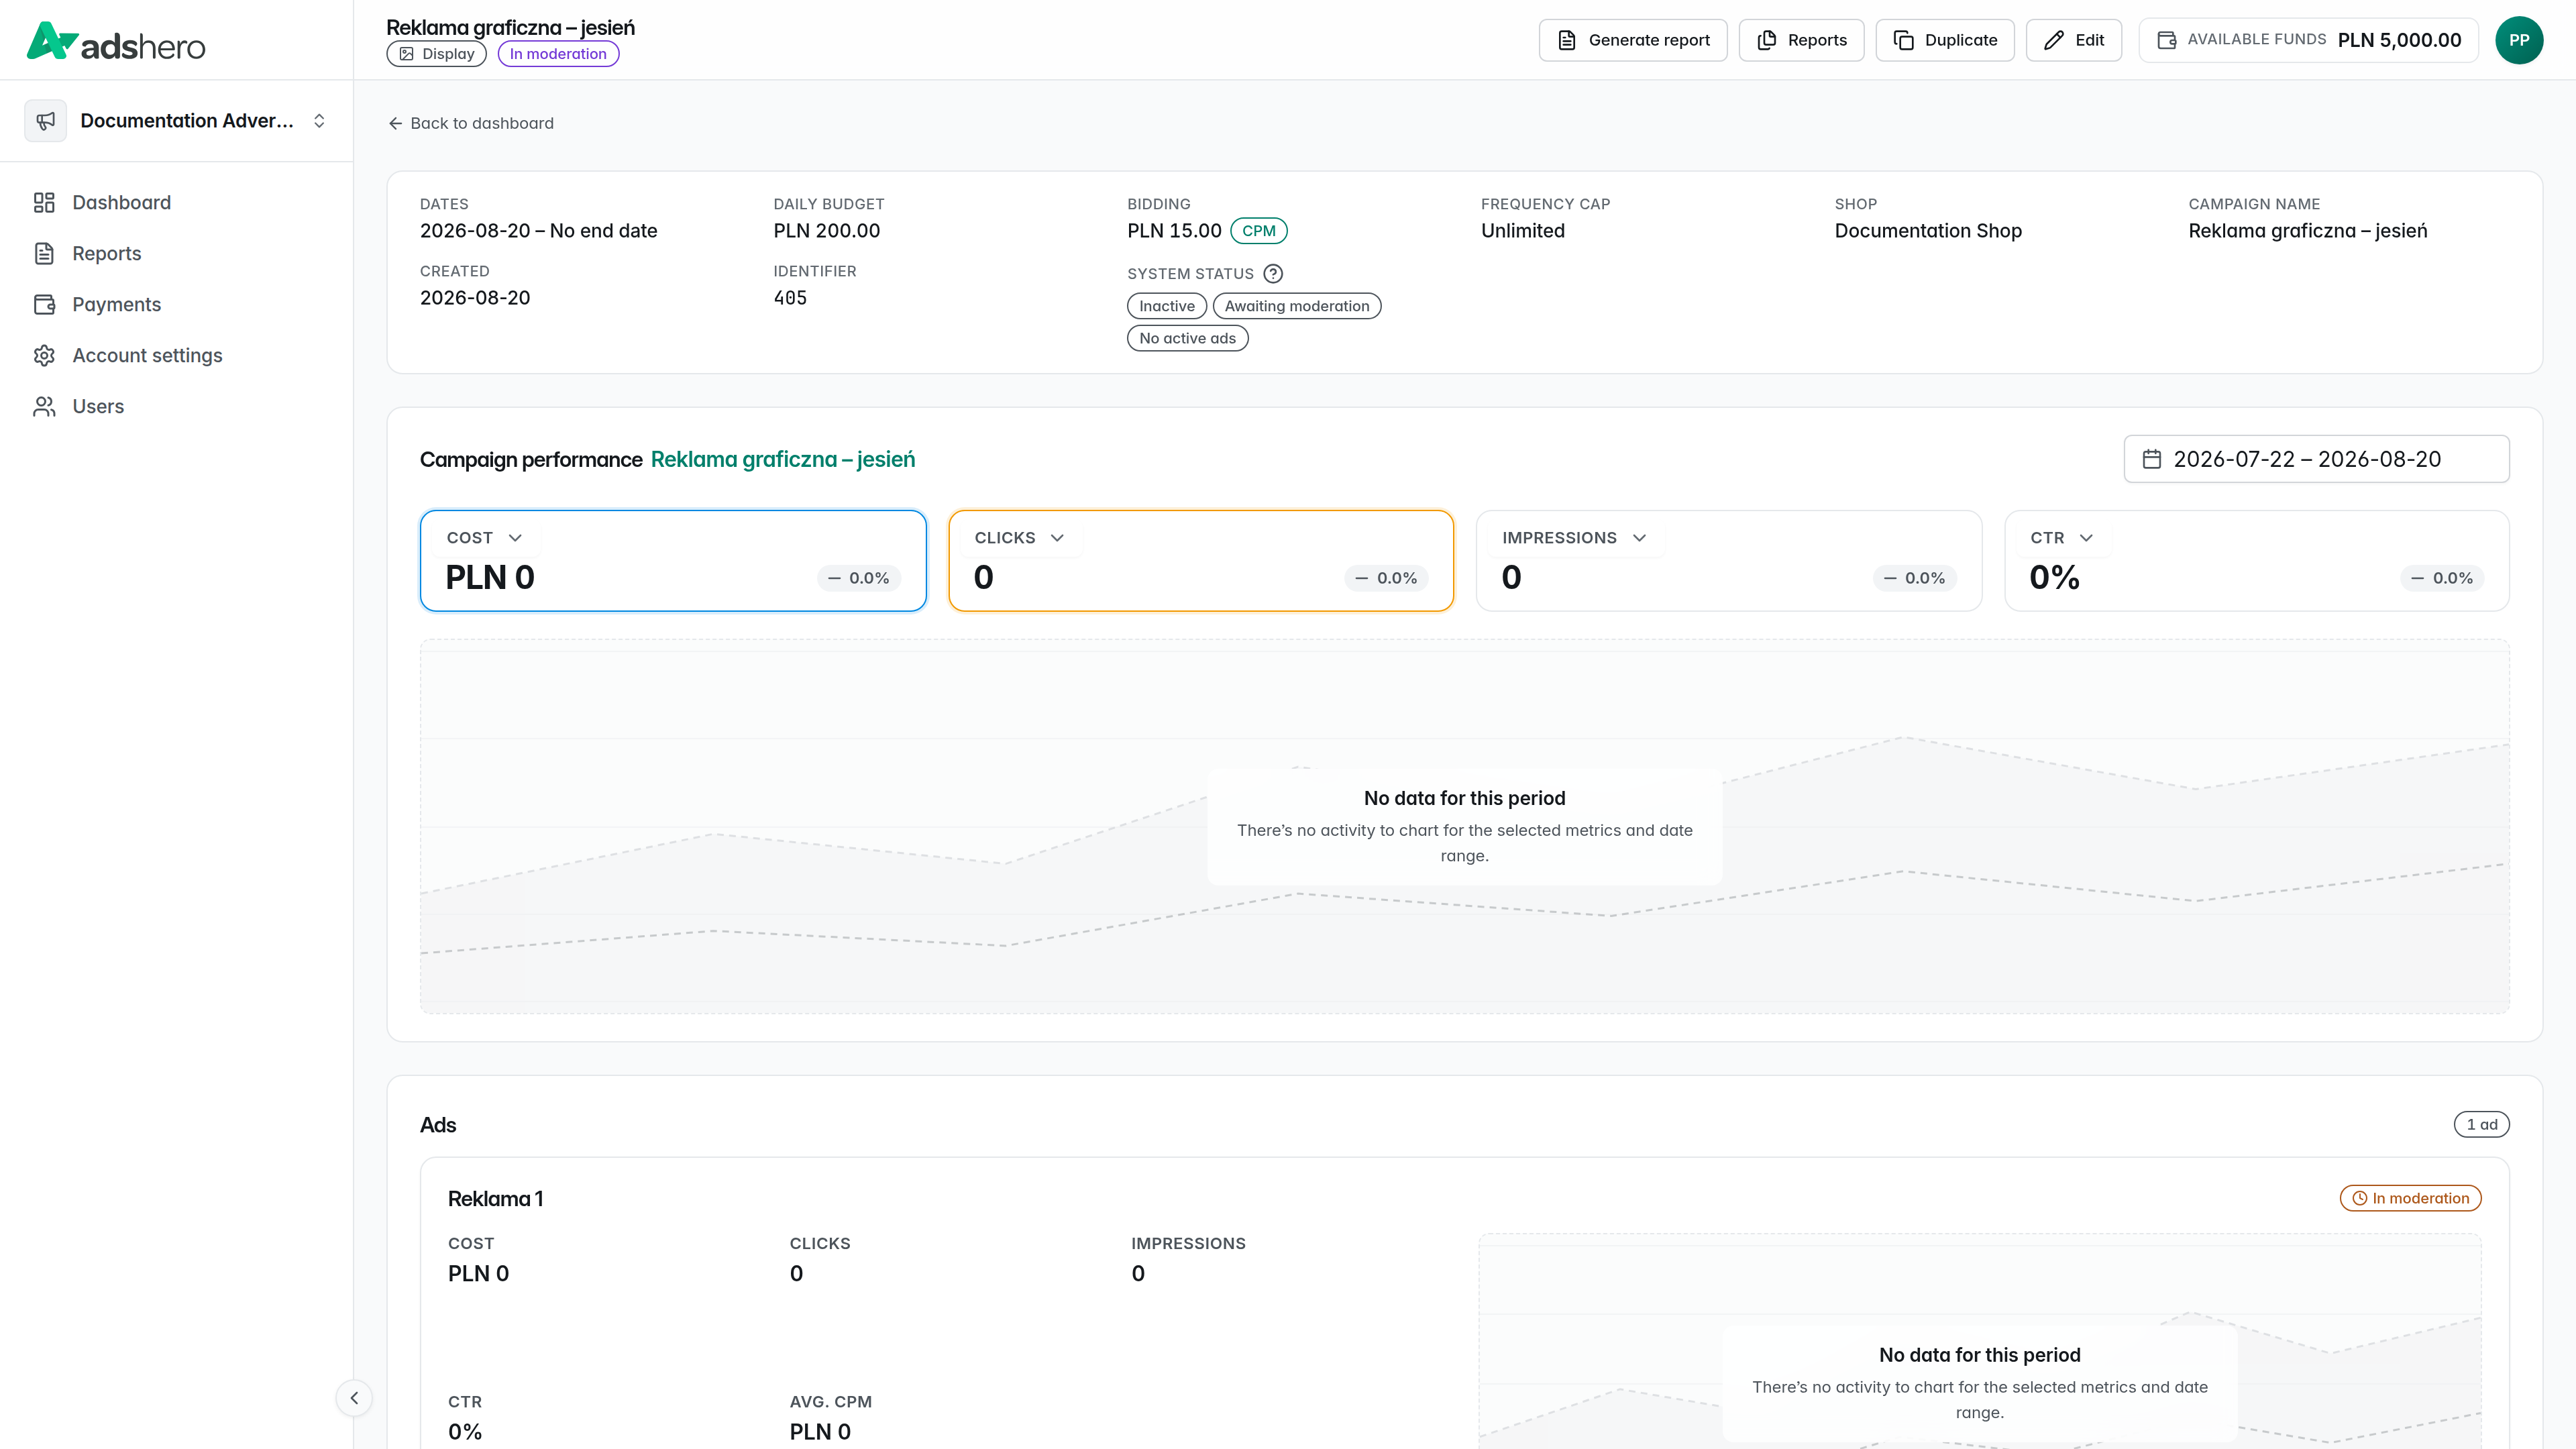
After you submit, you’re taken to the new campaign’s details page. A display campaign doesn’t start serving immediately — its ads first go to the publisher for moderation, so it stays in moderation until they are accepted (next section).
Ad Moderation
Switch to the publisher (shop) account: open the account switcher on the left, pick the shop, then open the “Moderation” tab. The ad from the campaign is waiting for a decision — expand it and click “Accept” (in practice, first check that the ad meets the shop’s standards):
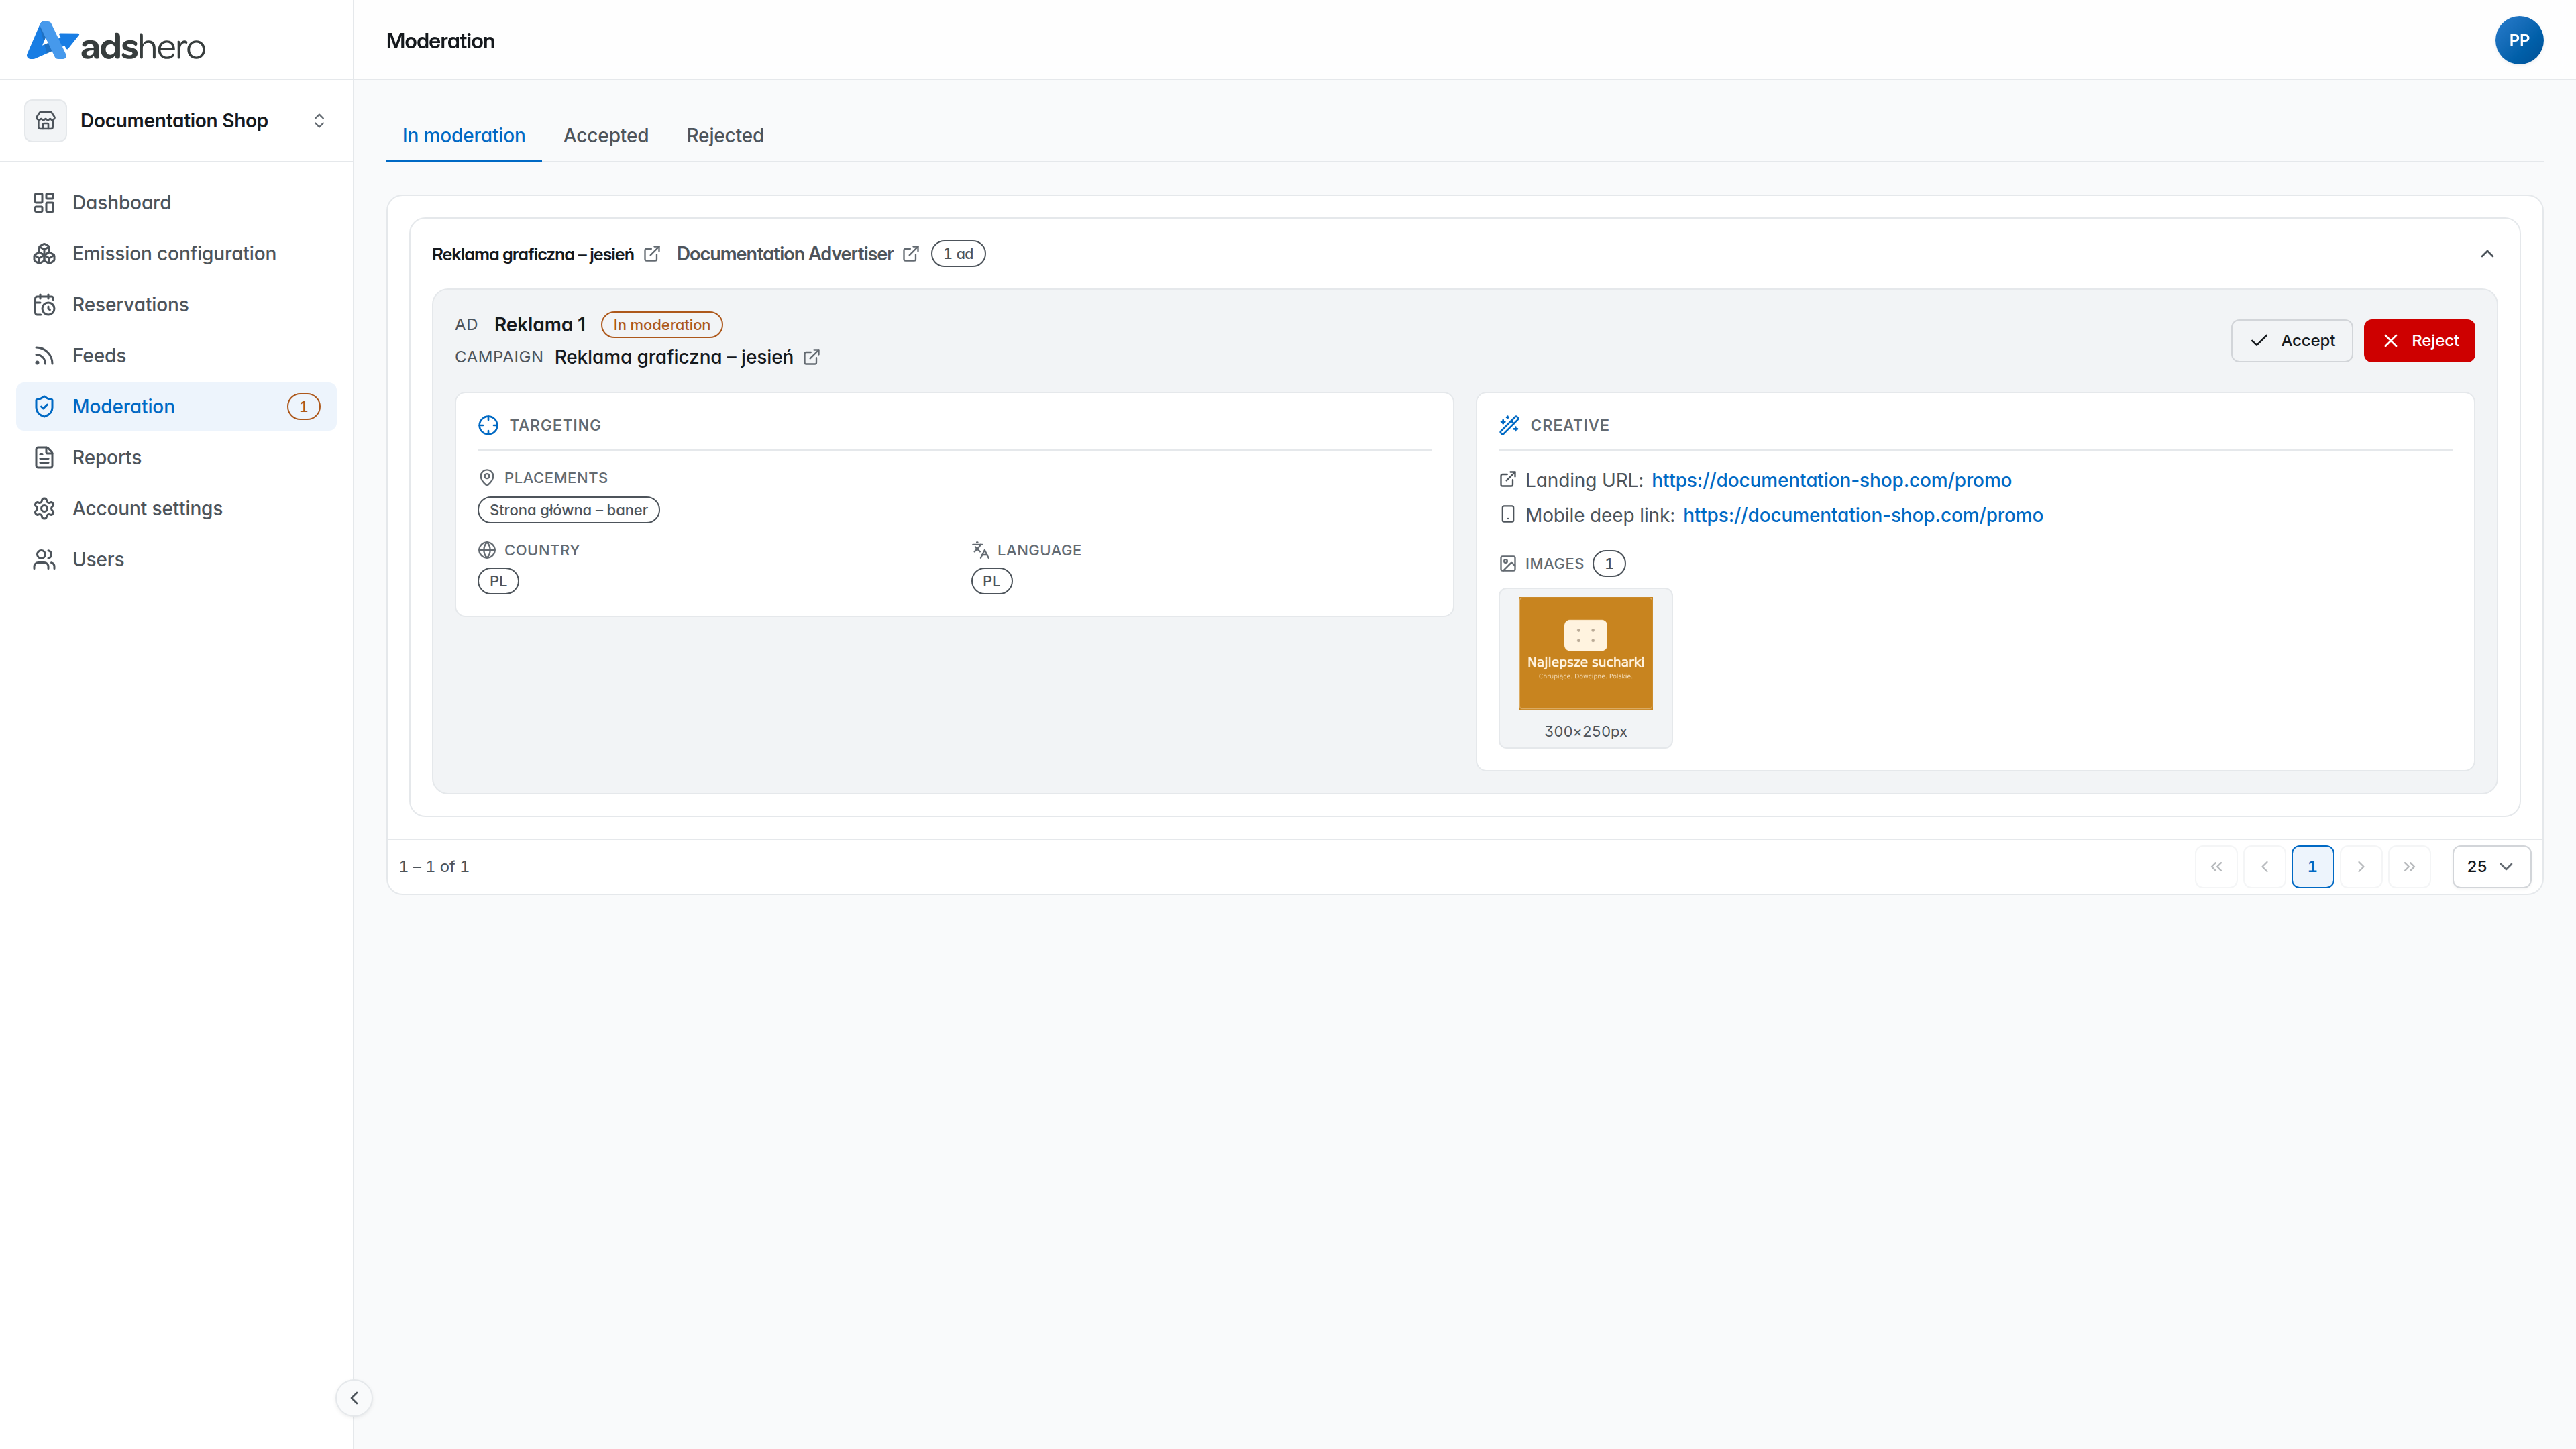
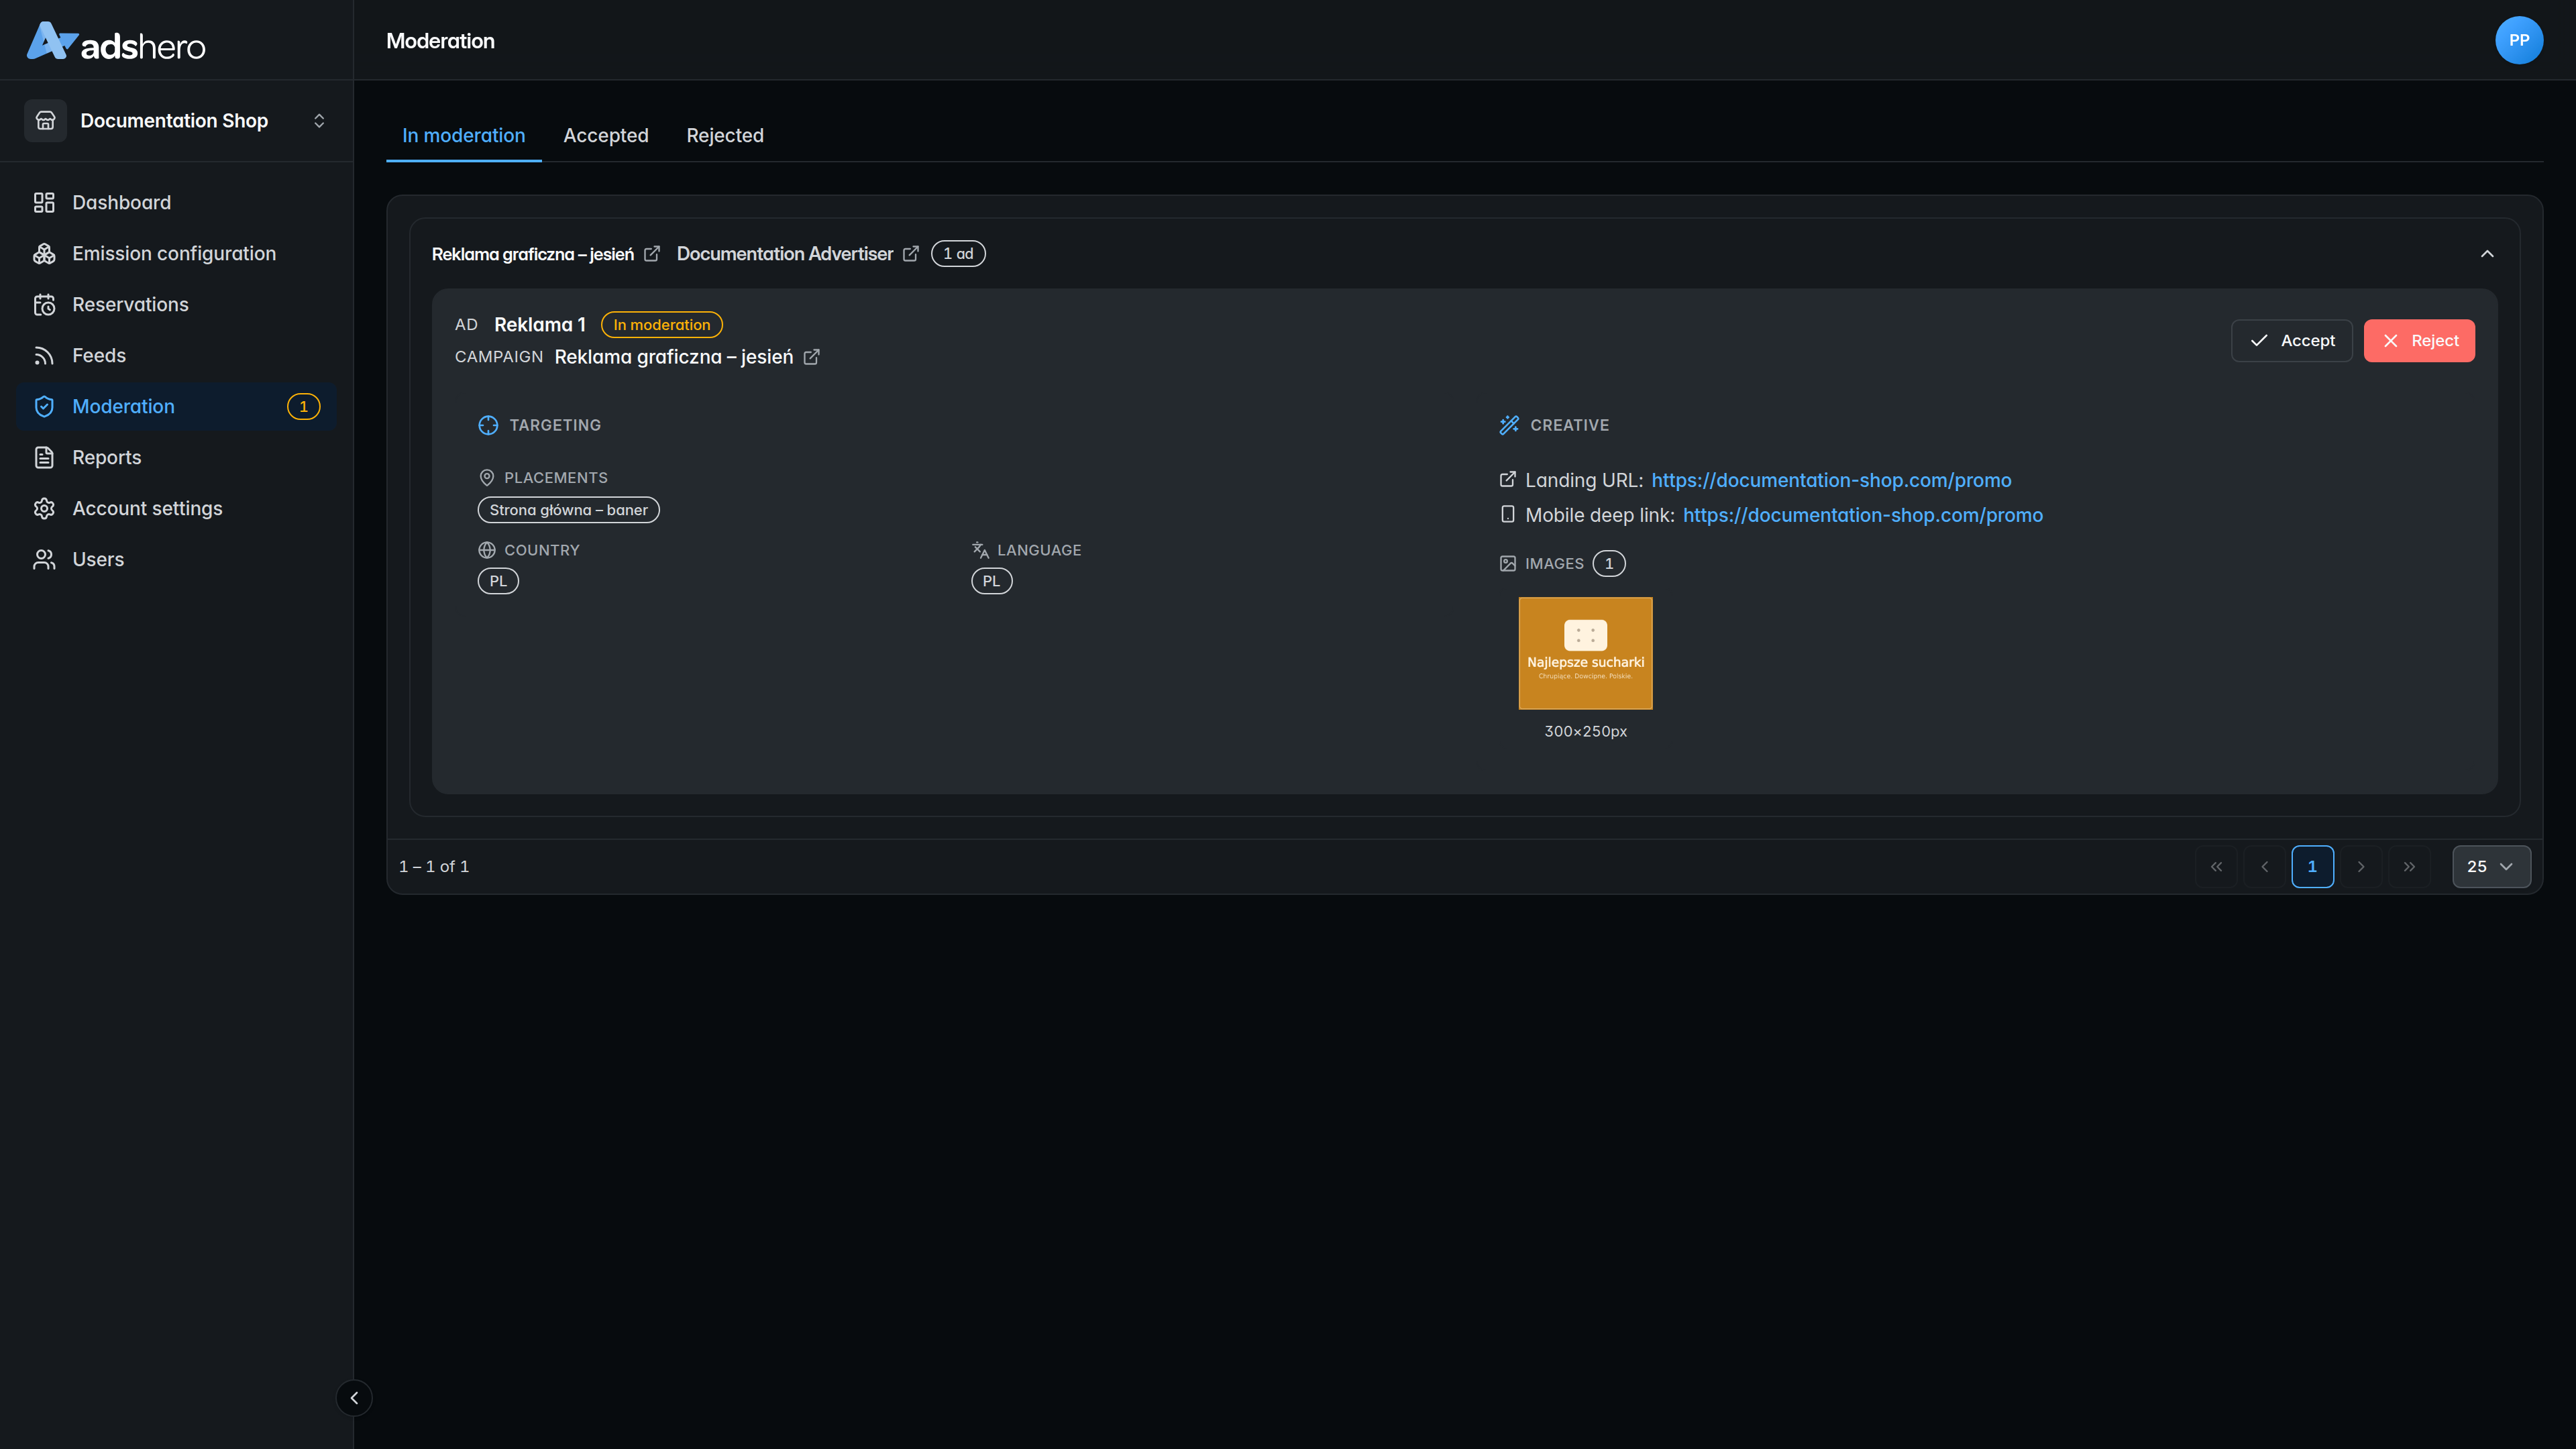
The ad leaves the “In moderation” tab and appears under “Accepted” (rejected ads go to the “Rejected” tab):
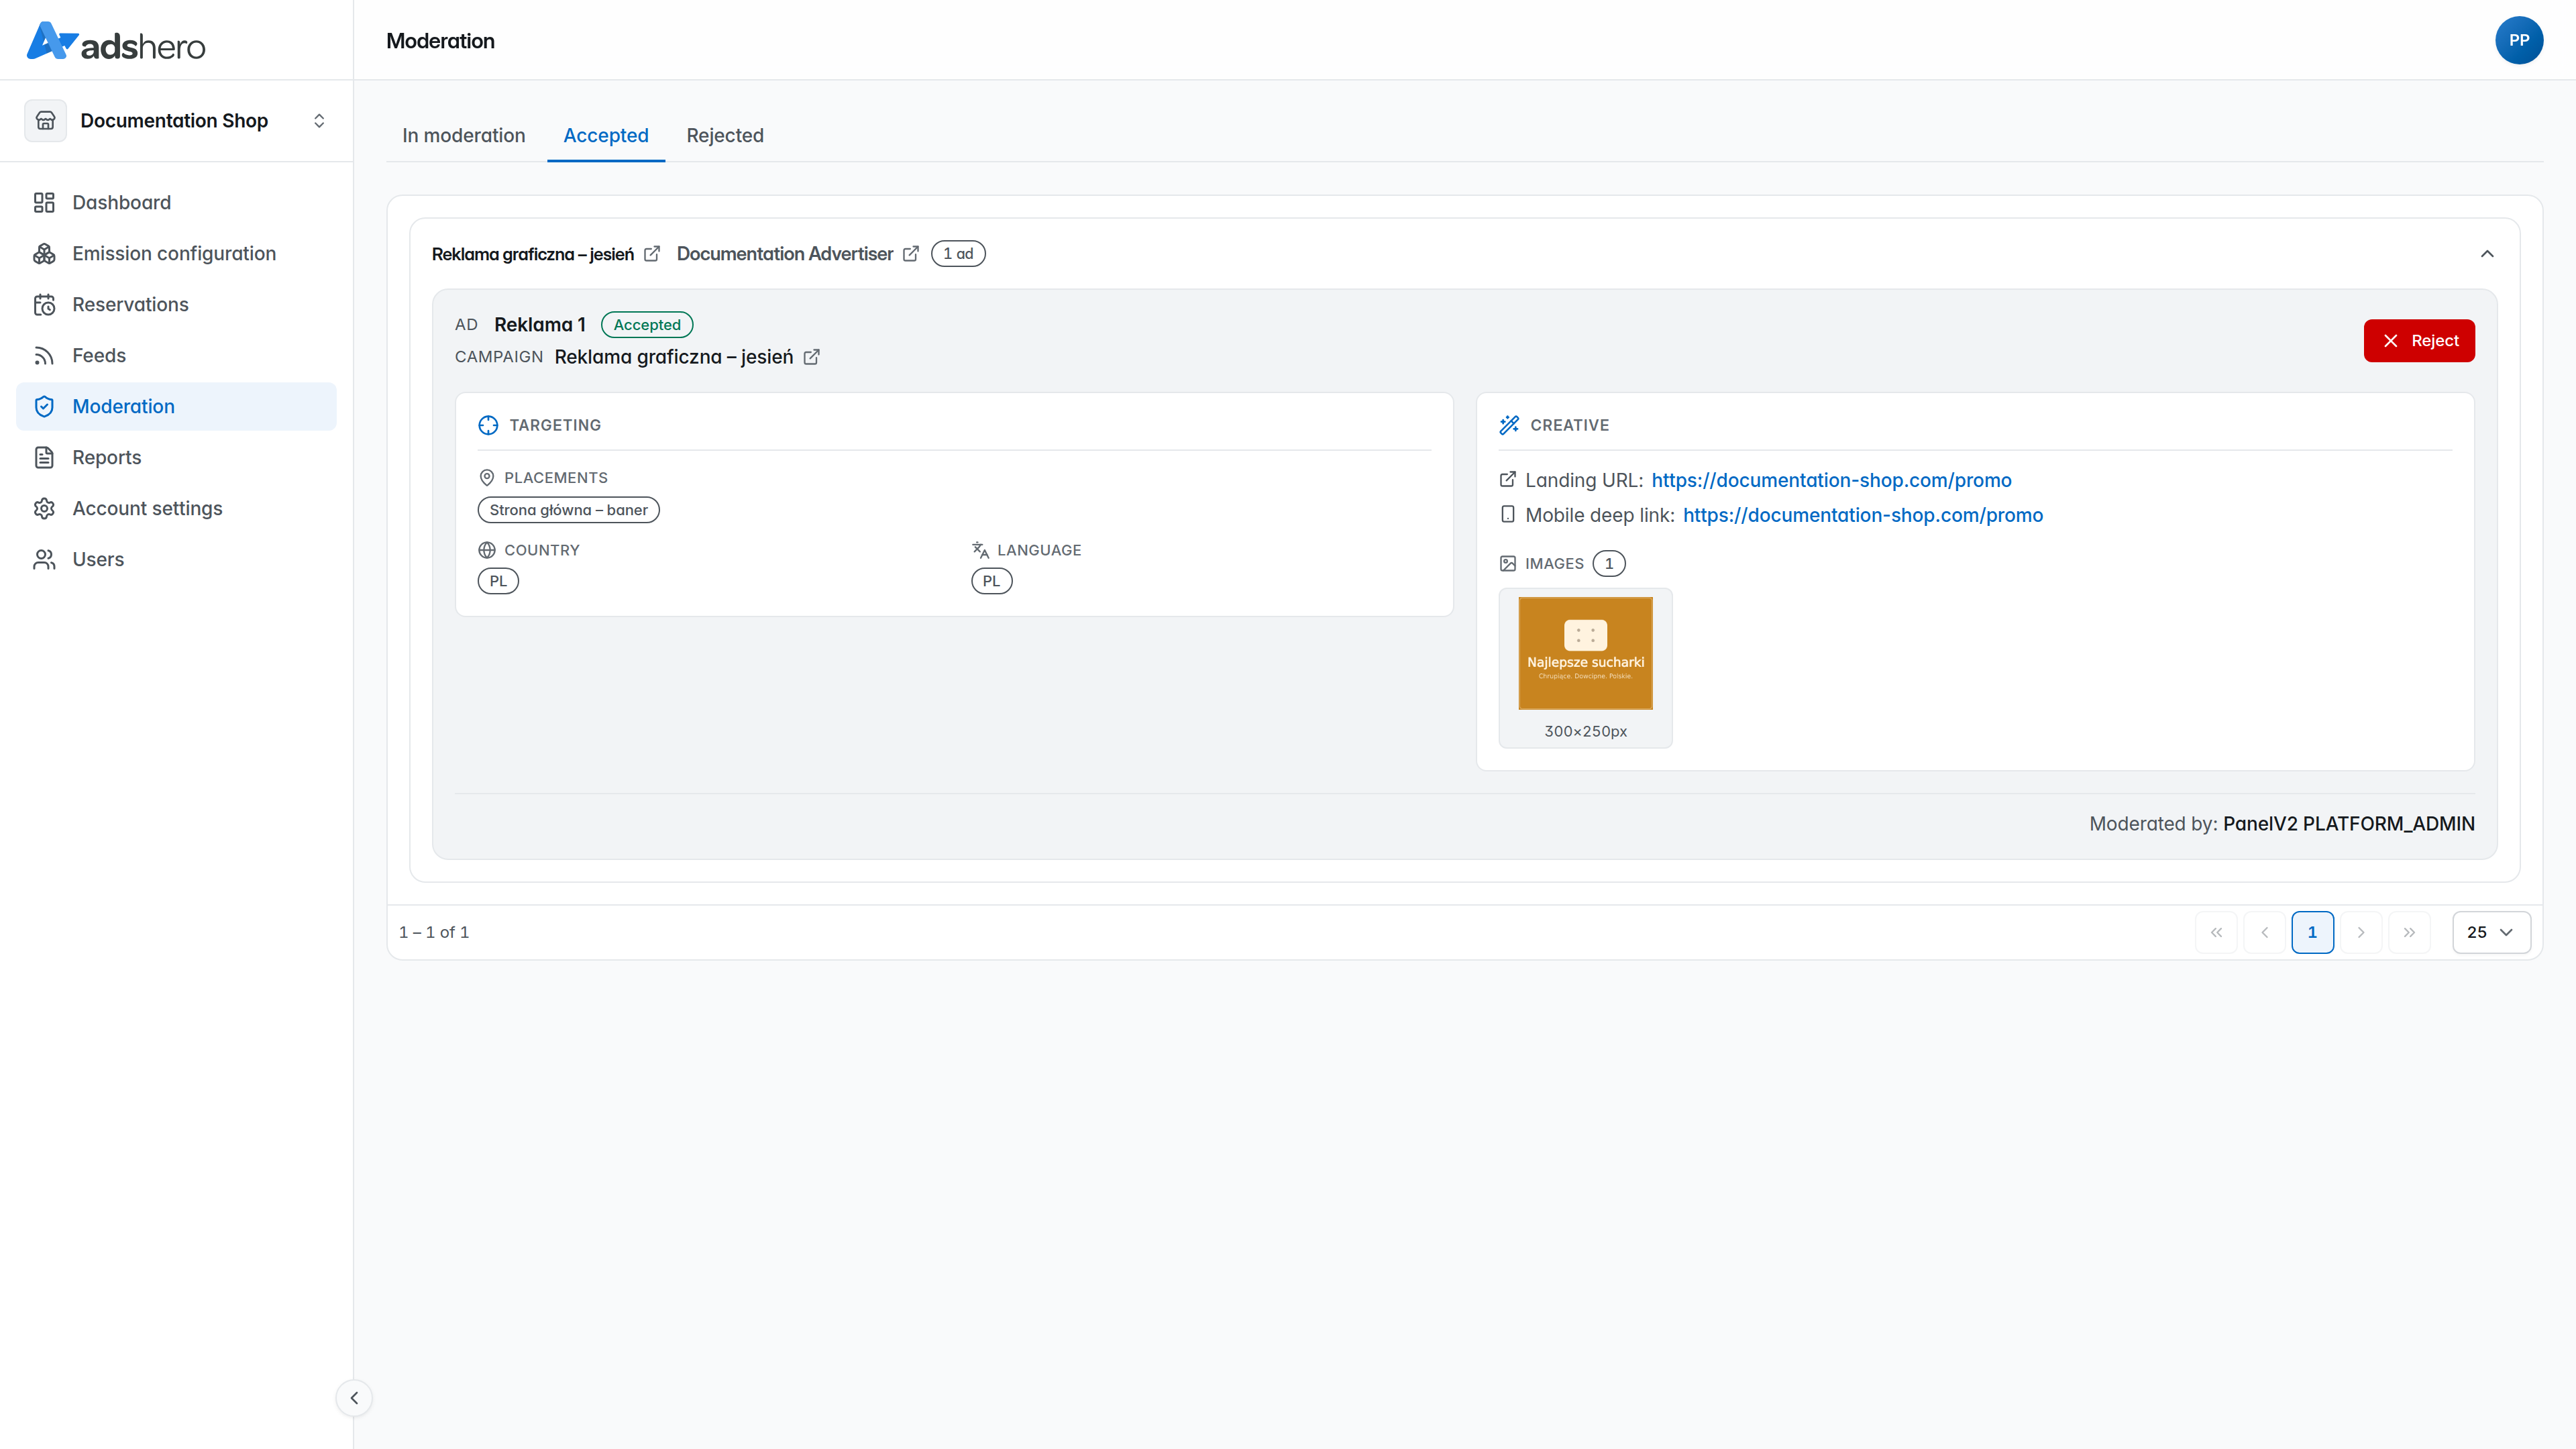
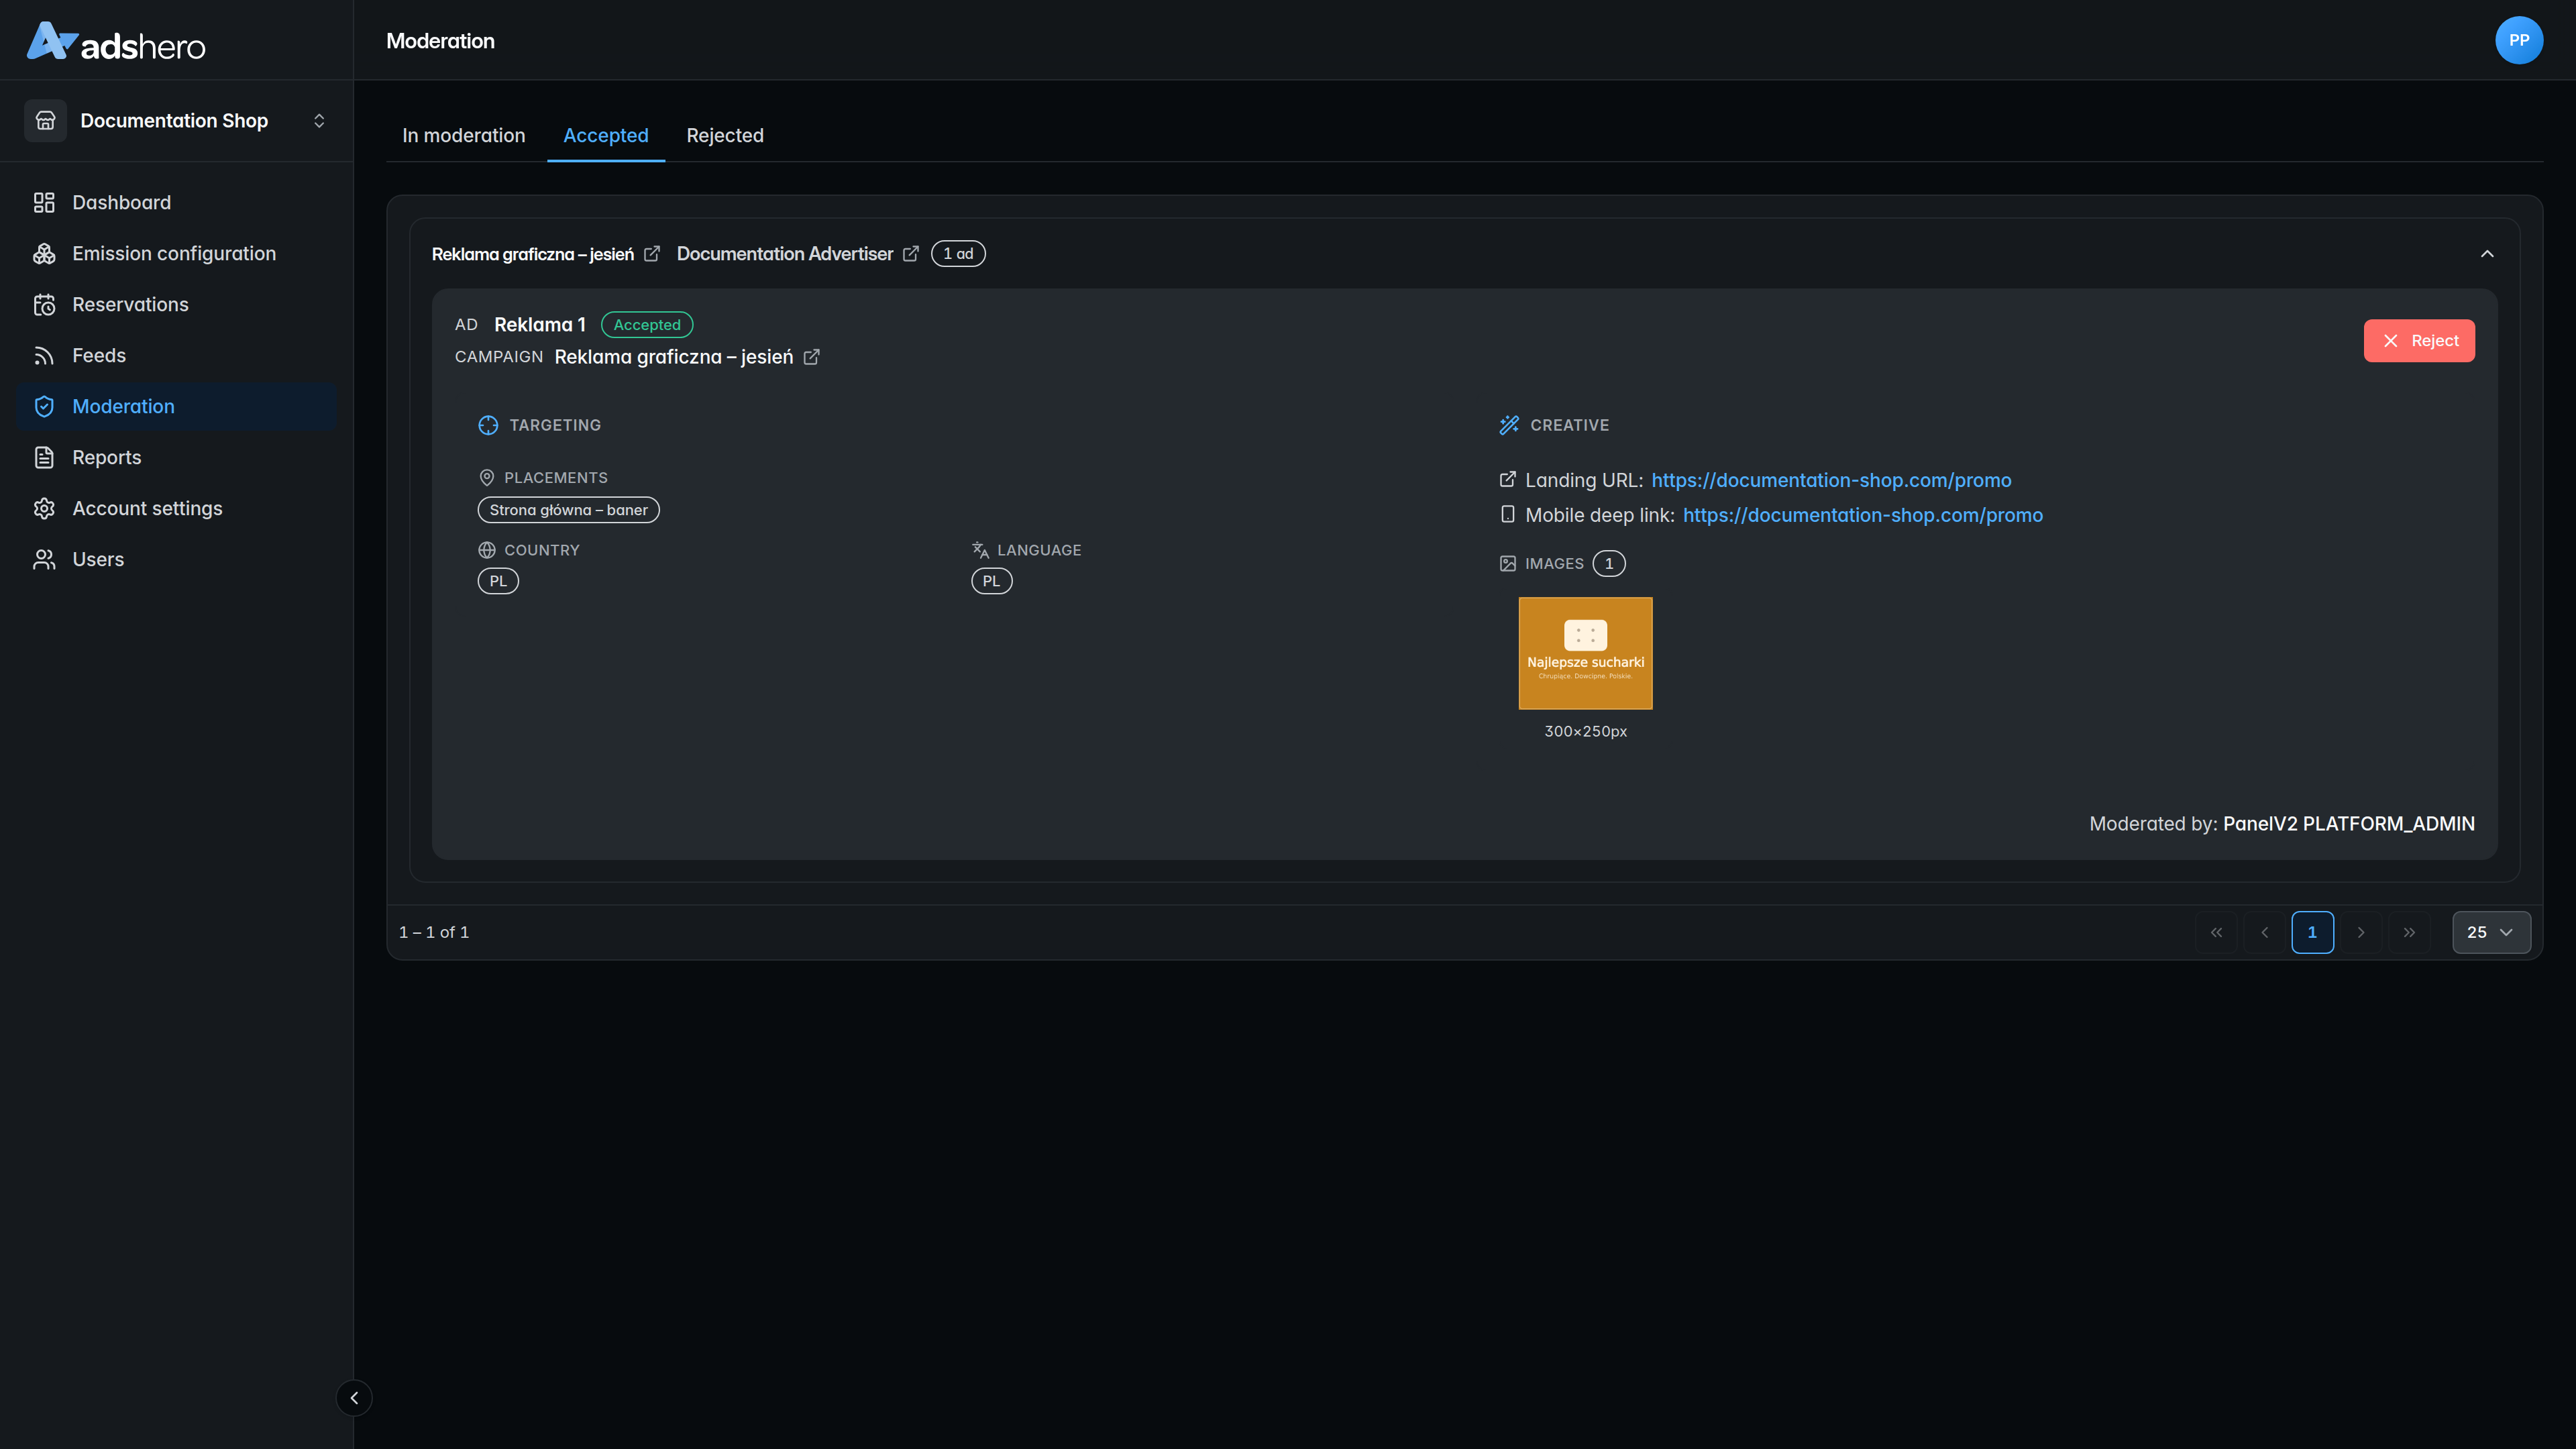
Test emission
Emission endpoint:
POST https://dispatcher.ahevds.com/v1/banner/dsa/raw/batch HTTP/2
Content-Type: application/json
cid: {cid}
uid: {uid}

{
  "targeting": [
    {
      "slotHash": "{slotHash}",
      "adCount": 1
    }
  ]
}slotHashis the ad unit identifier available in the publisher’s panel on the list of ad units (section “Emission configuration”).adCount(in the example, value1) is the maximum number of ads to be returned.
Below is an additional example query for emission. More examples and a detailed description of the available parameters can be found in the Emission API documentation.
POST https://dispatcher.ahevds.com/v1/banner/dsa/raw/batch HTTP/2
Content-Type: application/json

{
  "targeting": [
    {
      "slotHash": "8cc4ba26-bb96-46f1-975c-a6a21243bb05",
      "adCount": 1
    }
  ]
}HTTP/1.1 200
Content-Type: application/json;charset=utf-8
{
"data": [
{
"slotHash": "8cc4ba26-bb96-46f1-975c-a6a21243bb05",
"ads": [
{
"bannerId": "4732",
"bannerUrl": "https://adshero.com/",
"mobileDeepLink": "https://adshero.com/",
"showId": "eyJhbGciOiJSUzUxMiJ9.eyJhZHVuaXQiOiJhRDhJQTFuVHphaUk5RFphdkpmMnllNkdBZlJTenJpZlZyS3AveEdjVS83NFNwR2tsWTdZai9HYzJIQ2hZYzhUNFRXcFppdFNtWTZELzFQTEVKc21TanMvbGZubUNjZWhYSjMvczIwdG1NQ2NqS3BpS2NFa1kzZVN3VXVKbytsbThpY2dUMzdjb0ZZeCtqV3VEcC9aa0lYWnhOMkJvY3lzVThmN2NrL09FY2hWVGtPU0QrTlZSY28yRXVwUTM4QlhnWUJhR2ZRV1hOeFpqdzdvMGdEUkRaMmpTa1FmKzVnT011SEdGbzJwZ0FCTG1aTklFNWlTNFZCbUZRenFDVXVCRkNteE5PQzZTTDdXWGplVVFqT3VwVlhUWnVZTzVsQ0dYcU1Sb0JyUCtaaWljSThHd2NTbFZPSnB5UVRMb1N2eU80VDY2Y3p5blpFWUs1eHJDRGtCZWhDSk1zMkpYbDJzQ1ZMSVlOQzRLMFg1MktTMGRSMXdLMlJZQnVyZGVKM28waldJQ0QvN3ZEaFVuemNnODJCNTJhRjYwZEpkbVQ1cEJ1RldoWlpzcldoT21lQWZTTUxiU0RKWnNZd1ZQdCt0SjVwWGhoclUxYldIaElXckVTd1FTZEs3T3Exd2NROVFiMXJQL1dMR1BtMUpTa2hFQXlUeC9KZlhJK3RXY05JdXlsd1AyYjZ6ZHhFOXB2UDJESDFUT0RnRFBIRzg0ajBMQ1owTkVFT01VbGxjenlzWDNRanJSaVp3OHM4QTBTSEphL1lSV1Q4M3ZlVWdBa2U4dEU2bnpTTXRrMlFGMVh6SzZXbUFtSzNOSFhiNjMzRFdGd3VlcmpKUEVYcmFsOGhYZEJ3L0FlcTU4N2k1cHJOVXlKRG52Zz09IiwidHlwZSI6IkJBTk5FUiJ9.U4VJZH2YvrM50tTLrW5wldAaFgVN12104TLH9L0eRnzLluFkQYyL_WgFvQ90iCvKEHr97W_DrhhJj5J34n2mH_cIMDqxYSIiMxejeHfmx7Rn5xYZjlfrfFjl4eLGorC9jf_ayUvXo-2T7BzZeuwIDlAi3q-BL6nuwShIQ6hg8-vynq5l0QrvCjrMLNqsvUh4bt0IVGDEleVcMByfPw7bo9ZhS0qFwBxTTNKsf6mFuC4pOJrNh6w-vGIPKewfQpkq26jANhjlNIWkAXYCItCza3uVjvCbxjg_9M1PwVofsmxcj1GJmDQN0bNbRoQcxZeOBV1NcuRxdihFu_JV2_bw7w",
"requestId": "|b1k7w9d6qwCBkAVFANzxRoQWyxYXpX5KyylO.7XZsrc_",
"slotHash": "8cc4ba26-bb96-46f1-975c-a6a21243bb05",
"shopId": "cf196098-c935-4ac4-83f2-aece5185602a",
"lang": null,
"currency": null,
"autoPromo": false,
"bannerLogoUrl": null,
"bannerImageUrl": null,
"adFormatId": "0f76d848-0977-422a-8f12-251b5b5c3ca7",
"bannerProducts": null,
"images": [
{
"width": 930,
"height": 180,
"imageId": "1b56a006-f3be-4684-9008-e41e41aab41d.png",
"imageUrl": "https://prd-cdn-images-prx.ahevds.com/1b56a006-f3be-4684-9008-e41e41aab41d.png"
}
],
"textFields": [
{
"type": "TITLE",
"value": "First"
},
{
"type": "CTA",
"value": "CLICK!"
},
{
"type": "BG_COLOR",
"value": "#ff00ff"
}
]
}
]
}
],
"meta": null,
"clientId": "v2.937064567.1728059604"
}It can be seen that the format ID was returned (based on which the frontend knows how to render the ad) and all the parameters required by the format (image, URL, and text fields).
A detailed description of the emission API can be found here.
Sending Events
For complete integration with the Adshero system, we need feedback on user interactions with ads. We accept the following events (in the case of display ads, the ad is a single banner returned in an emission):
- Ad view — required
- Ad click — required
- Adding product to wishlist
- Adding product to cart
- Purchase — required
A detailed description of sending events can be found here.